Documentation
Documentation.
Overview
This section contains documentation on how to use the Oracle Cloud.
Feedback & Inquiries
To ask questions or suggest new features,
join the discussion
on Github. For issues with the brainhack cloud, please open a
new issue.
Acknowledgments
Funding
Thank you to Oracle for Research for providing Oracle Cloud credits and related
resources to support this project.

What is Oracle for Research?
“Oracle for Research supports academic, educational, and institutional researchers in all aspects of discovery. We’ve made it simple for them to host, store and analyze their data with our cloud infrastructure solutions. Our research customers are changing the world – and we’re proud to help them do it.”
License
CC BY License 4.0
1 - Requesting Cloud Resources
Requesting Cloud Resources
Request resources via a Github Issue Template
Fill in this
form.
Once an admin acts on
this, you can continue.
Activate your account
An admin will create your account and send you a password and you will get an
activation email from Oracle
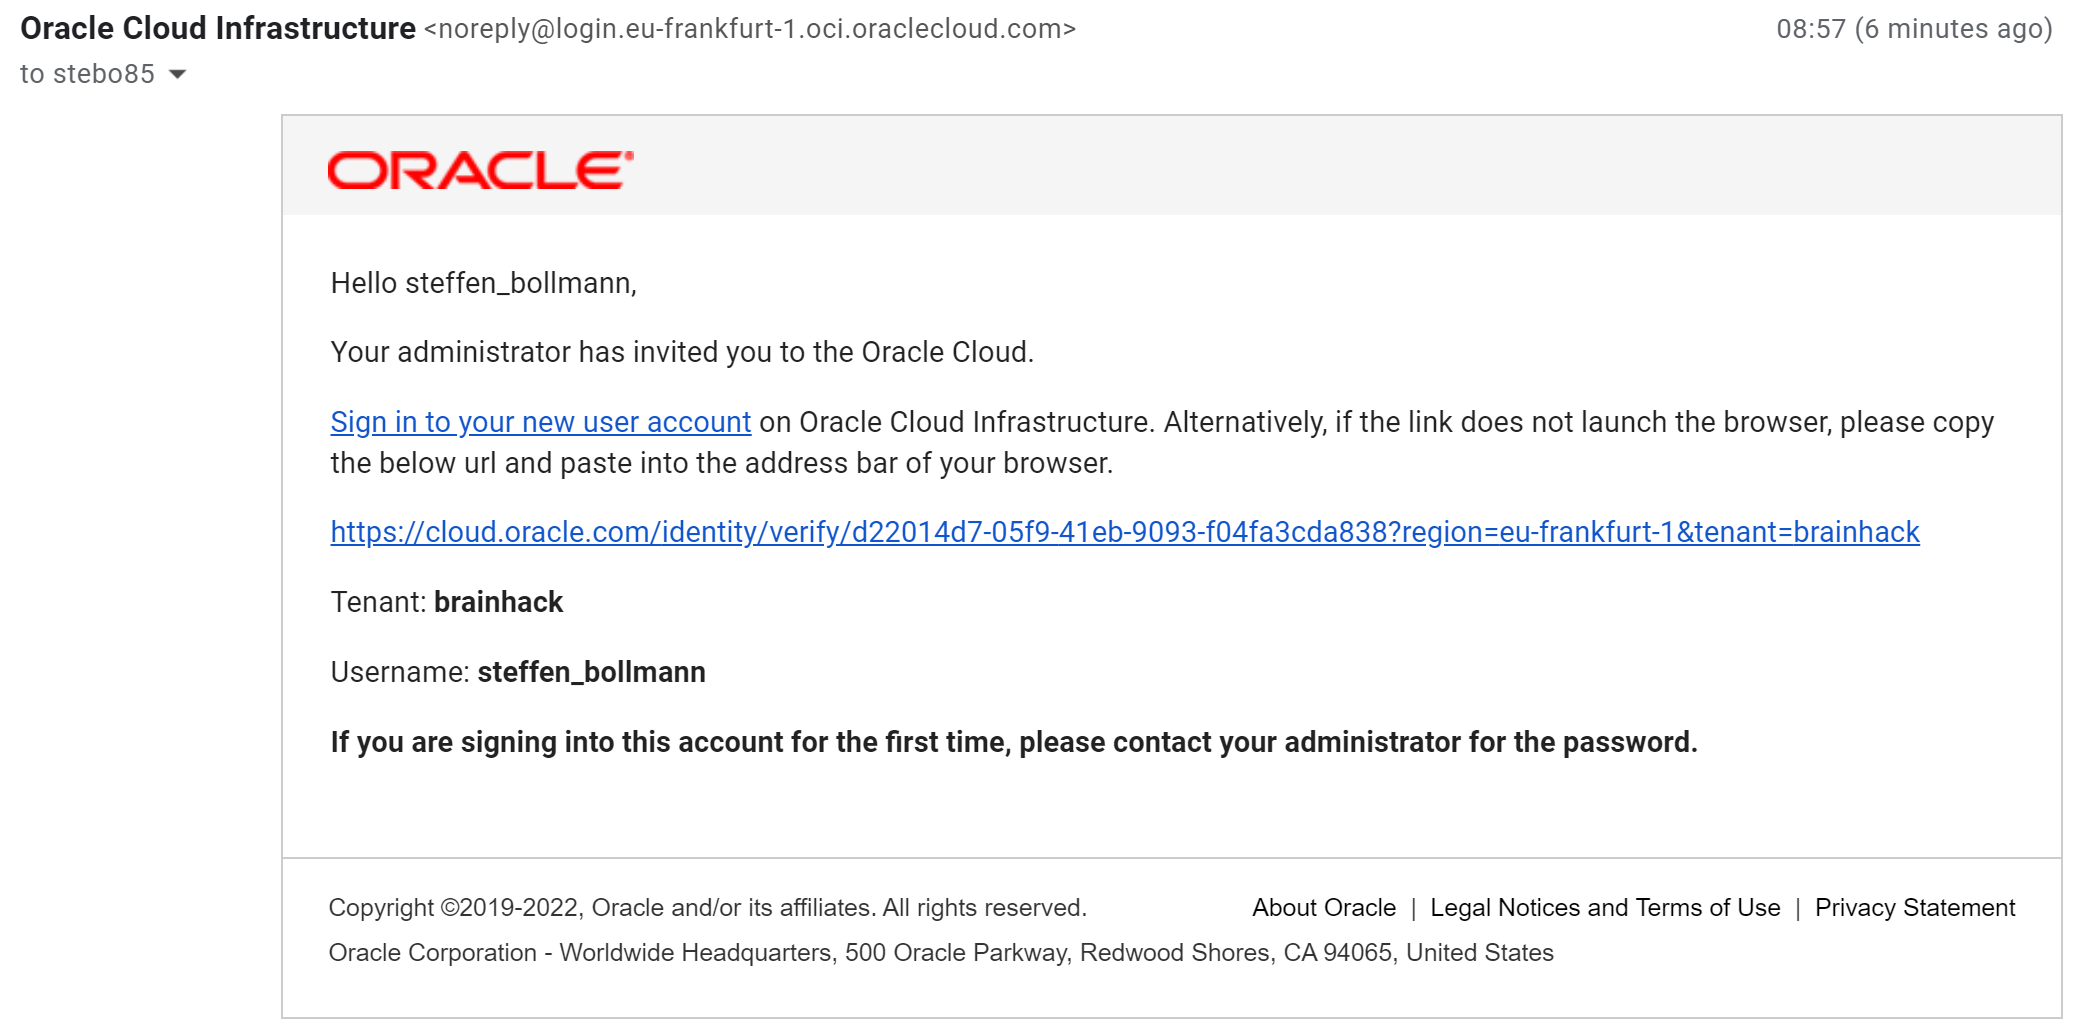
Click on the activation link.
Now, it’s very important that you expand the LOWER section of this login field
and fill in your Username from the email and the password you were sent!
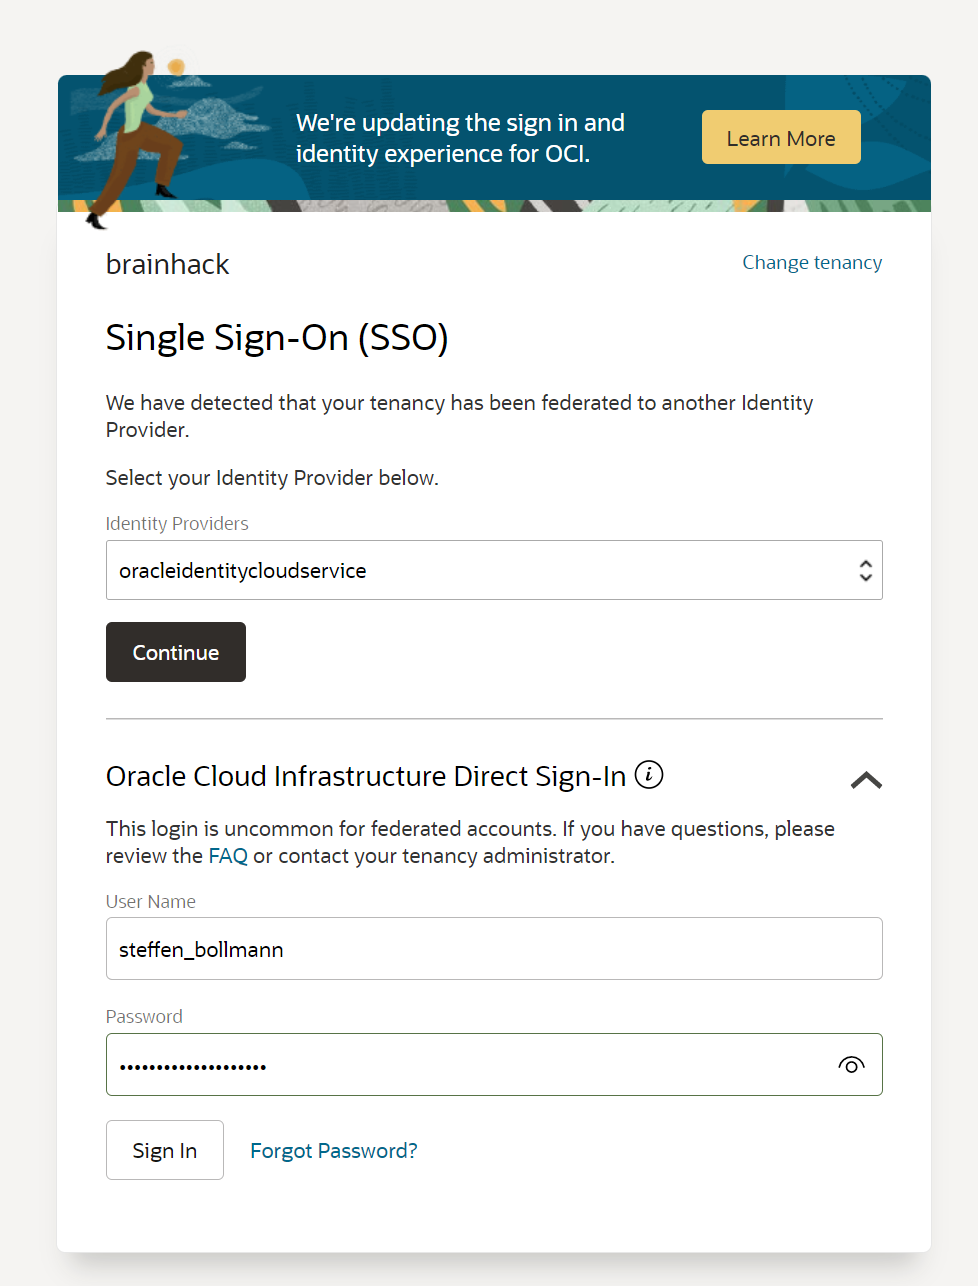
Then click on Sign In.
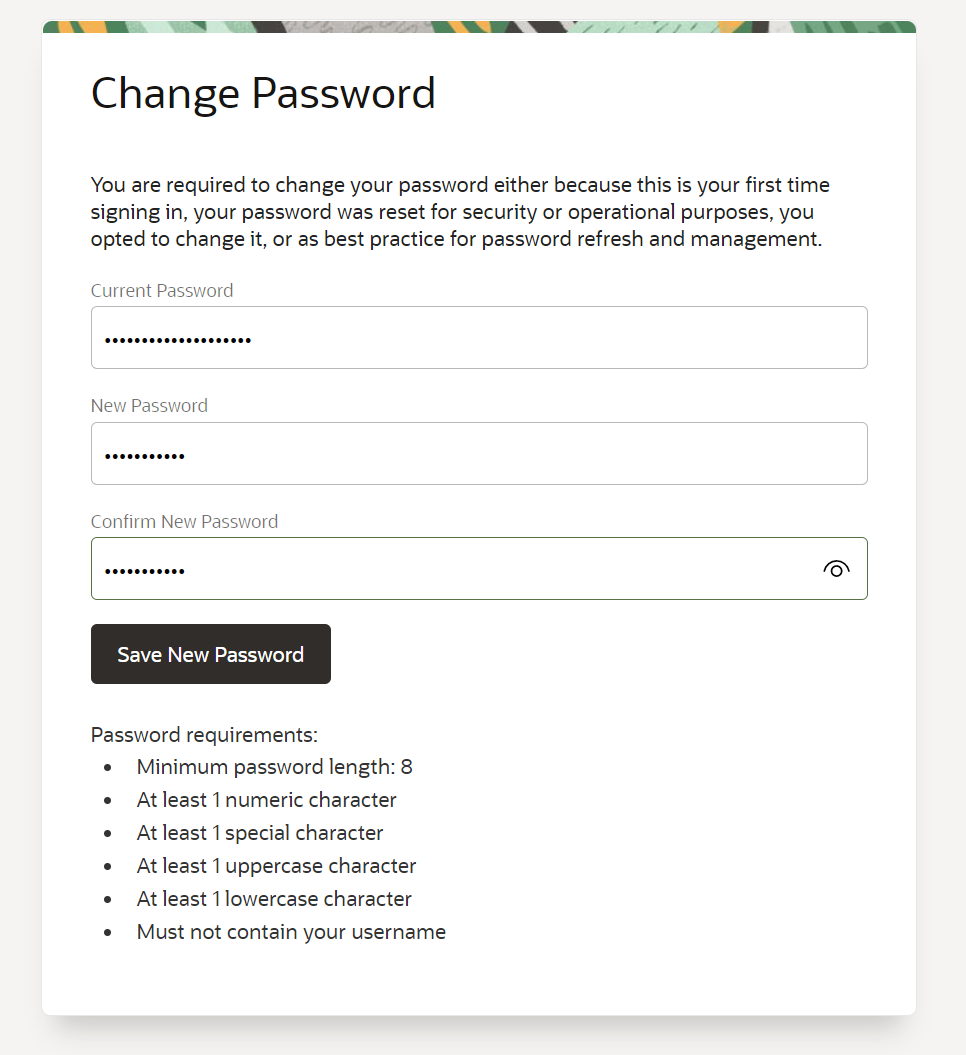
Then change your password and hit Save New Password
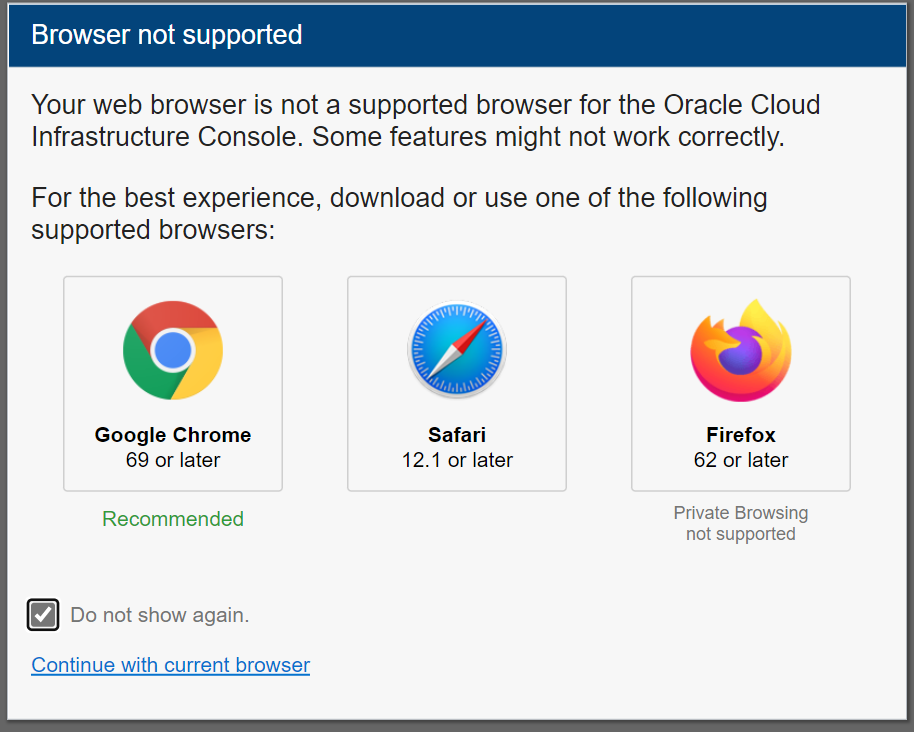
If you are using any non Chrome, Safari or Firefox browser you need to indicate
that you don’t want to be warned if things don’t work as expected (note: Edge
works fine!).
If everything is complete you should see this.

You should now be able to select your Compartment (which should be named like your
project) and start using resources.
Always make sure to select your compartment - otherwise you cannot see or create
resources.
Happy computing :)
2 - Object Storage
Object Storage
Overview
Object Storage is like Dropbox … it allows you to simply
store files and they can be accessible via links on the web (or APIs) and you
don’t have to monitor the size of the disk (as opposed to block storage) and it
comes with very nice features for mirroring your data to other regions or
tiering data (making it cheaper if files are not accessed very often).
Setup a new Bucket
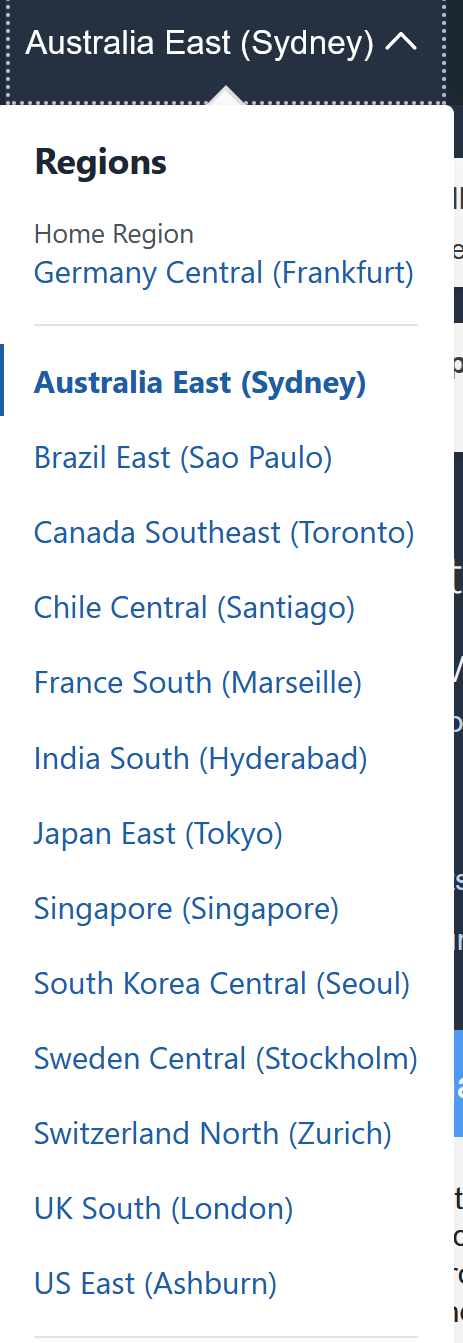
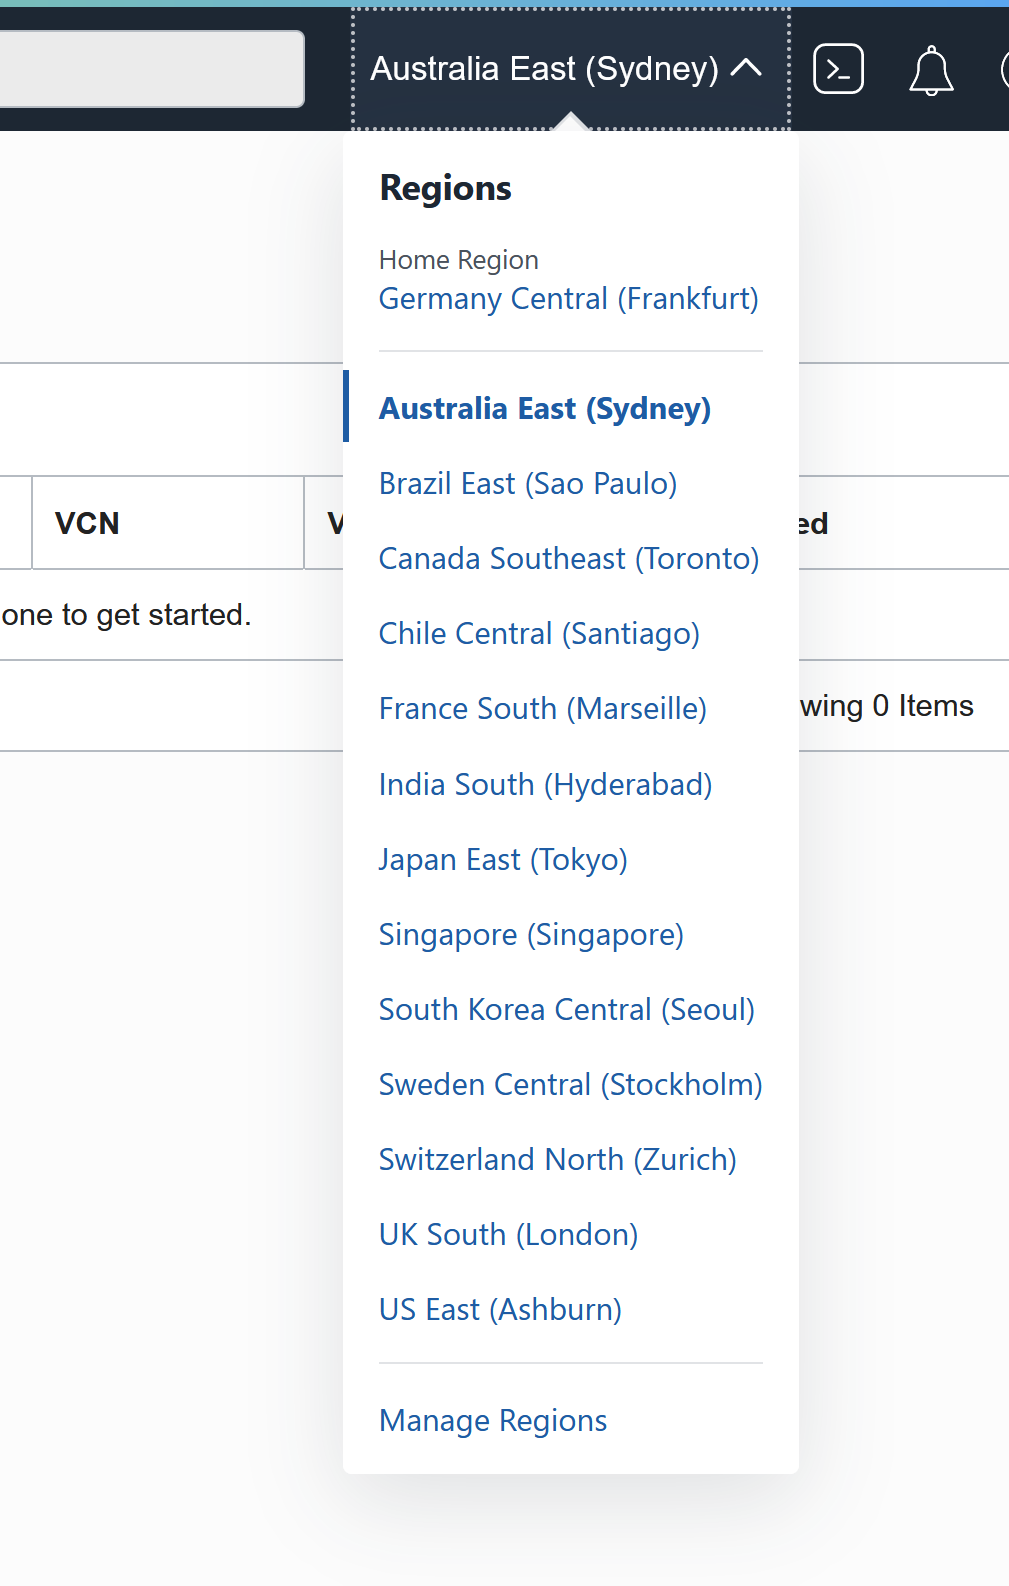
Select a Region from the list where you want your files to be located:
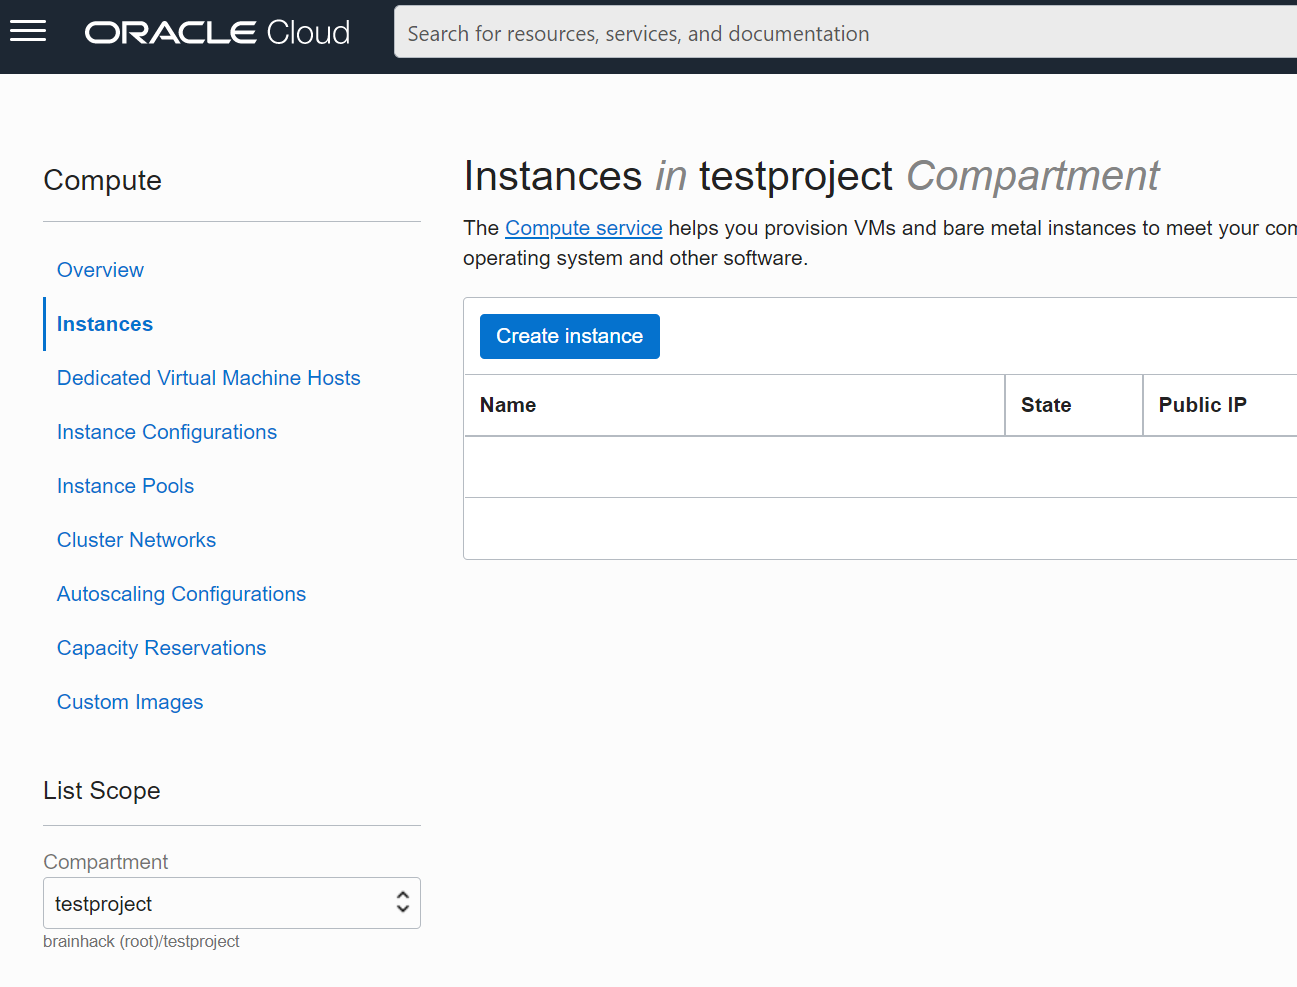
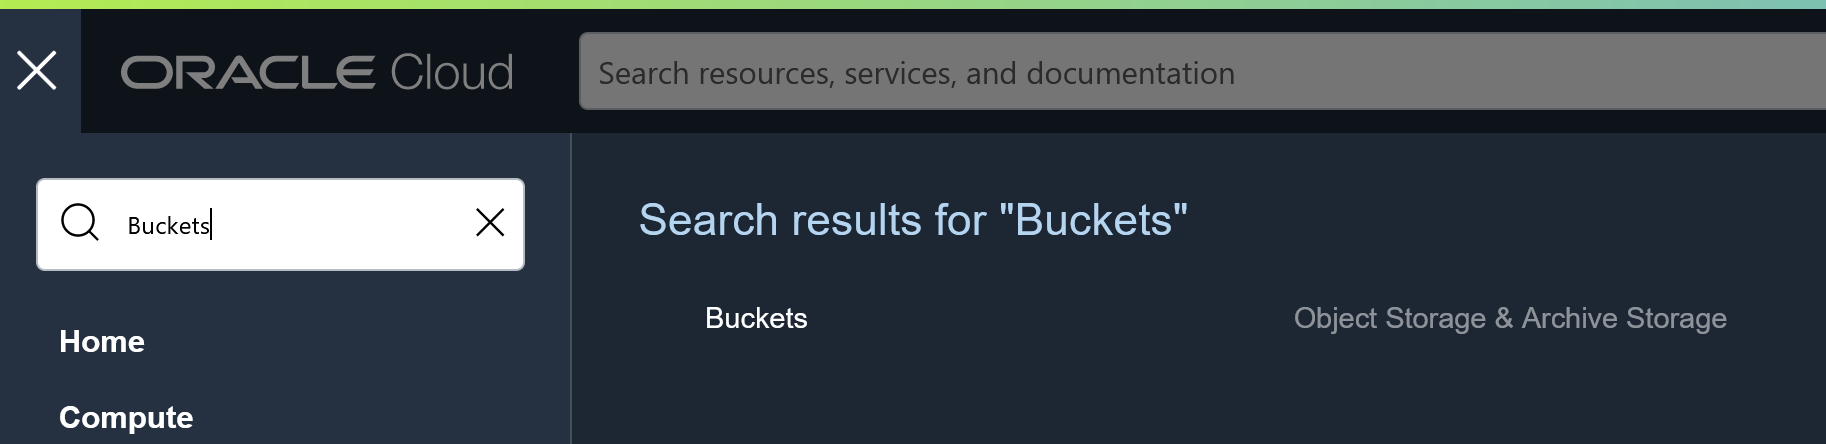
Then search for Buckets and you will find it under Storage -> Object Storage & Archival Storage -> Buckets:
Select your project’s compartment:
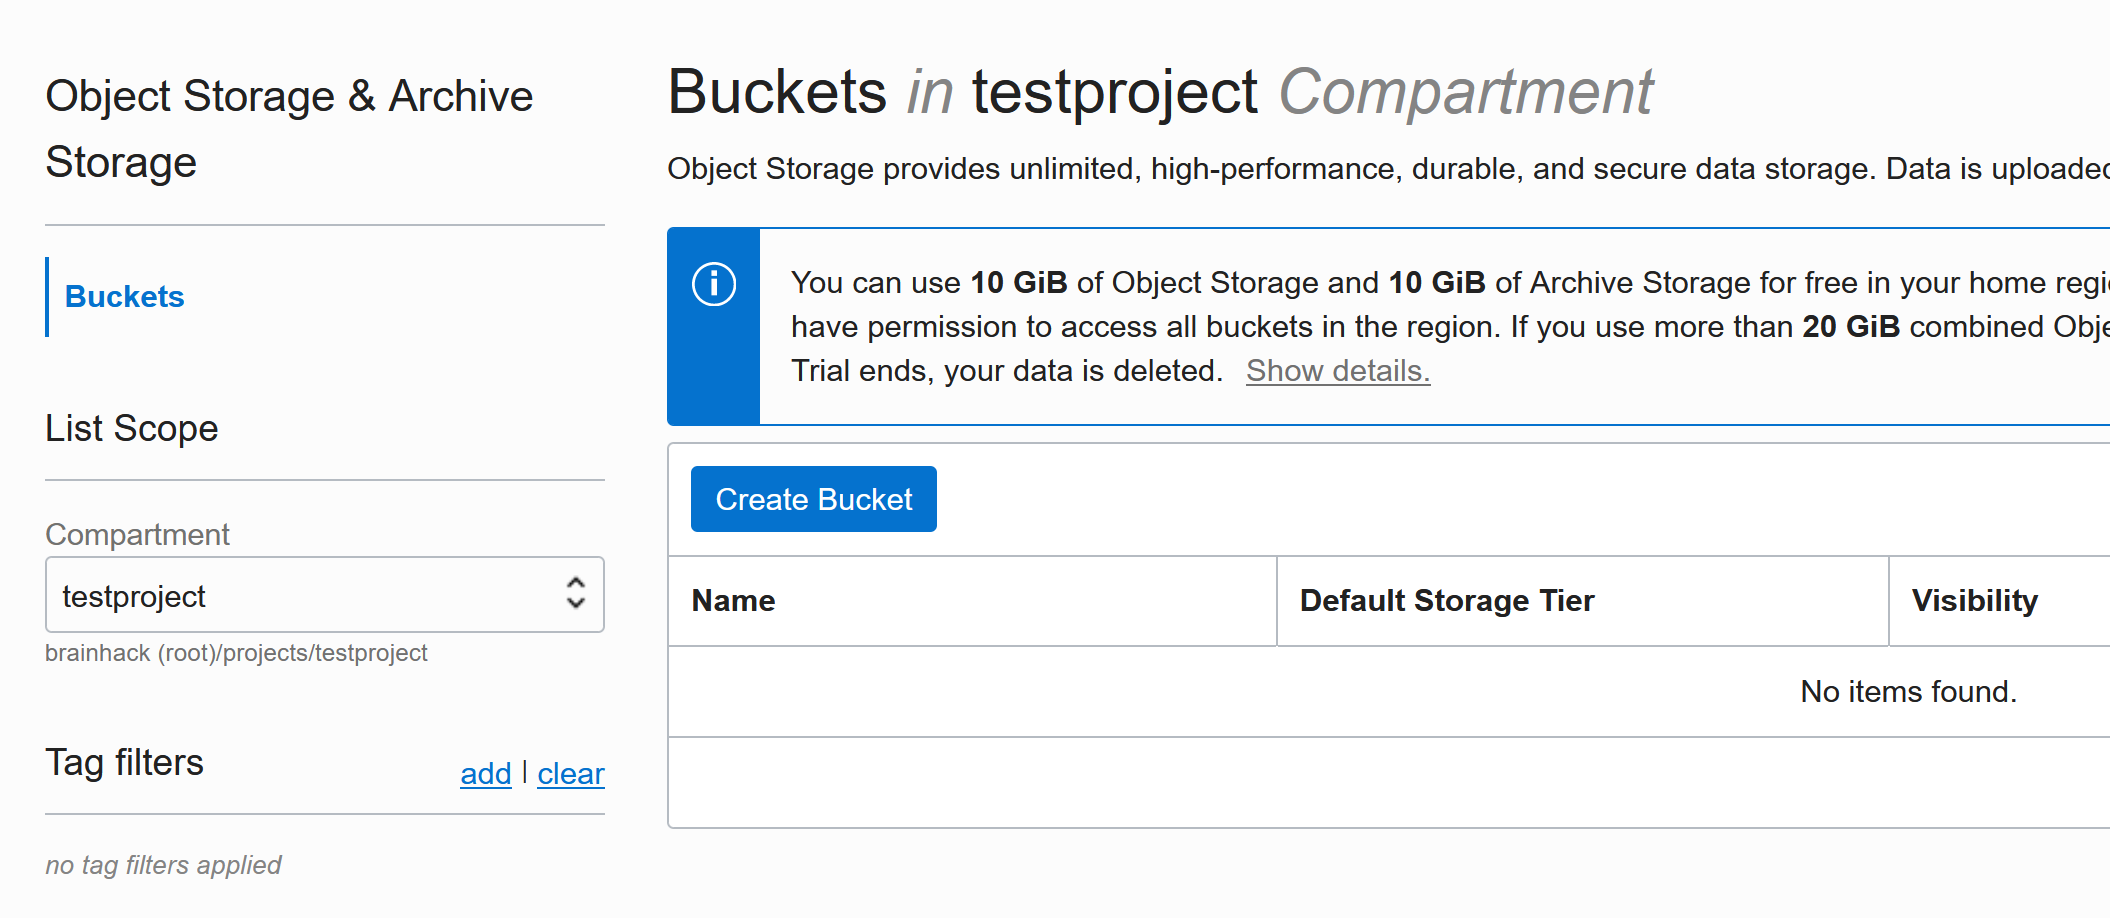
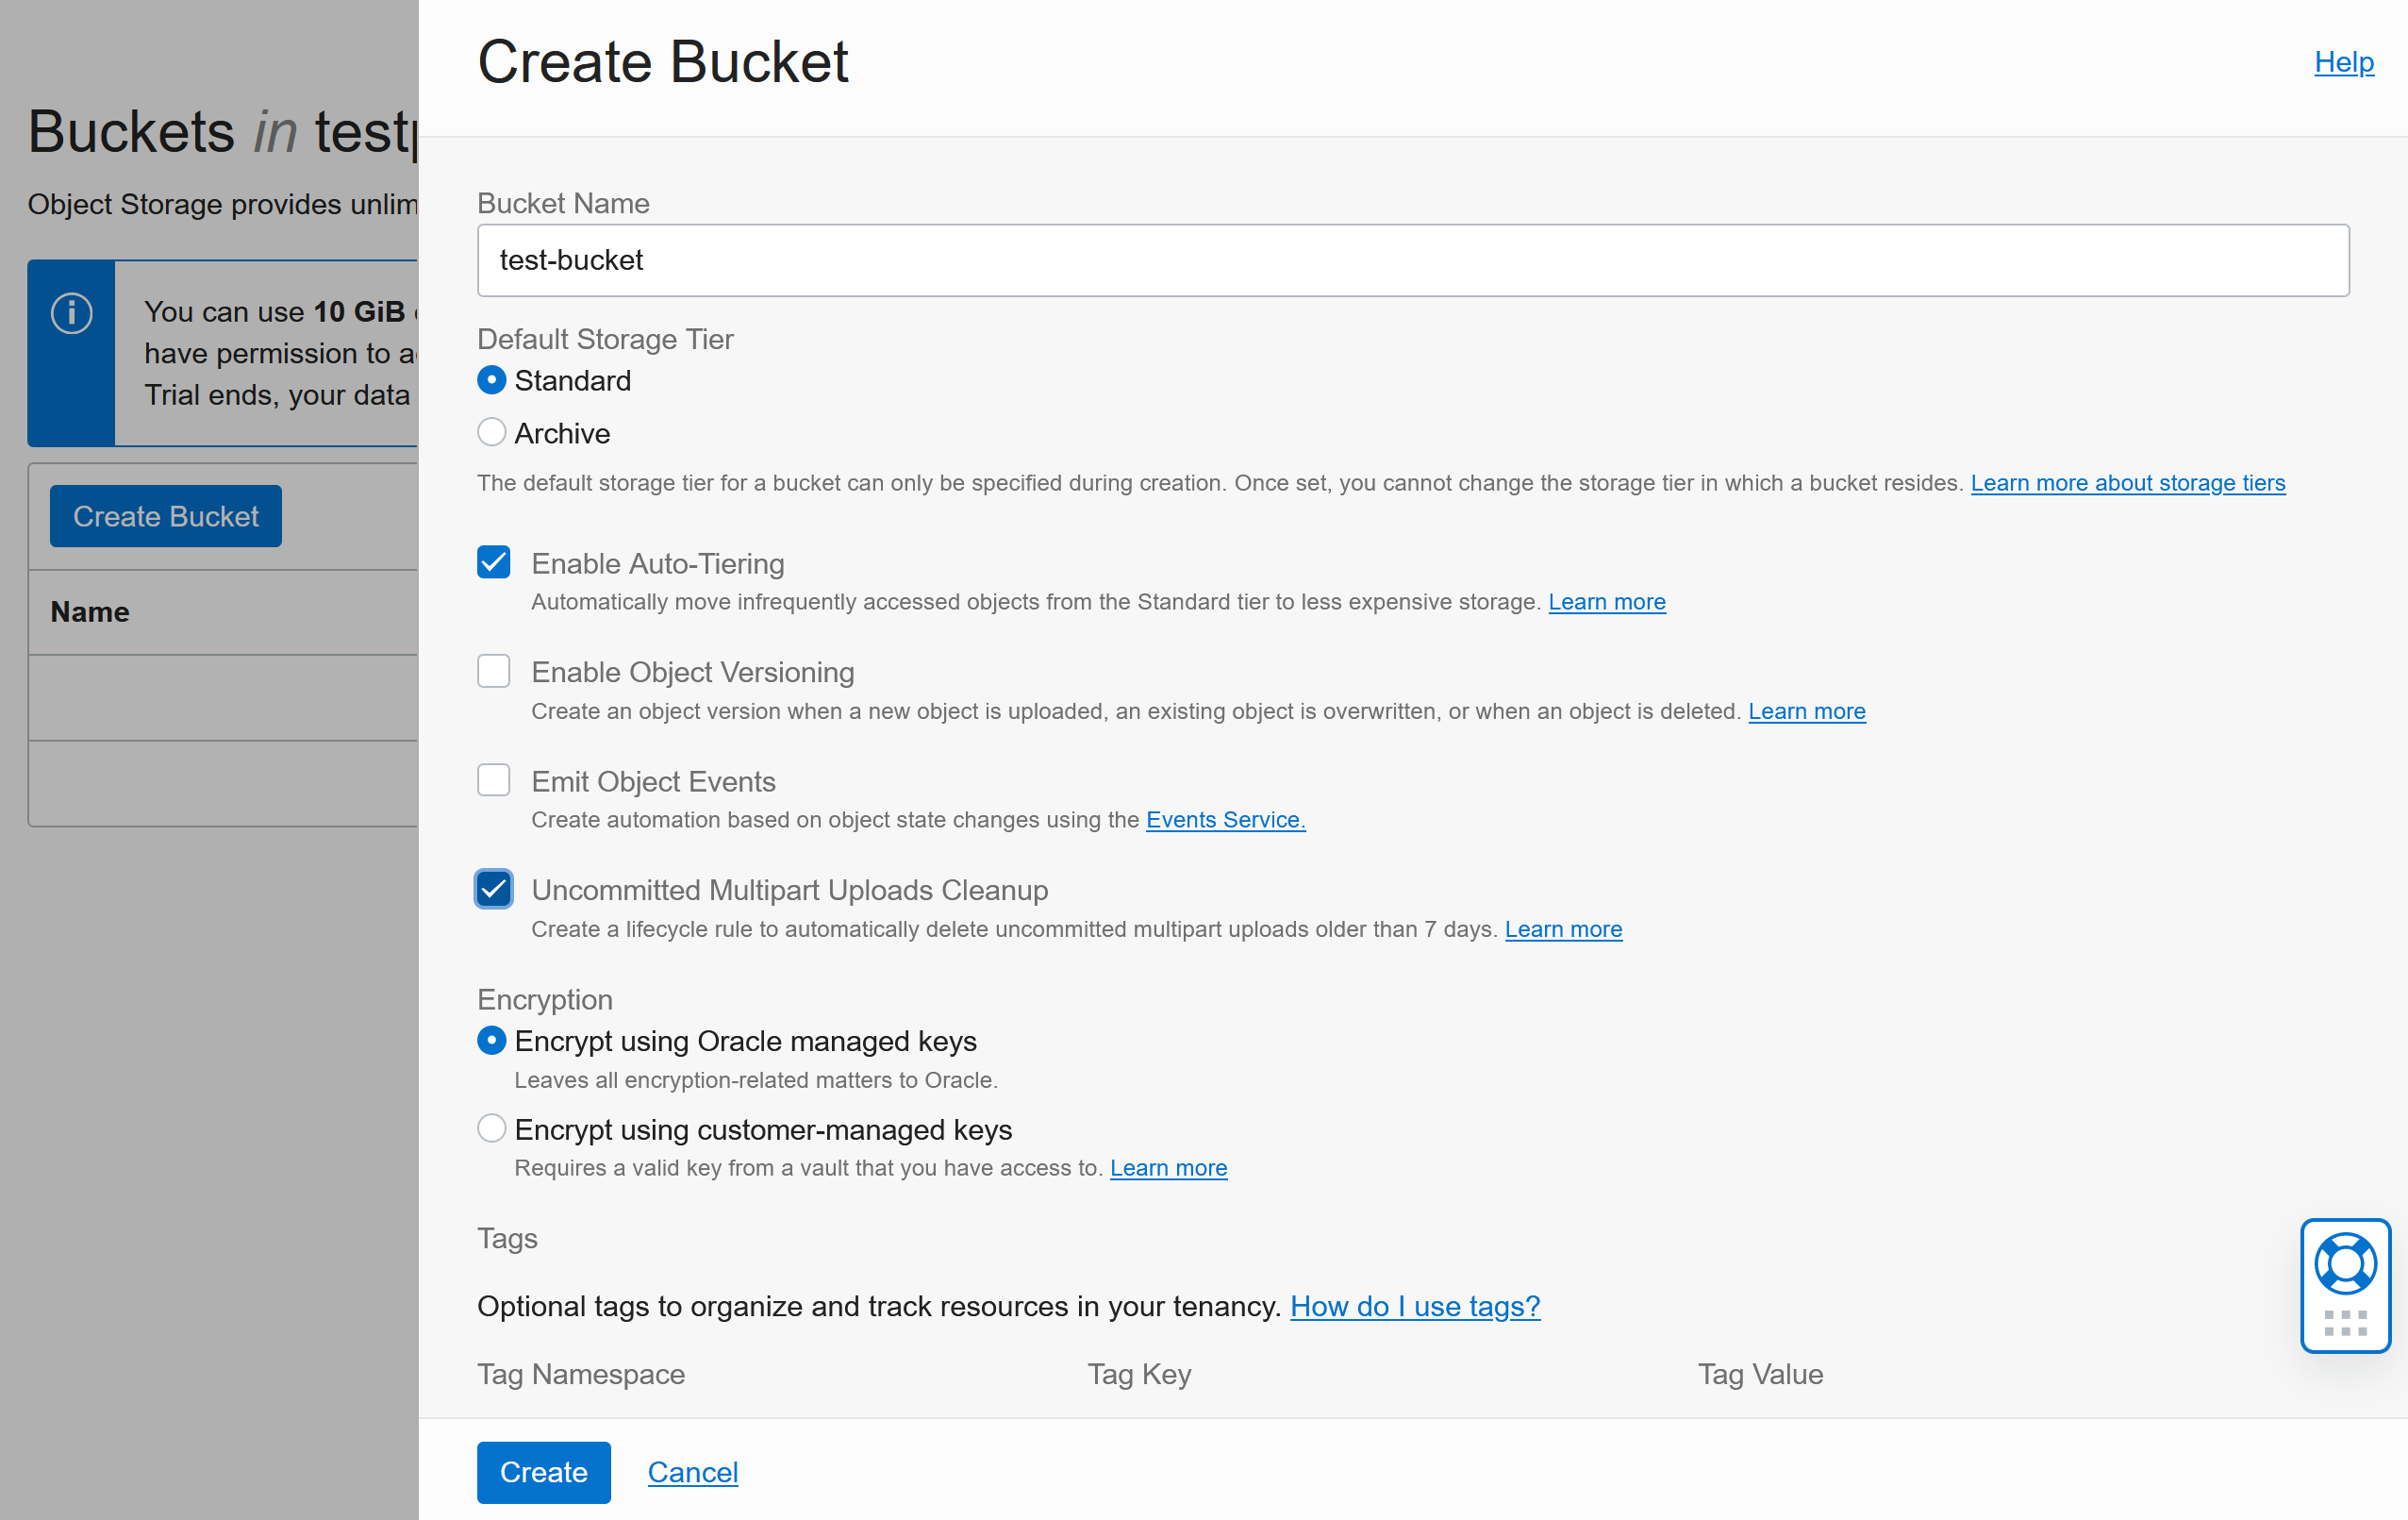
Create a new Bucket:
- give it a name
- In addition to the defaults we recommend
Enable Auto-Tiering (this will make the storage cheaper by moving objects to lower tier storage if they are not used frequently) and Uncommitted Multipart Uploads Cleanup (this will clean up in case uploads failed halfway)
Uploading files to a bucket
You could upload files via the GUI in the Oracle cloud by clicking the Upload button:

You could also use tools like rclone or curl or the OCI CLI to upload files (more about these tools later)
Making a Bucket public
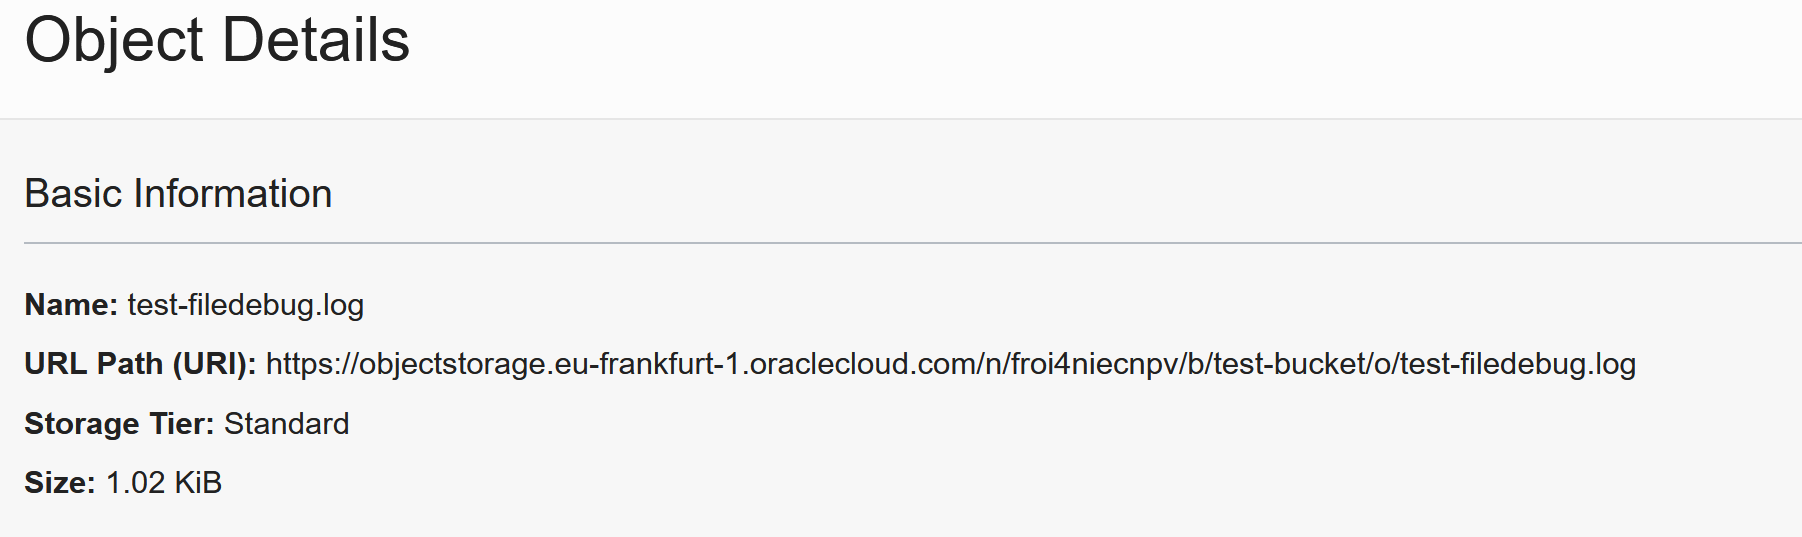
By default, the files in the bucket will not be visible to everyone. Let’s find the URL to the file we just uploaded: Click on the 3 dots next to the file and click on View Object details:
When opening this URL, you will get this error:

You can either make the WHOLE bucket visible to the world or use “Pre-Authenticated Requests”. Let’s start with the easy (and less control/secure) way first:
Click on Edit Visibility and switch to public:
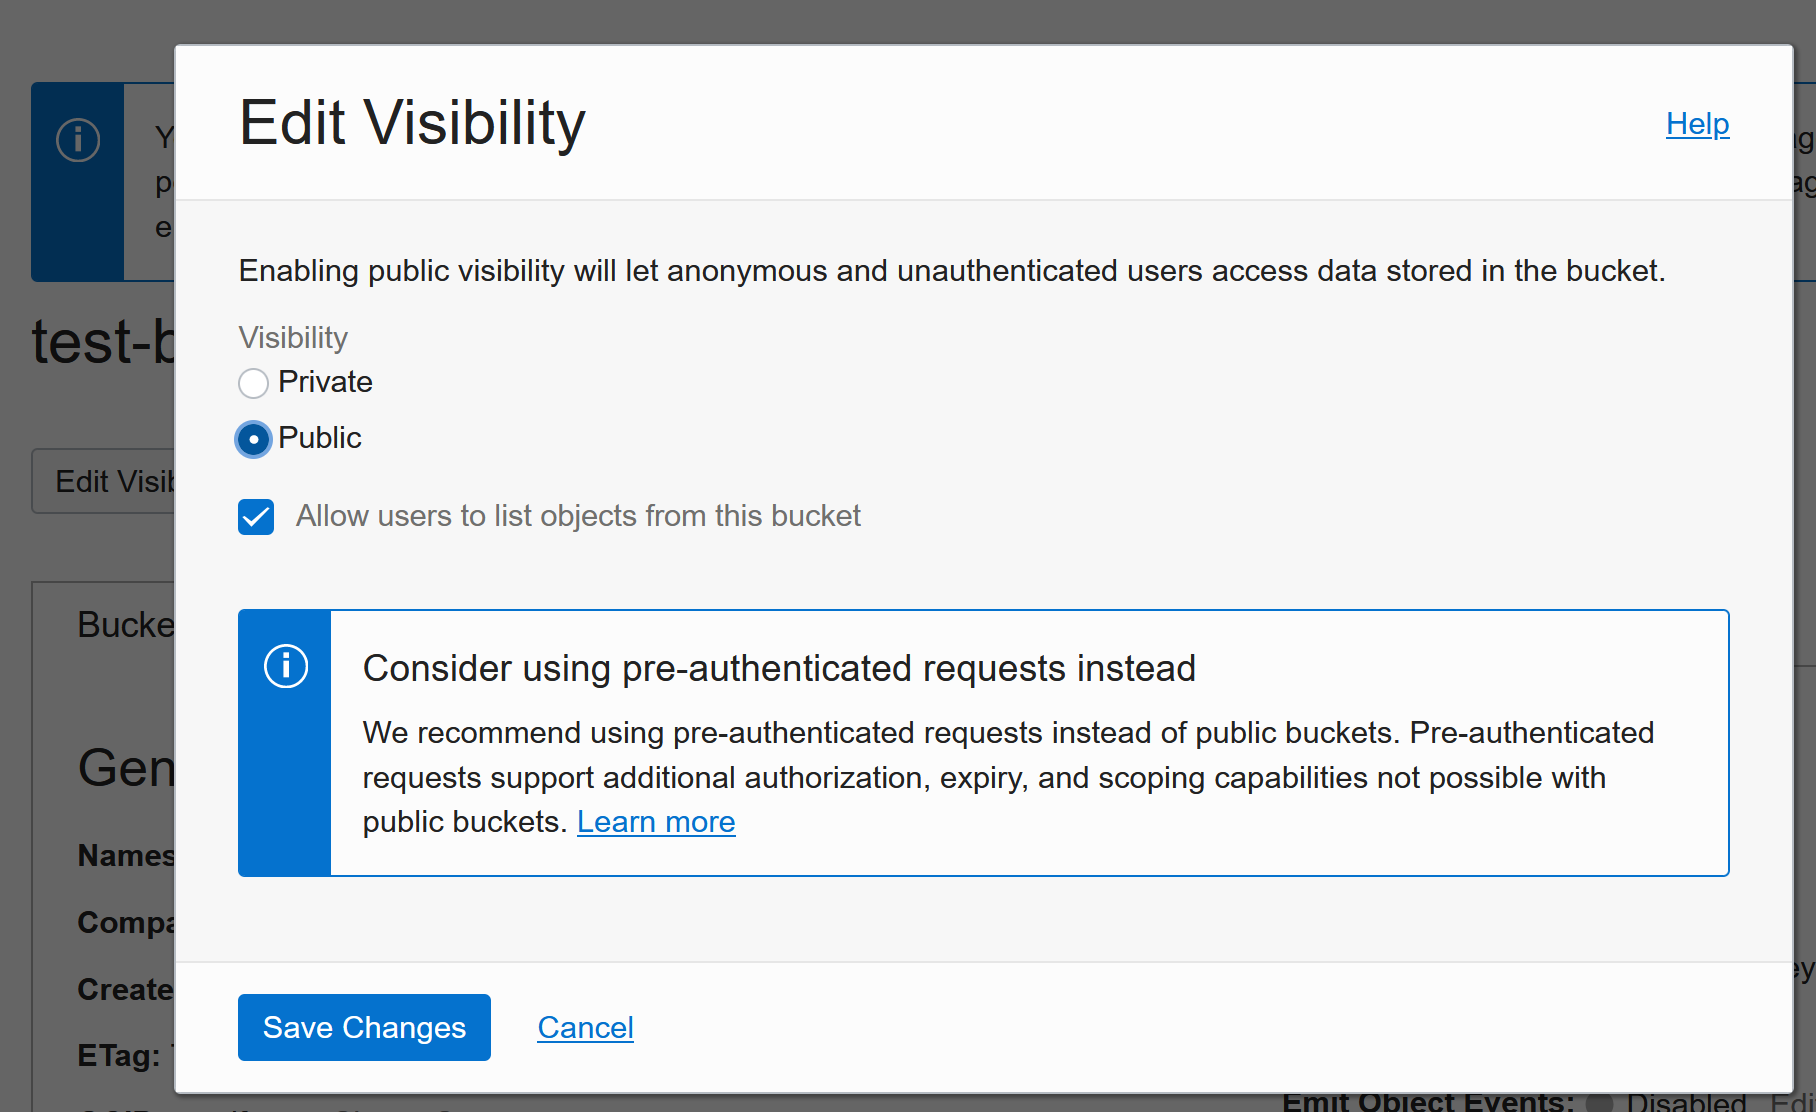
Now the file and EVERYTHING else in the bucket are visible to EVERYONE on the internet.
Pre-Authenticated Requests
Click on the three dots next to the file again and Click Create Pre-Authenticated Request:
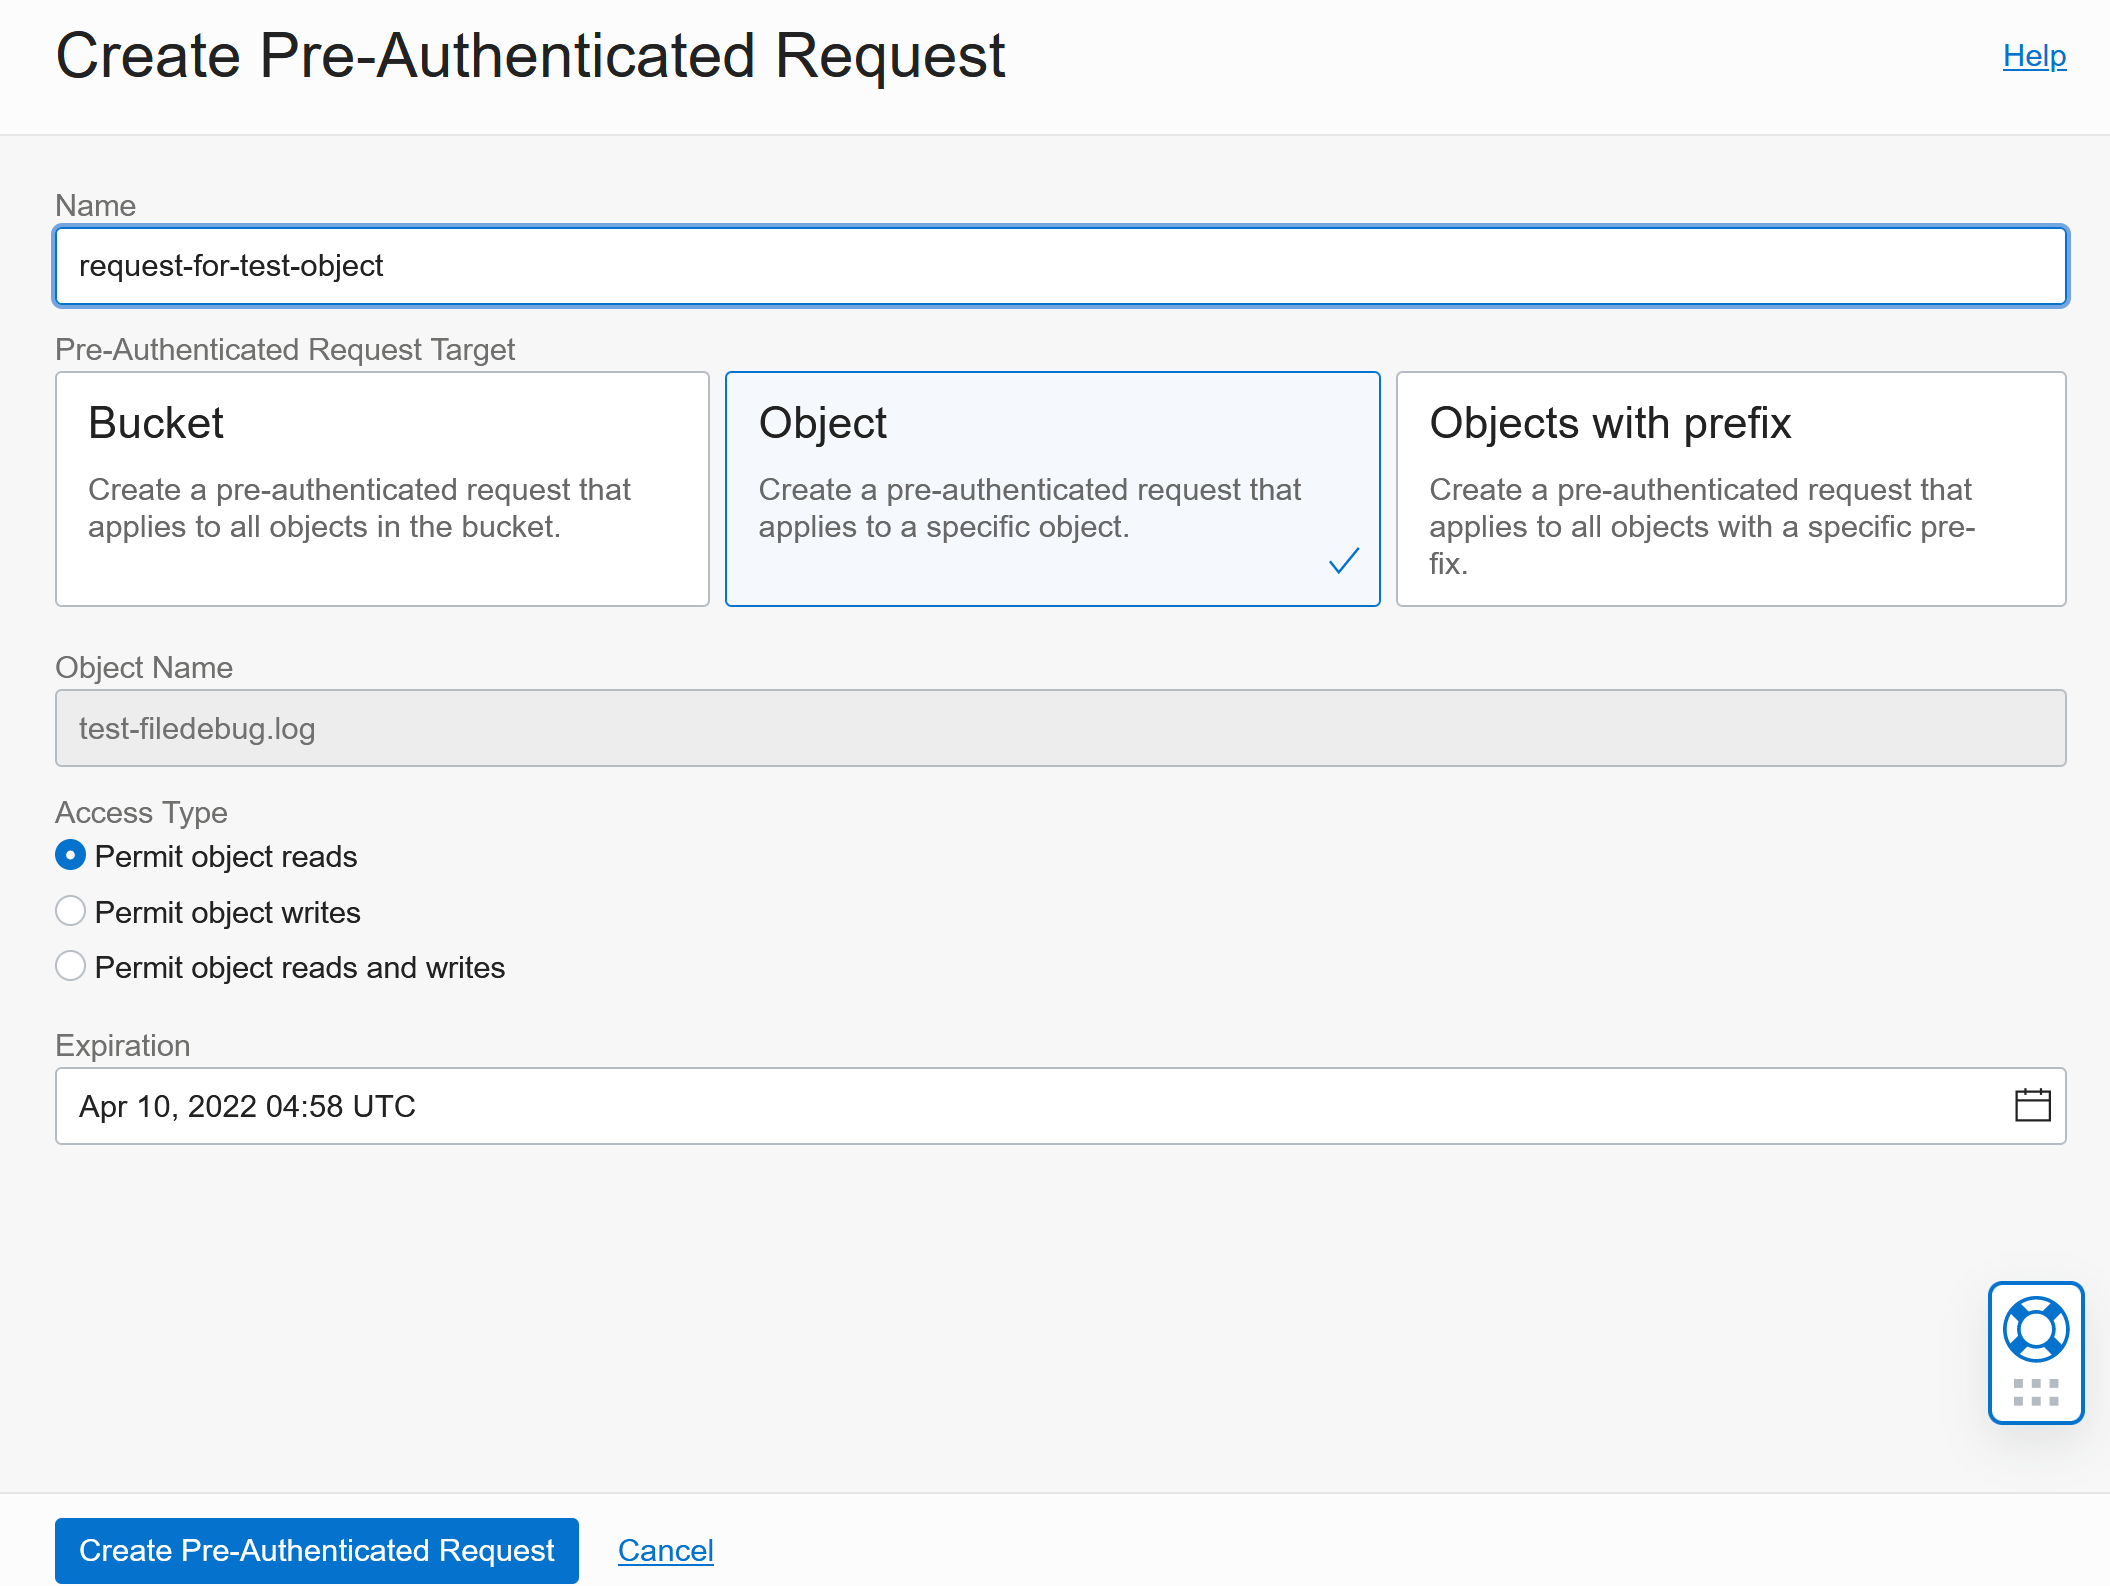
This gives you more options to control access and you can also expire the access :)
And you then get a specific URL to access the file (or the bucket or the files you configured):
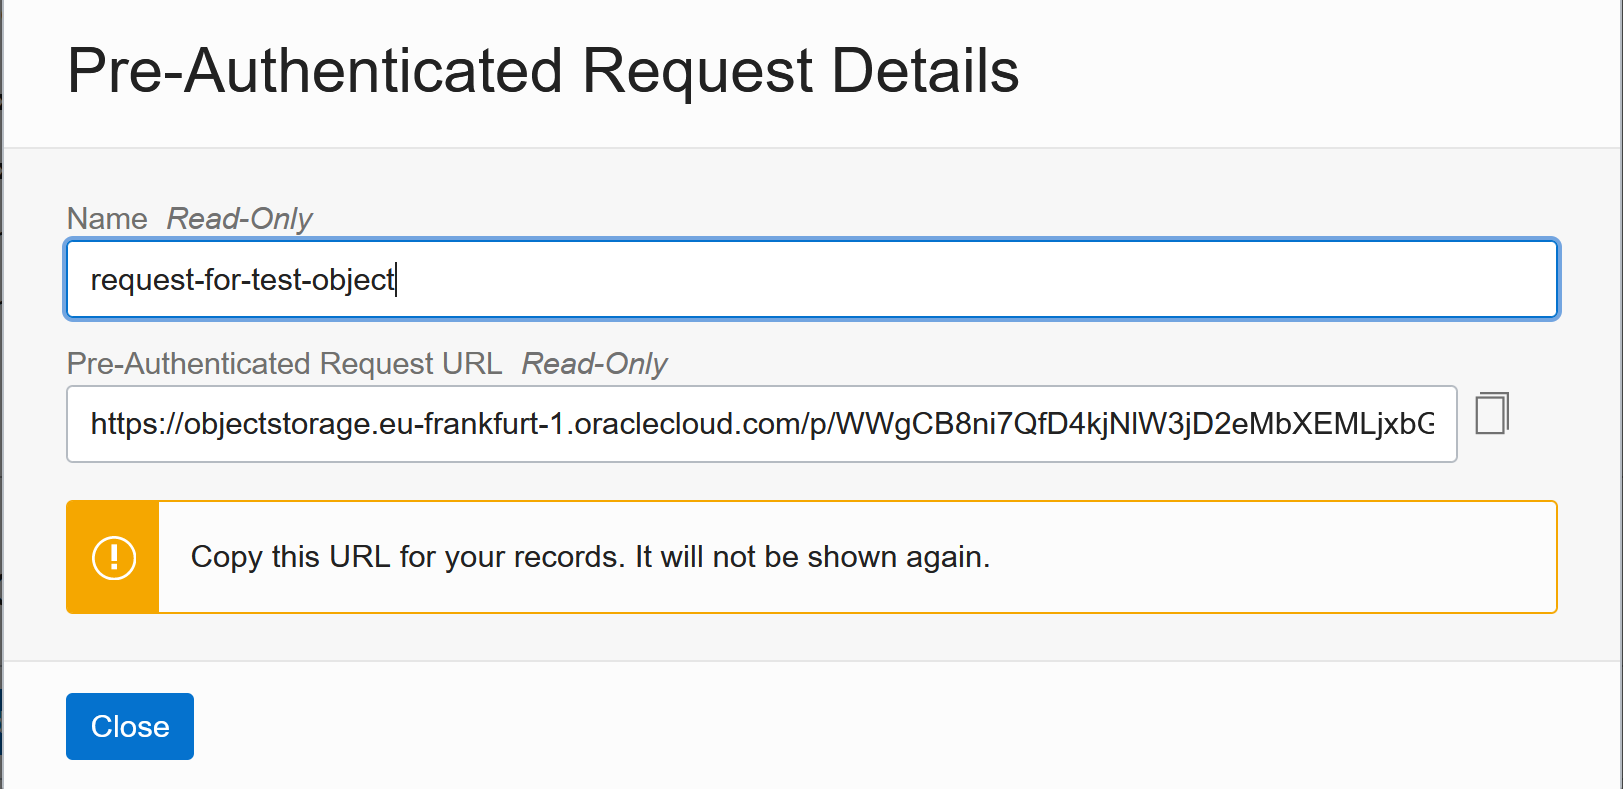
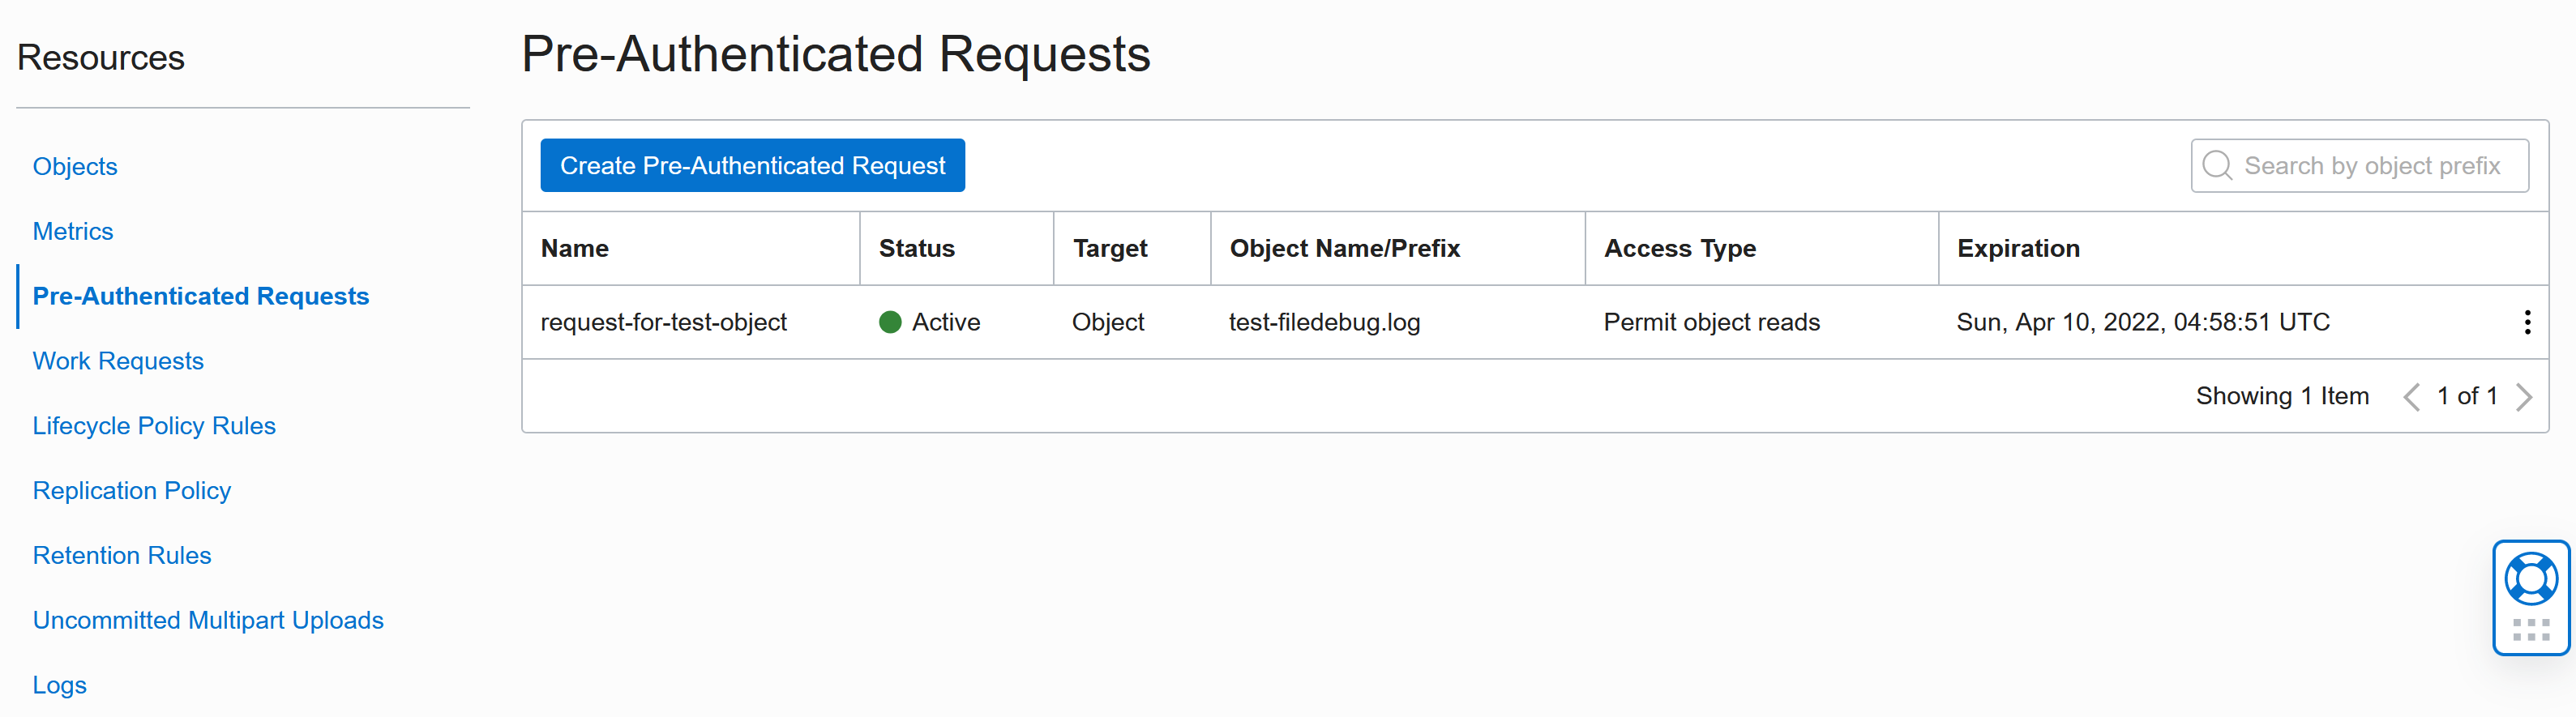
The URL will stop working when it expires or when you delete the Request. You find all requests under Pre-Authenticated Requests in the Resources menu:
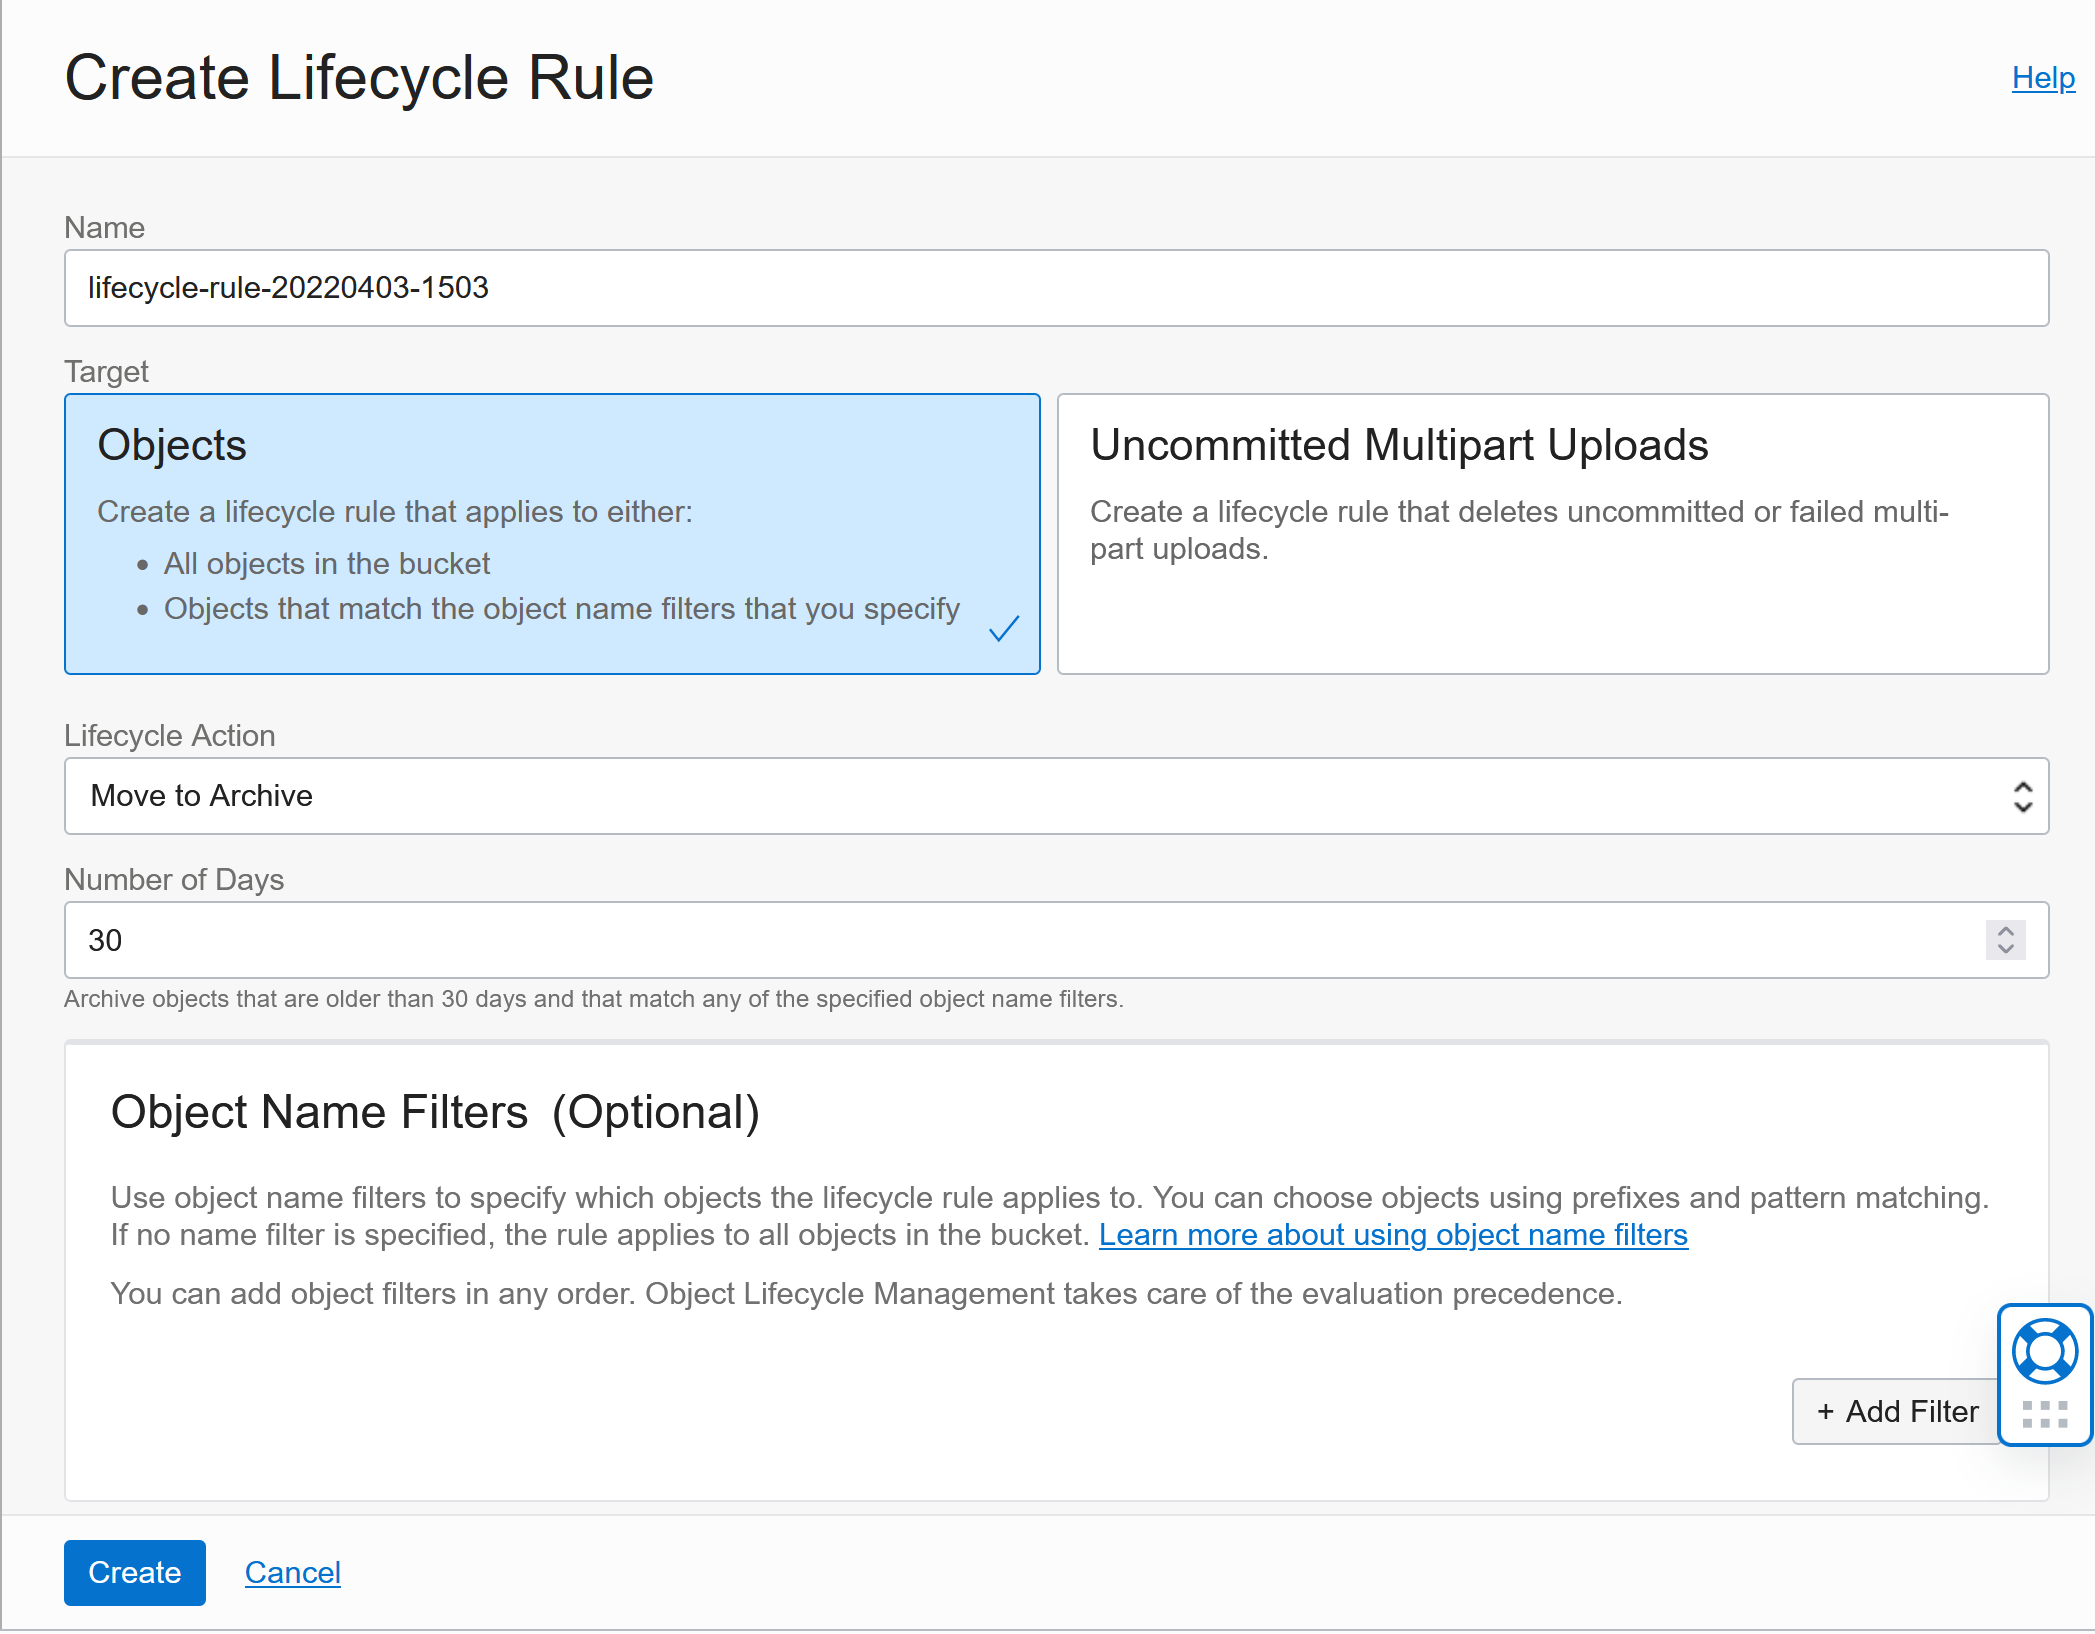
Tiering
Lifecycle Rules allow you to control what happens with files after a certain amount of time. You can delete them or move them to Archival storage for example:
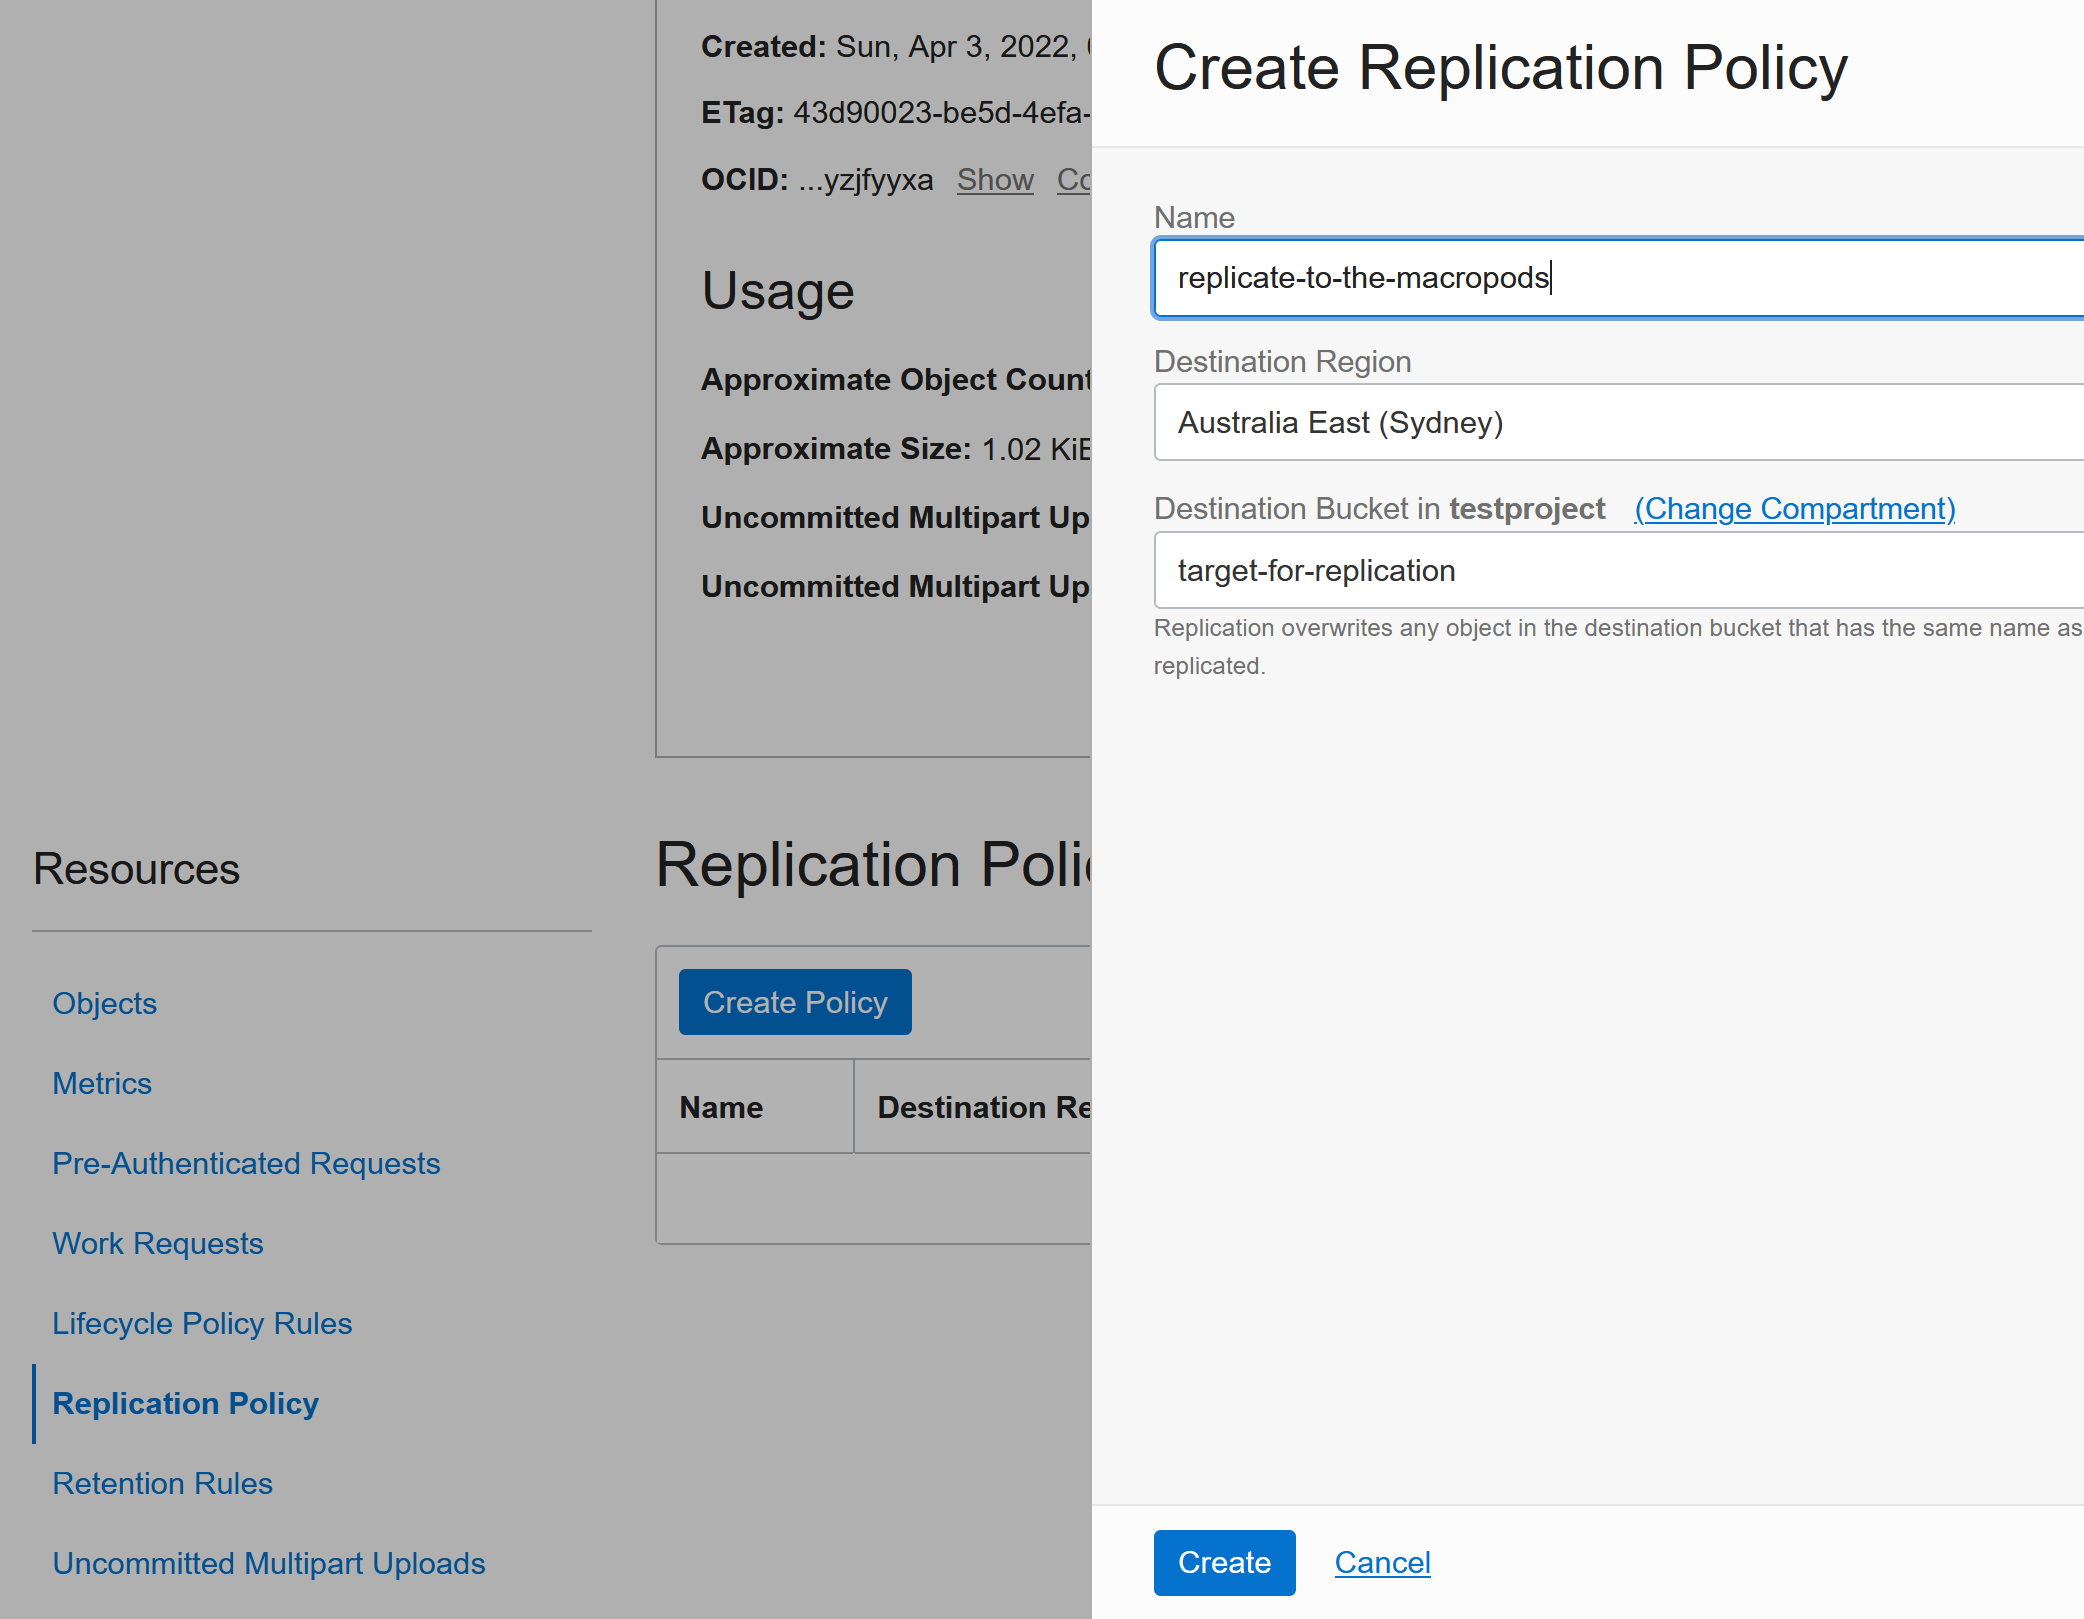
Mirroring
Mirroring allows you to keep the bucket up-to-date with another bucket in another region (e.g. main bucket is in Europe and the replica is in Australia). This is controlled under the Replication Policy.
You first need to create the target bucket in the other region and then you can configure it as a target:
Mounting a Bucket inside a VM:
First we need to install a few things on the VM (assuming Oracle Linux here):
sudo rpm -Uvh https://dl.fedoraproject.org/pub/epel/epel-release-latest-7.noarch.rpm
sudo yum update -y
sudo yum install -y epel-release
sudo yum install -y redhat-lsb-core
sudo yum install -y s3fs-fuse
Create a new bucket as described in the beginning of this page above.
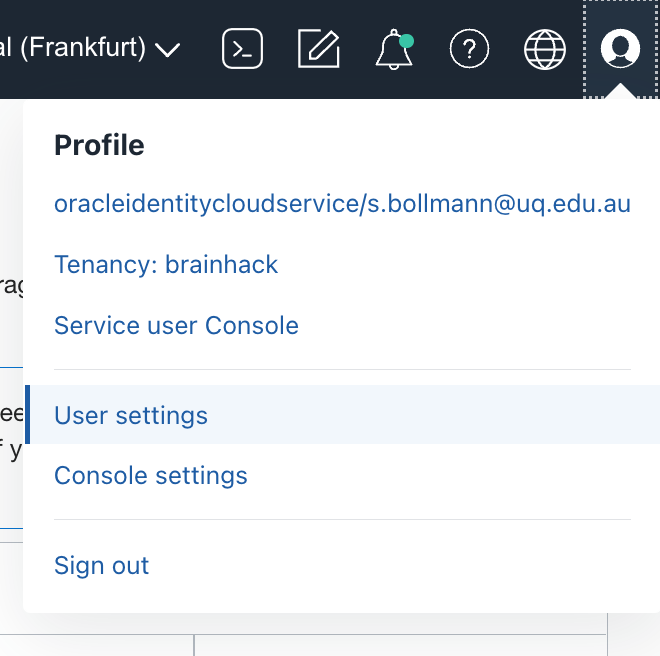
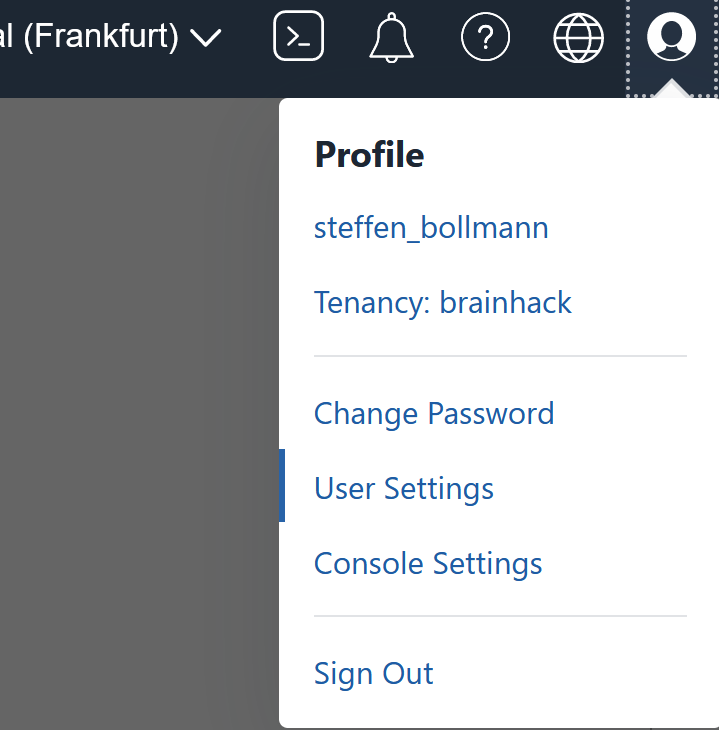
Next we need to create a Customer Secret Key. For this click on the user icon in the top right corner and select User settings.
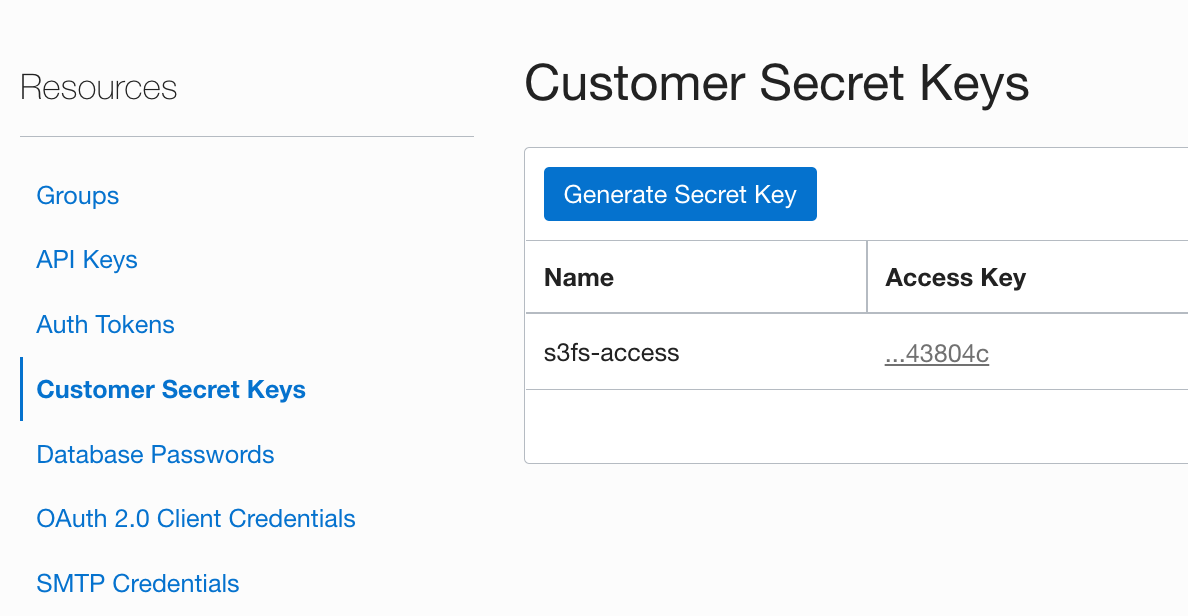
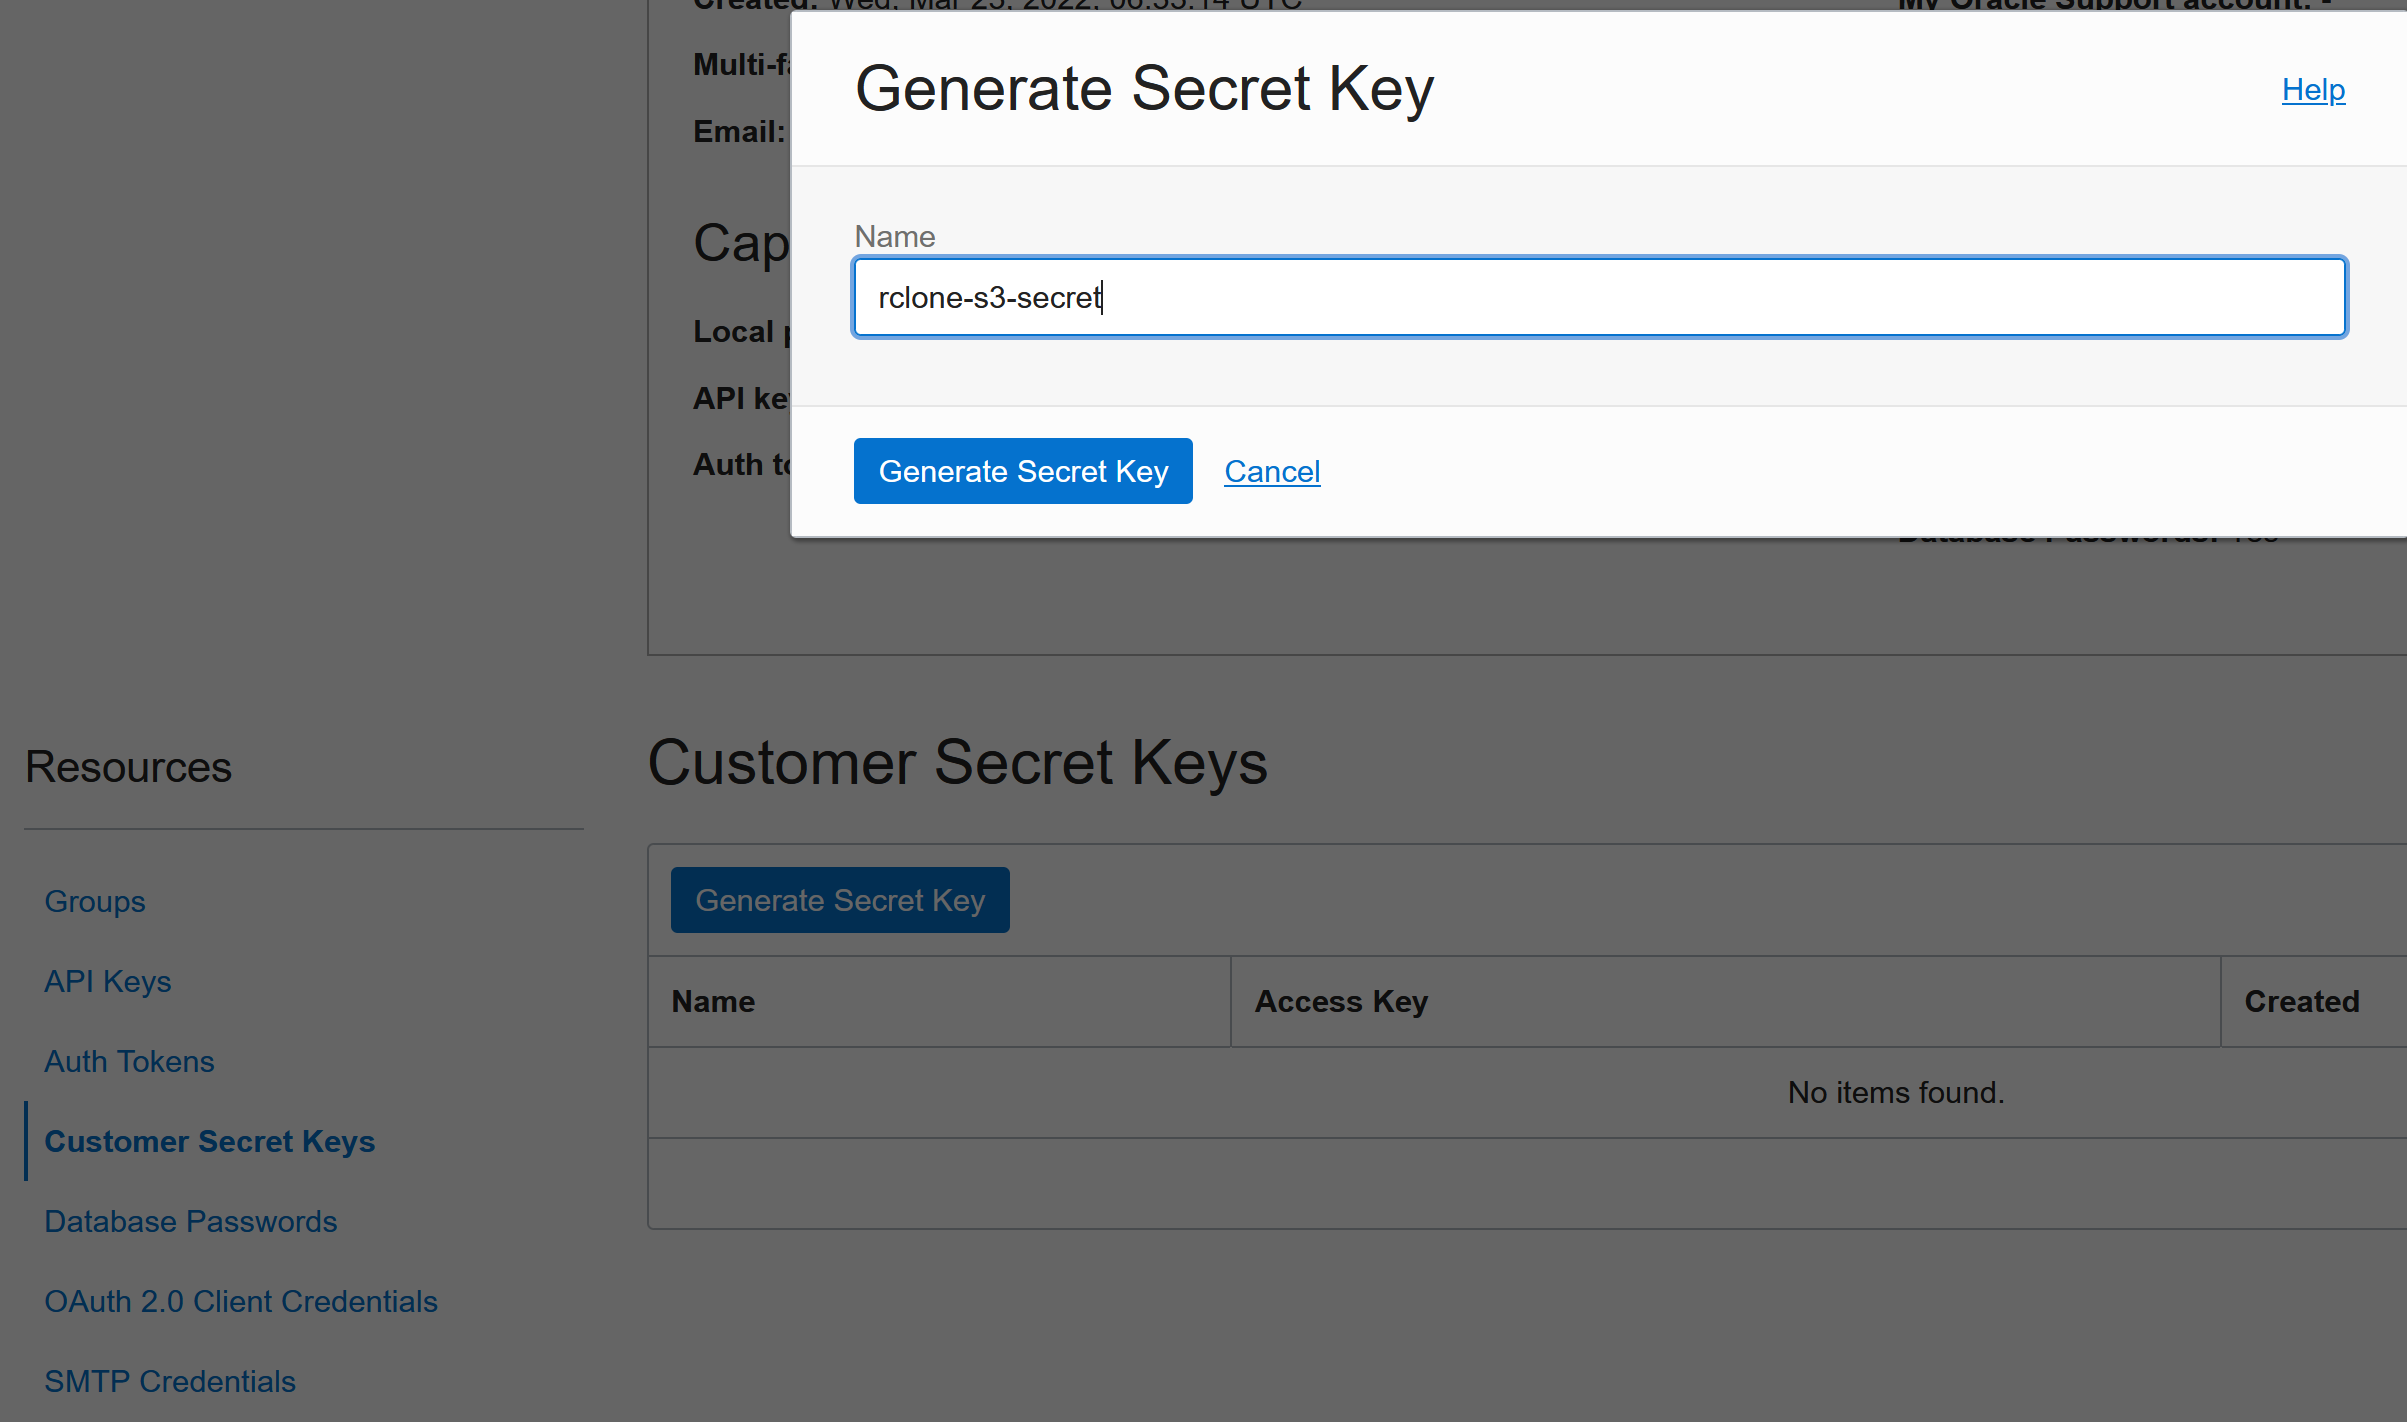
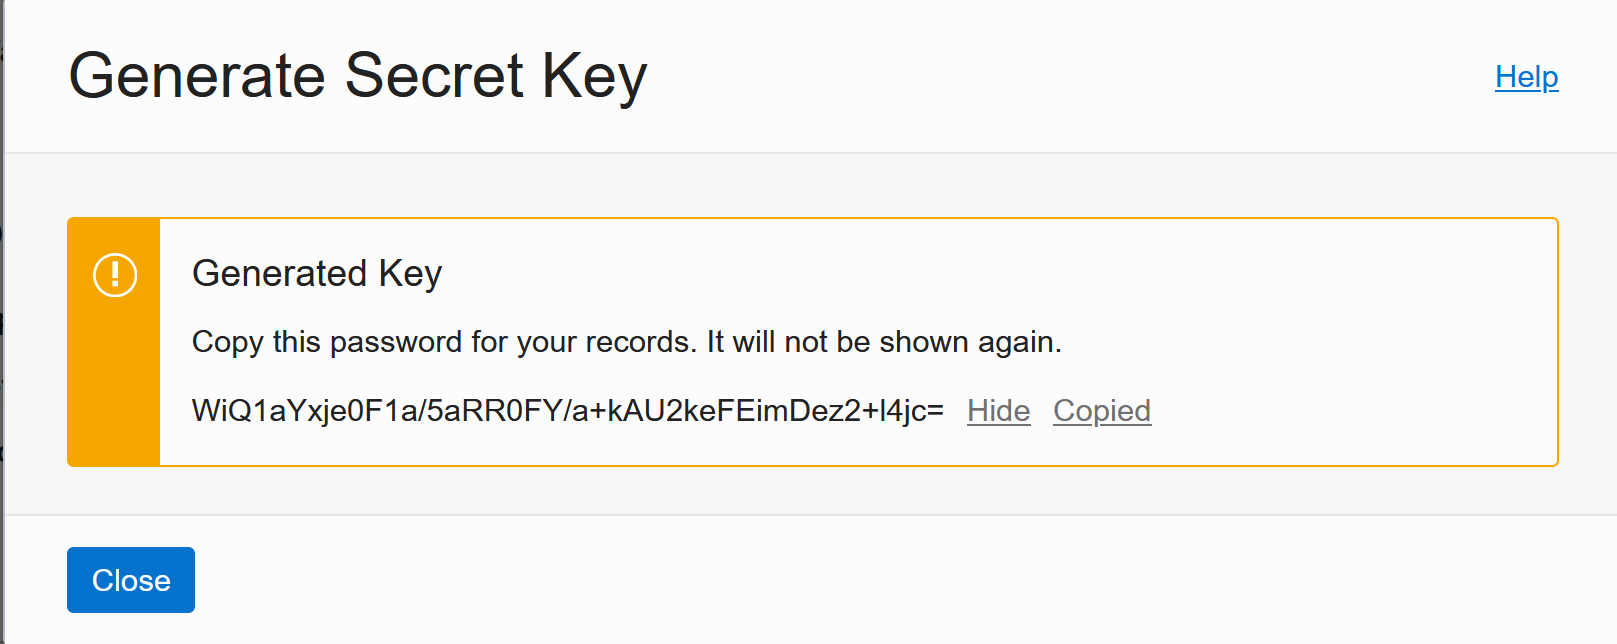
Then in the Resources menu on the left select “Customer Secret Keys” and click Generate Secret Key. Give it a name and then copy the secret (it will never be shown again!). Then copy the Access Key shown in the table as well in a separate notepad.
Now you need to store these two things inside ~/.passwd-s3fs:
echo FILL_IN_YOUR_ACCESS_KEY_HERE:FILL_IN_YOUR_SECRET_HERE > ${HOME}/.passwd-s3fs
and then you can mount the bucket your created earlier:
chmod 600 ${HOME}/.passwd-s3fs

sudo chmod +x /usr/bin/fusermount

sudo mkdir /data
sudo chmod a+rwx /data
s3fs FILL_IN_YOUR_BUCKET_NAME /data/ -o endpoint=eu-frankfurt-1 -o passwd_file=${HOME}/.passwd-s3fs -o url=https://froi4niecnpv.compat.objectstorage.eu-frankfurt-1.oraclecloud.com/ -onomultipart -o use_path_request_style
The bucket is now accessible under /data and you can almost treat it like a volume mount (but it’s not 100% posix complient).
Uploading files using CURL
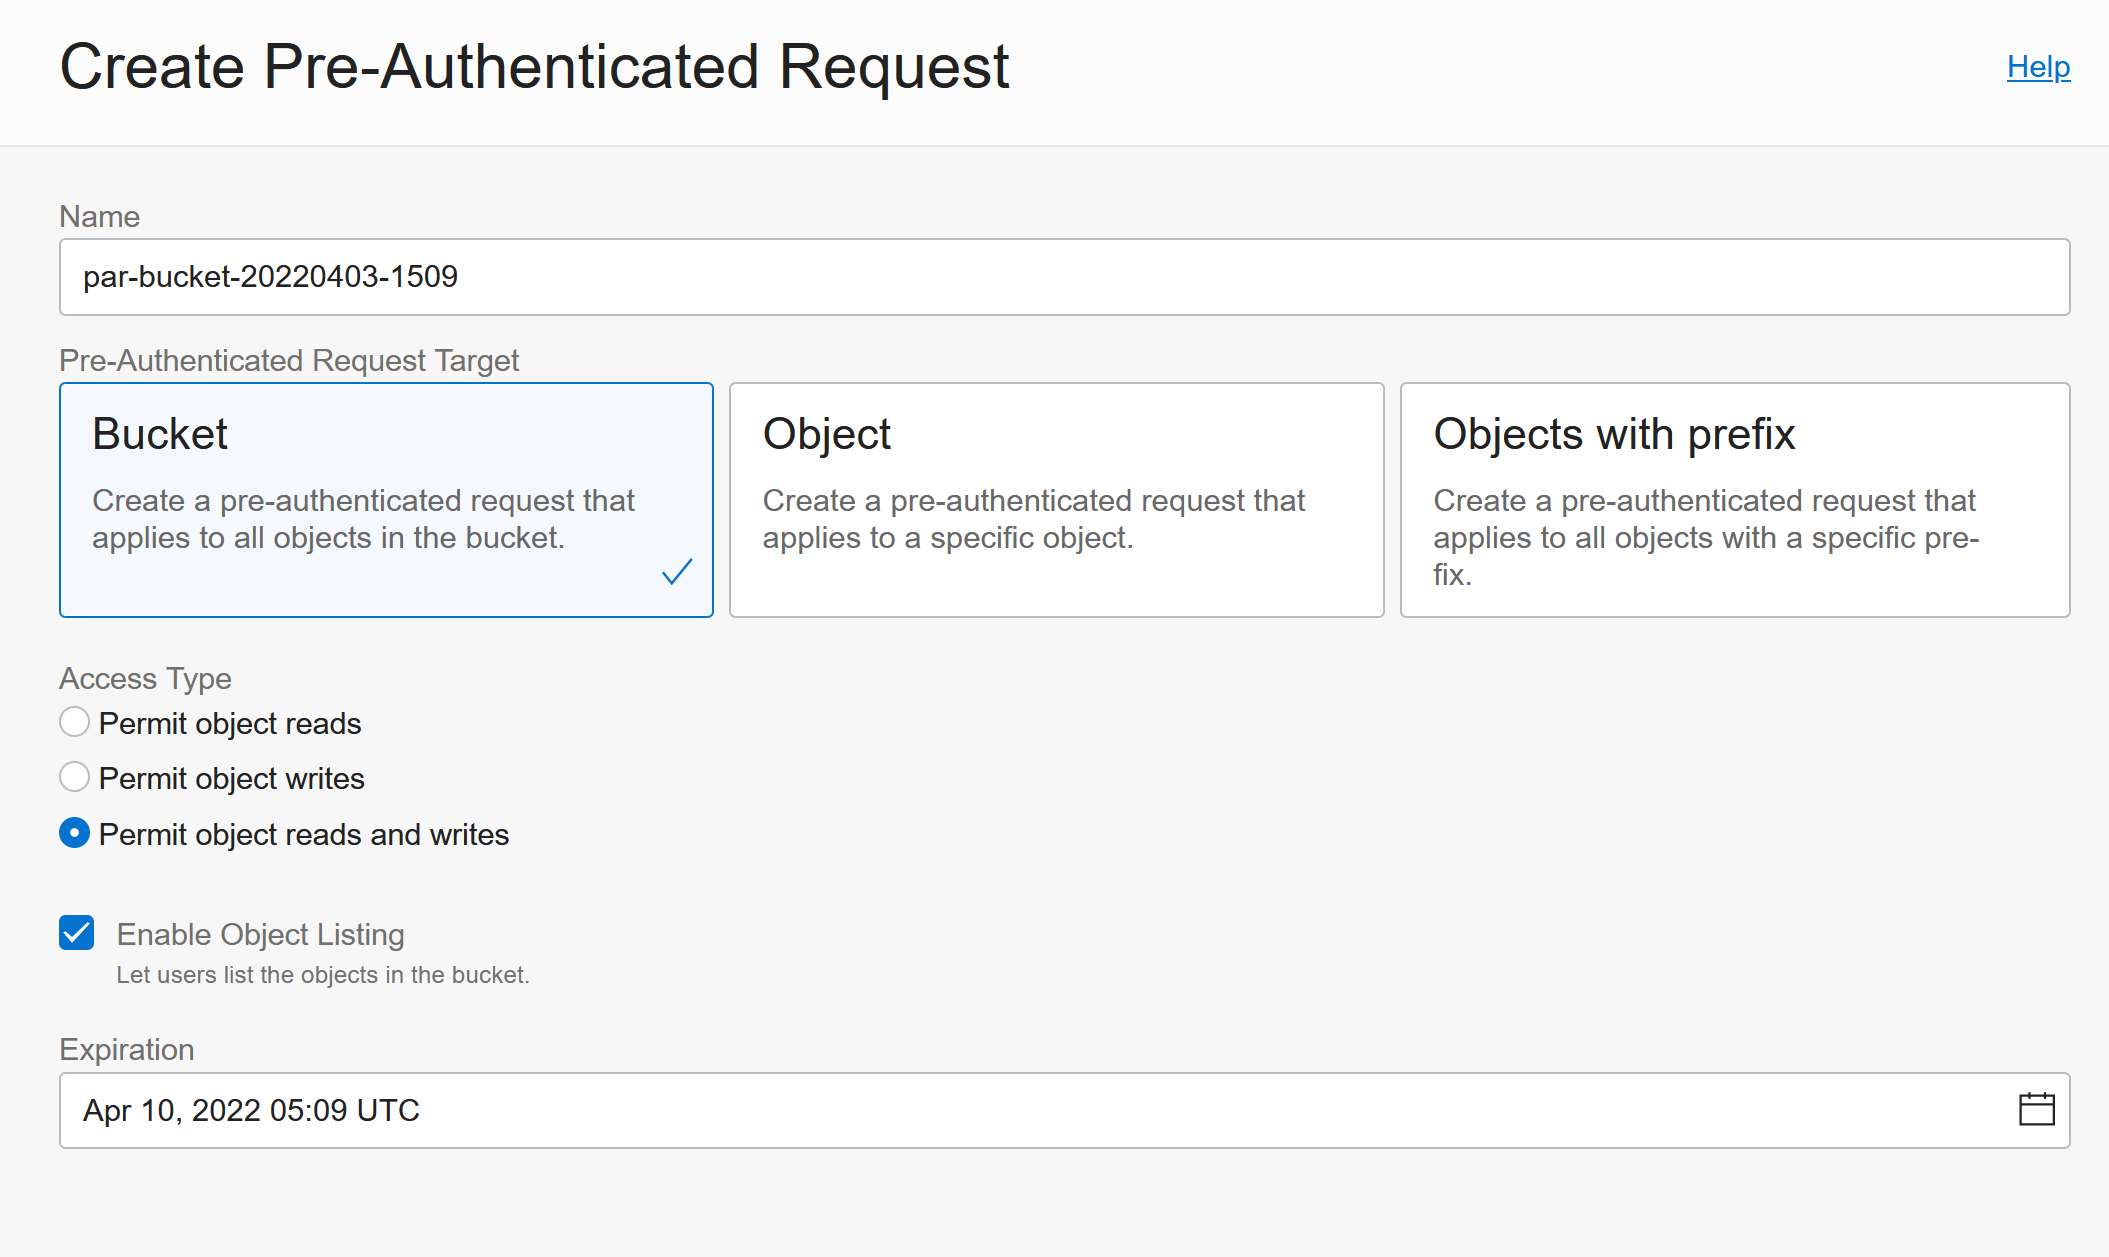
To enable this you need to create a Pre-Authenticated Request which allows access to the Bucket and it allows objects read and write and Object Listing:
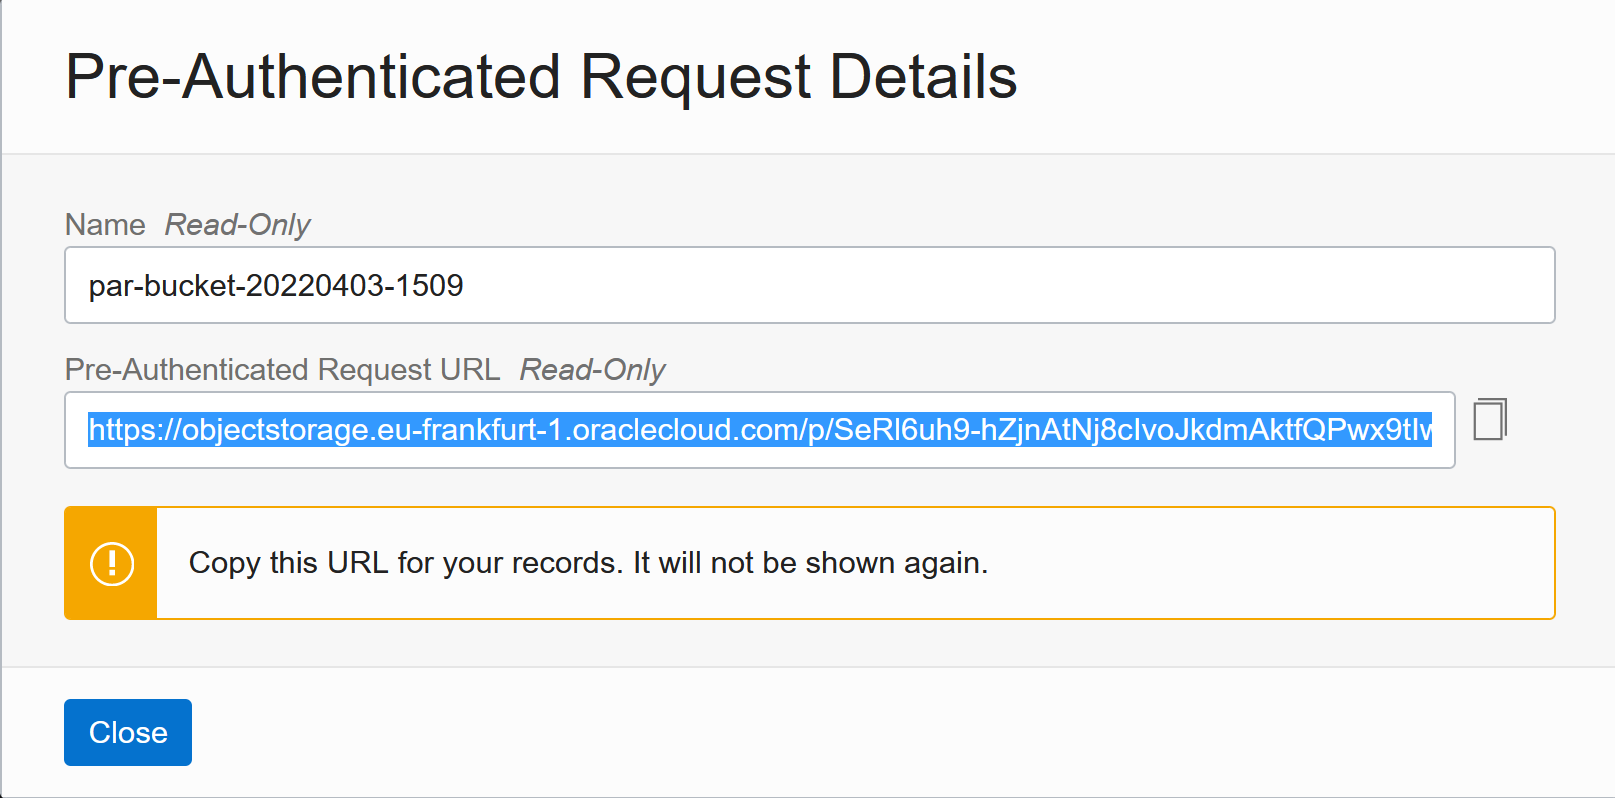
Then copy the URL, as it will never be shown again:
Now you can use curl to upload files:
curl -v -X PUT --upload-file YOUR_FILE_HERE YOUR_PRE_AUTHENTICATED_REQUEST_URL_HERE
Uploading files using RCLONE
Rclone is a great tool for managing the remote file storages. To link it up with Oracles object storage you need to configure a few things (the full version is here: https://blogs.oracle.com/linux/post/using-rclone-to-copy-data-in-and-out-of-oracle-cloud-object-storage#:~:text=%20Using%20rclone%20to%20copy%20data%20in%20and,which%20Rclone%20will%20be%20used%20to...%20More%20):
- The Amazon S3 Compatibility API relies on a signing key called a Customer Secret Key. You need to create this in your User’s settings:
Then Click on Generate Secret Key under Customer Secret Keys:
Save the Secret Key for later:
Then save the Access Key from the table as well.
- Find out where your rclone config file is located:
- Add this to your rclone config file:
[myobjectstorage]
type = s3
provider = Other
env_auth = false
access_key_id = <ACCESS KEY>
secret_access_key = <SECRET KEY>
endpoint = froi4niecnpv.compat.objectstorage.<REGION>.oraclecloud.com
Replace ACCESS KEY and SECRET KEY with the ones generated earlier. Replace REGION with the region where the storage bucket is located (e.g. eu-frankfurt-1).
Now you can use rclone to for example list files in the bucket:
rclone ls myobjectstorage:/test-bucket
or you can upload files or whole directories (or download by reversing the order of Target/Source):
rclone copy YOURFILE_or_YOURDIRECTORY myobjectstorage:/test-bucket
or you can sync whole directories or other remote storage locations (includes deletes!):
rclone sync YOURDIRECTORY_OR_YOUR_OTHER_RCLONE_STORAGE myobjectstorage:/test-bucket
3 - Tenancy Explorer
Tenancy Explorer
Overview
The Tenancy Explorer is very useful to see what resources are currently being
used in your project.
It’s in Governance -> Tenancy Explorer
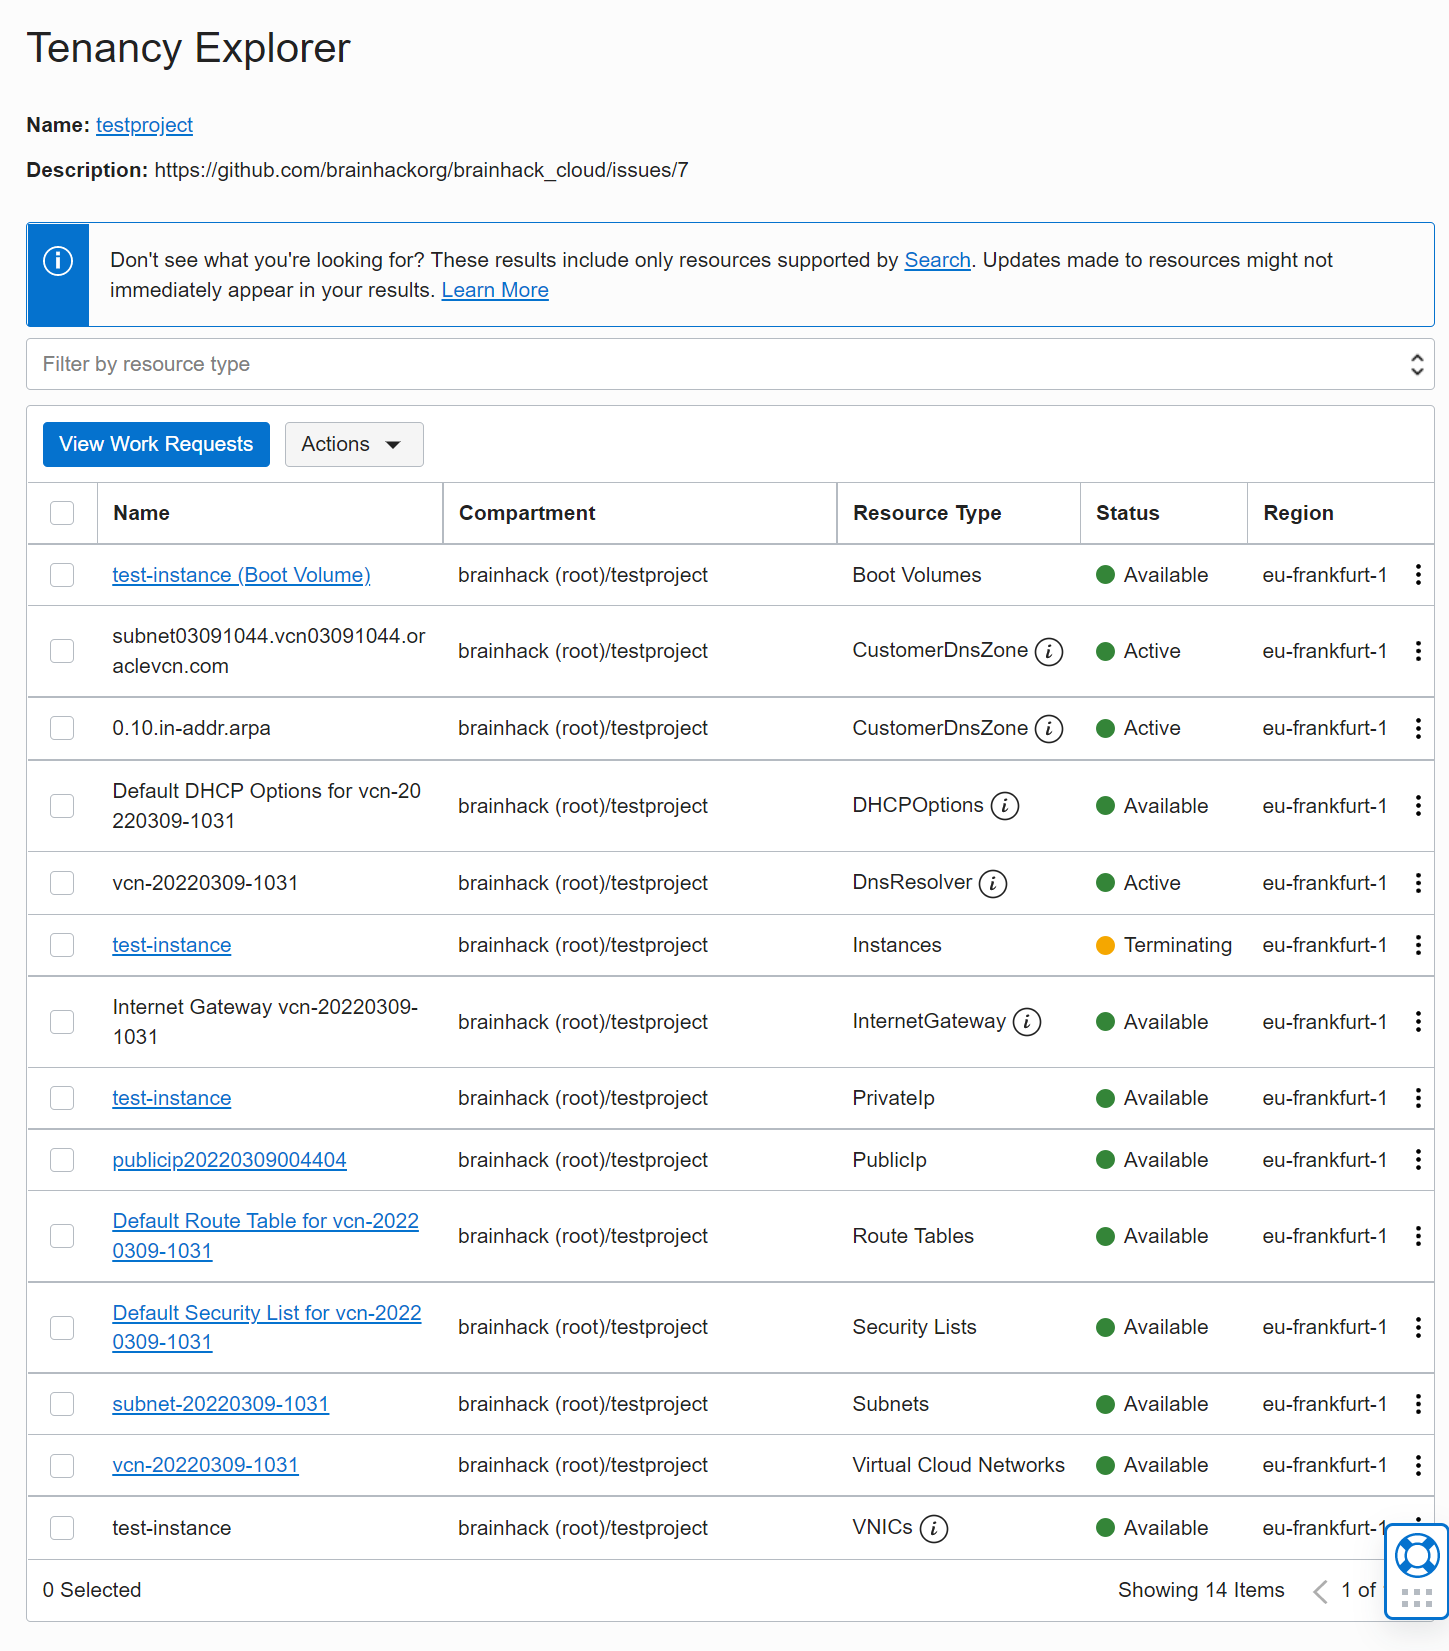
You can use this to clean up resources that are no longer required.
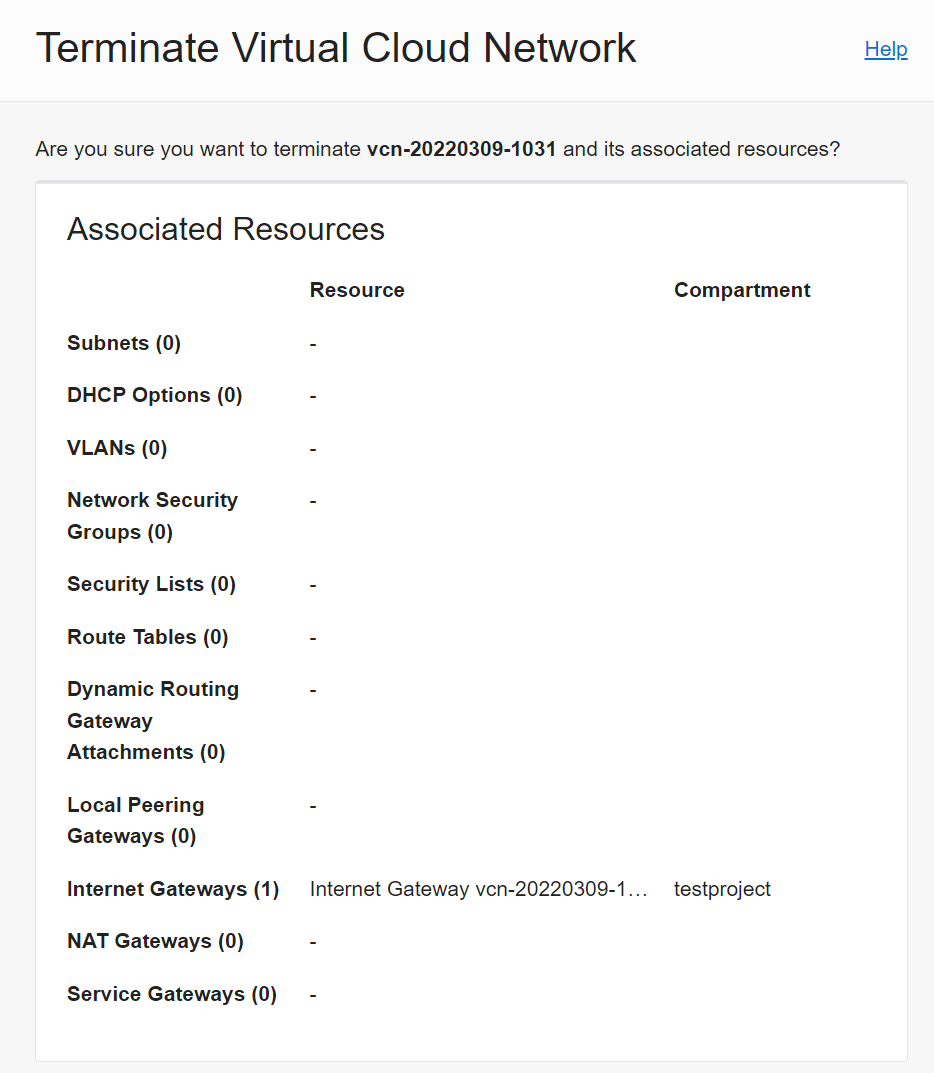
Hint: The network setup creates a lot of things and to cleanup it’s easiest to
go to Virtual Cloud Networks, select the VCN you don’t need anymore and click
Terminate - this will go out and remove everything correctly:
4 - Installing and Using Docker
Installing and using Docker
Overview
Docker (or a software container in general) is great for reproducibility and making it easy to move your tools in and out of the cloud. If you don’t know what containers are, here is a 3 minute explanation: https://www.youtube.com/watch?v=HelrQnm3v4g
You can either install the original “Docker” or a drop-in replacement called “Podman”
Installing Docker
Docker is not installed by default on Oracle Linux and these steps will install and start Docker:
sudo dnf install dnf-utils zip unzip
sudo dnf config-manager --add-repo=https://download.docker.com/linux/centos/docker-ce.repo
sudo dnf install docker-ce --nobest
sudo systemctl enable docker.service
sudo systemctl start docker.service
OR: Installing Podman instead of Docker
Podman is compatible with docker and is the default in Oracle Linux (and some argue it’s even better). This is how to install podman:
Yes: This is actually installing podman in Oracle Linux!
Or the direct way:
If you installed podman using sudo yum install docker you can run docker commands directly, but it will tell you that this is actually podman:

Let’s remove that msg:
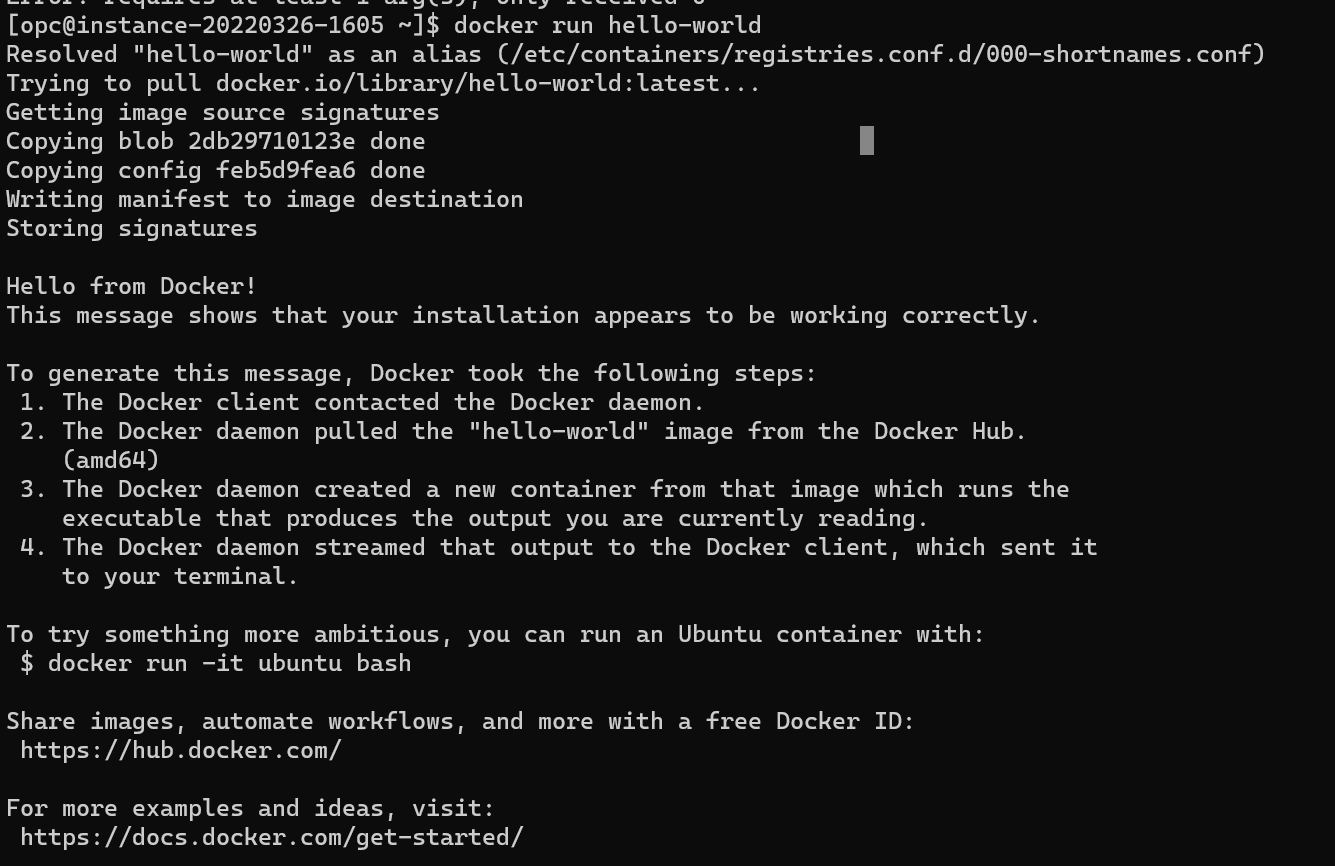
sudo touch /etc/containers/nodocker
Now we have podman installed as “docker” drop-in replacement and we can test it:
and we could now run everything we like, e.g. https://neurodesk.github.io/docs/neurodesktop/getting-started/linux/
mkdir /home/opc/neurodesktop-storage
sudo yum install tmux
tmux new -s neurodesk
sudo docker run \
  --shm-size=1gb -it --privileged --name neurodesktop \
  -v ~/neurodesktop-storage:/neurodesktop-storage \
  -e HOST_UID="$(id -u)" -e HOST_GID="$(id -g)"\
  -p 8080:8080 \
  -h neurodesktop-20220302 docker.io/vnmd/neurodesktop:20220329
Hit CTRL-b and then d to detach from the tmux session (re-attaching is possible using tmux attach-session -t neurodesk).
and this is how easy it is to run a container on the cloud :)
if you connect to your cloud instance using a port-forwarding ssh -L 8080:127.0.0.1:8080 opc@xxx.xx.xx.xx then you could now use Neurodesktop via visiting http://localhost:8080/#/?username=user&password=password in your local browser. When done, stop the container with CTRL-C and run sudo docker rm neurodesktop to cleanup.
5 - Kubernetes
A description how to get started with Kubernetes on Oracle Cloud
Overview
Kubernetes enables running and orchestrating multiple software containers.
Setup Kubernetes Cluster on Oracle Cloud using OKE
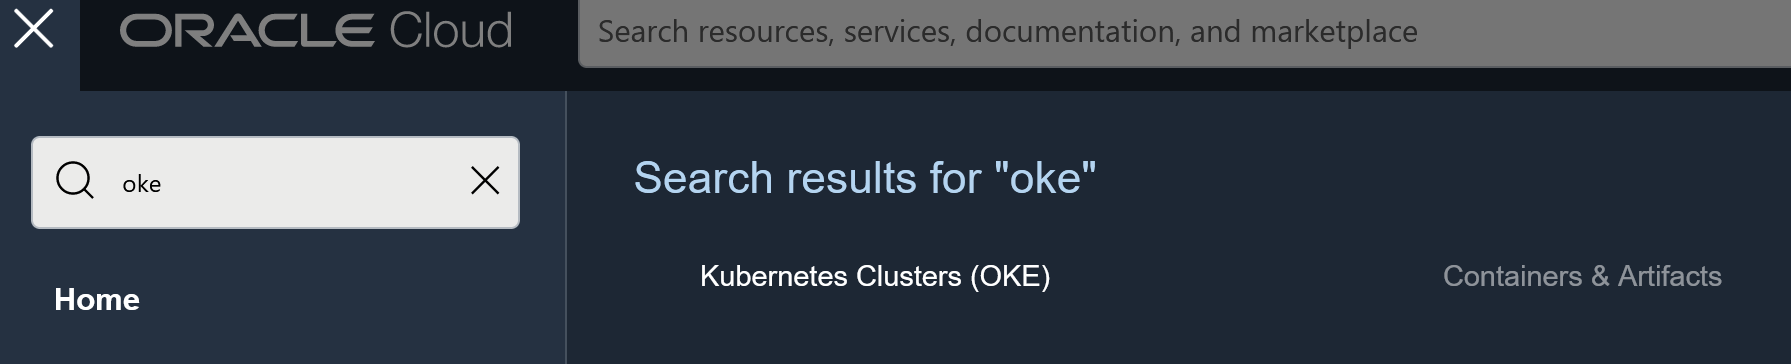
Search for OKE in the menu and then go to Kubernetes Clusters (OKE) under Containers & Artifacts:
Select the region where you would like to create the Cluster:
Select the compartment where you would like to create the Cluster:
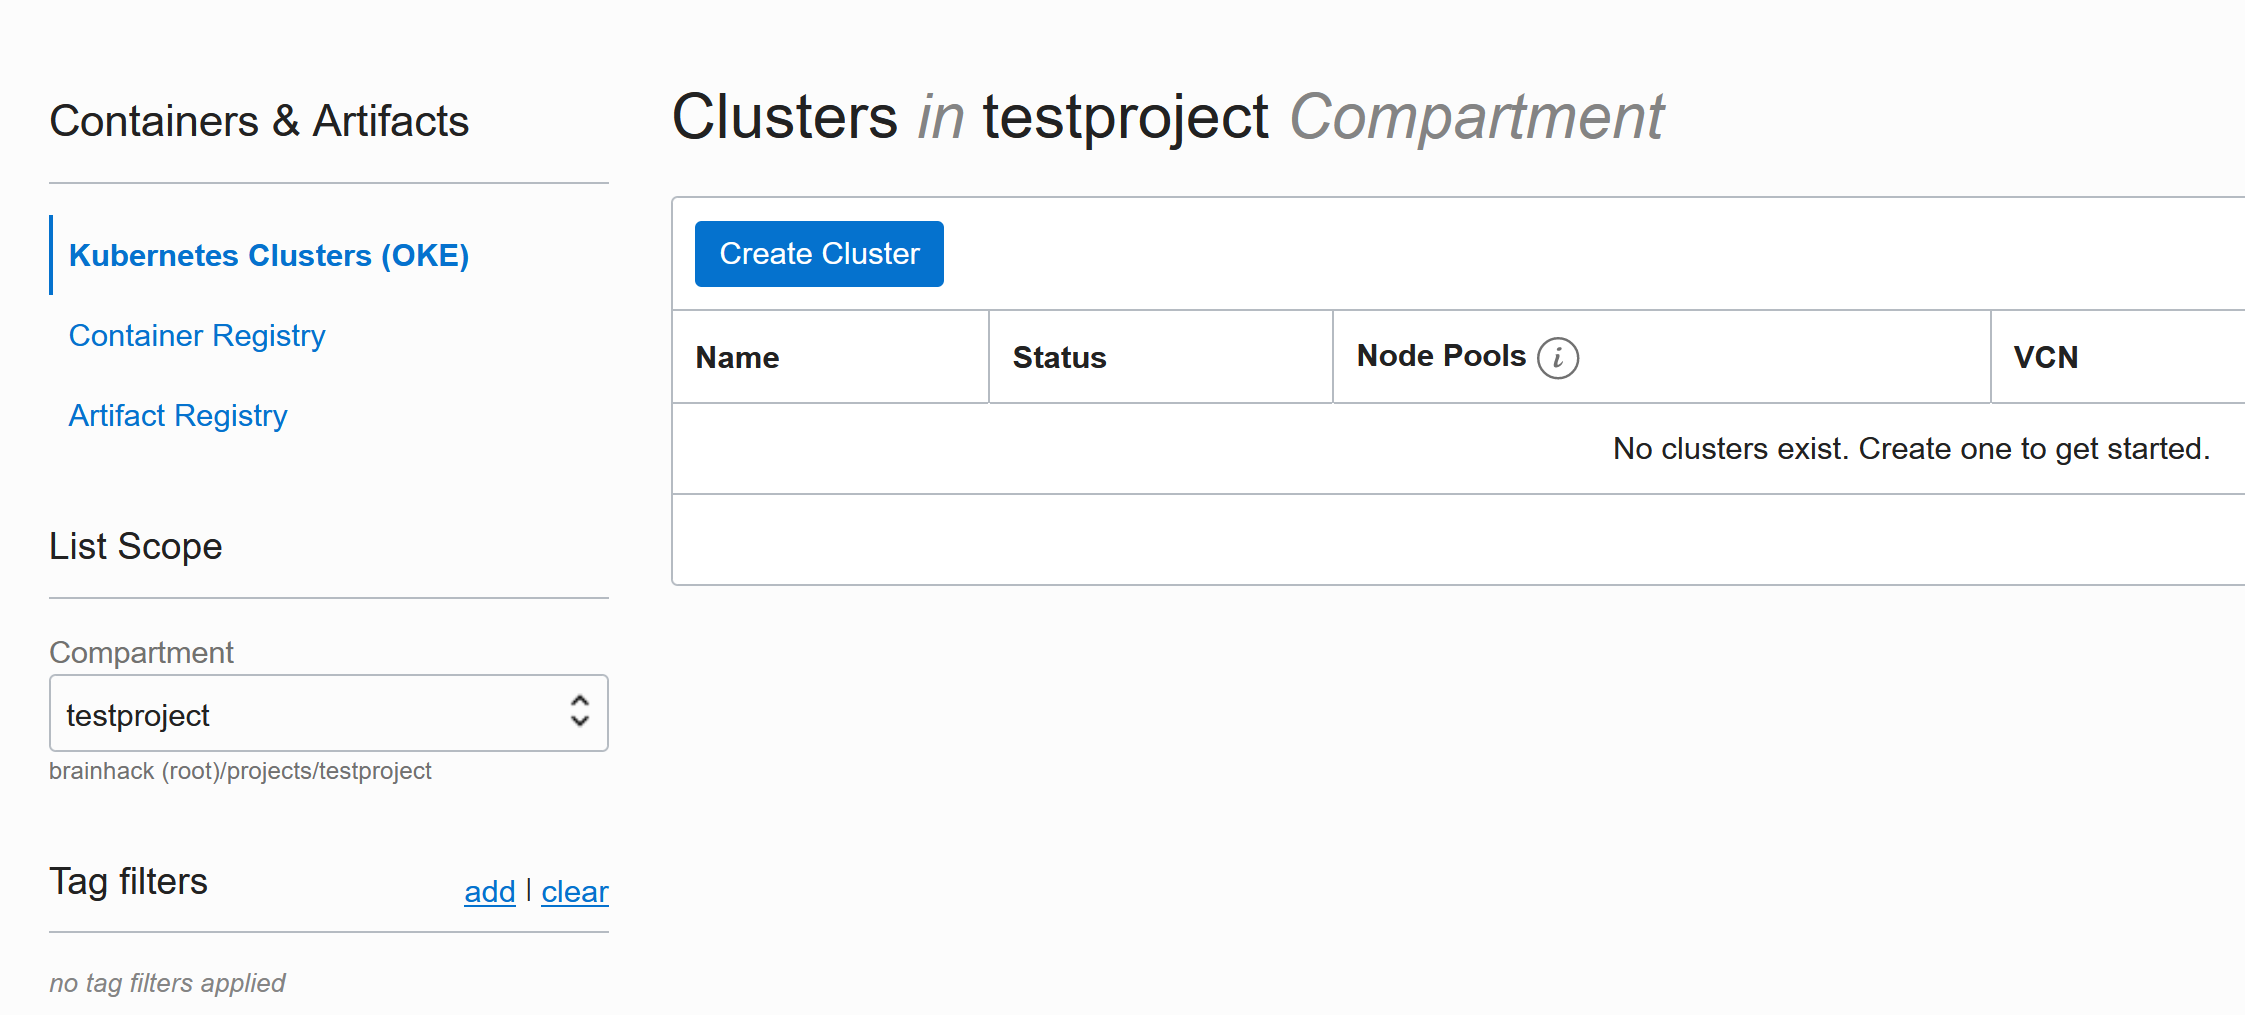
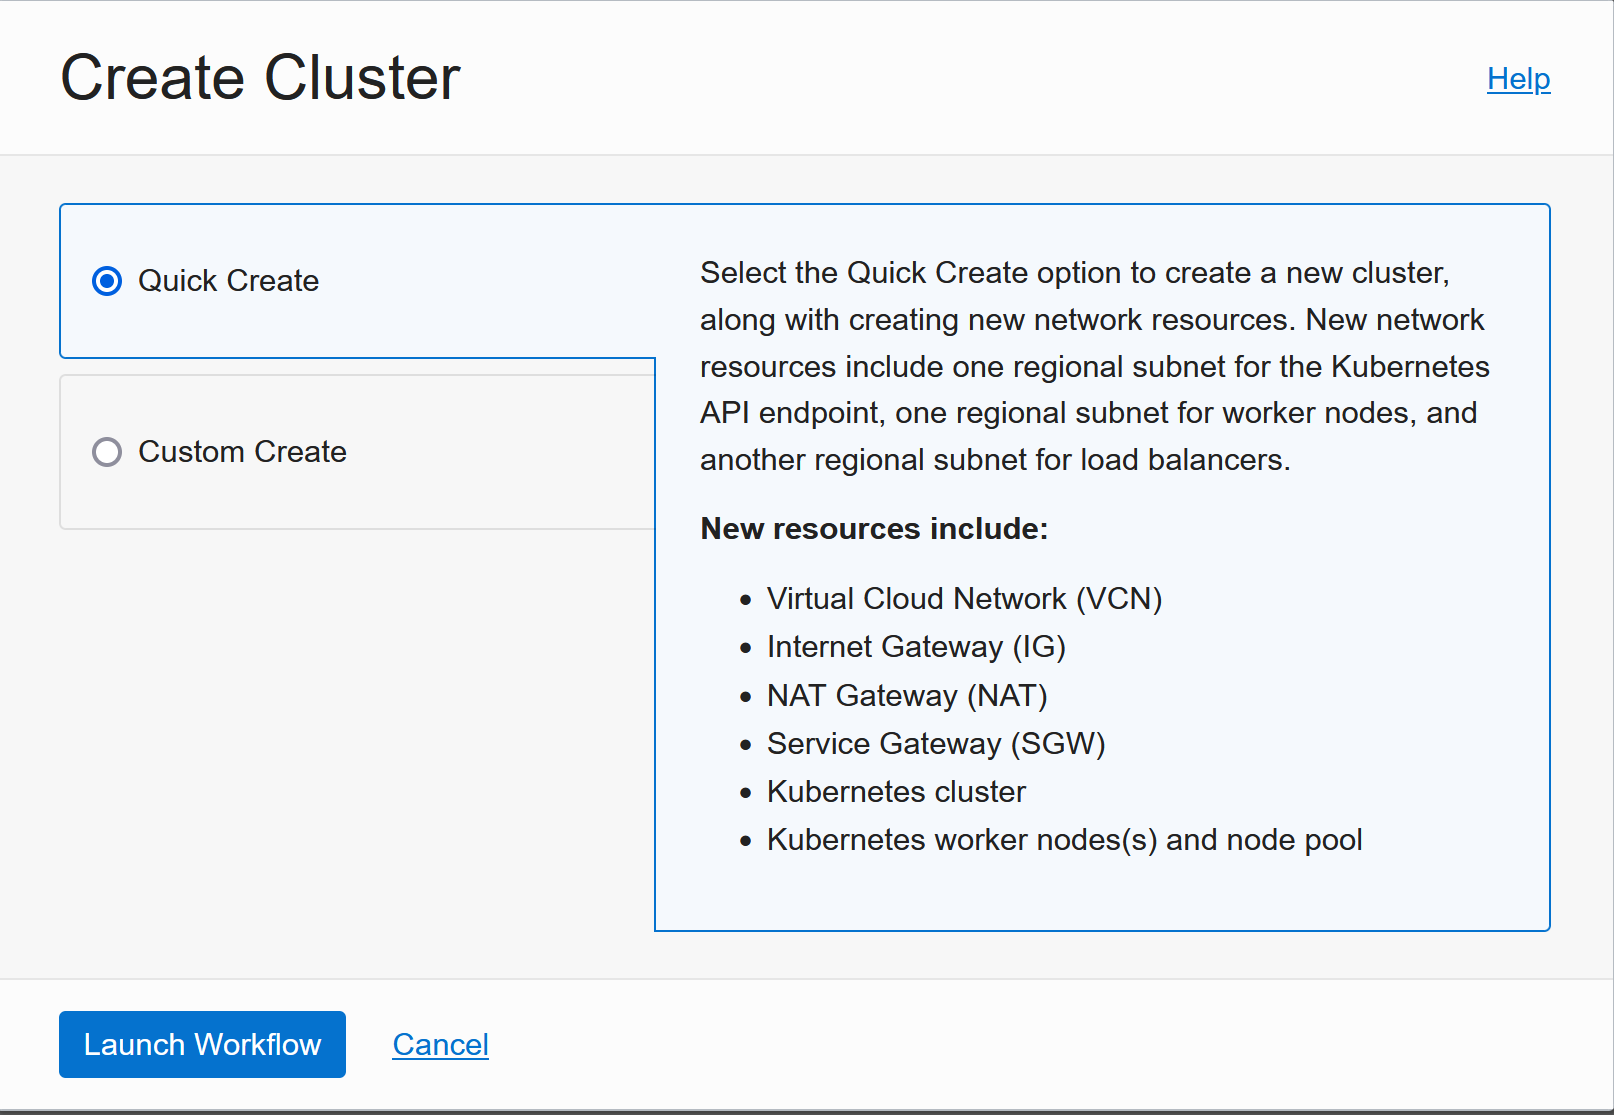
Quick Create is great and gives a good starting point that works for most applications:
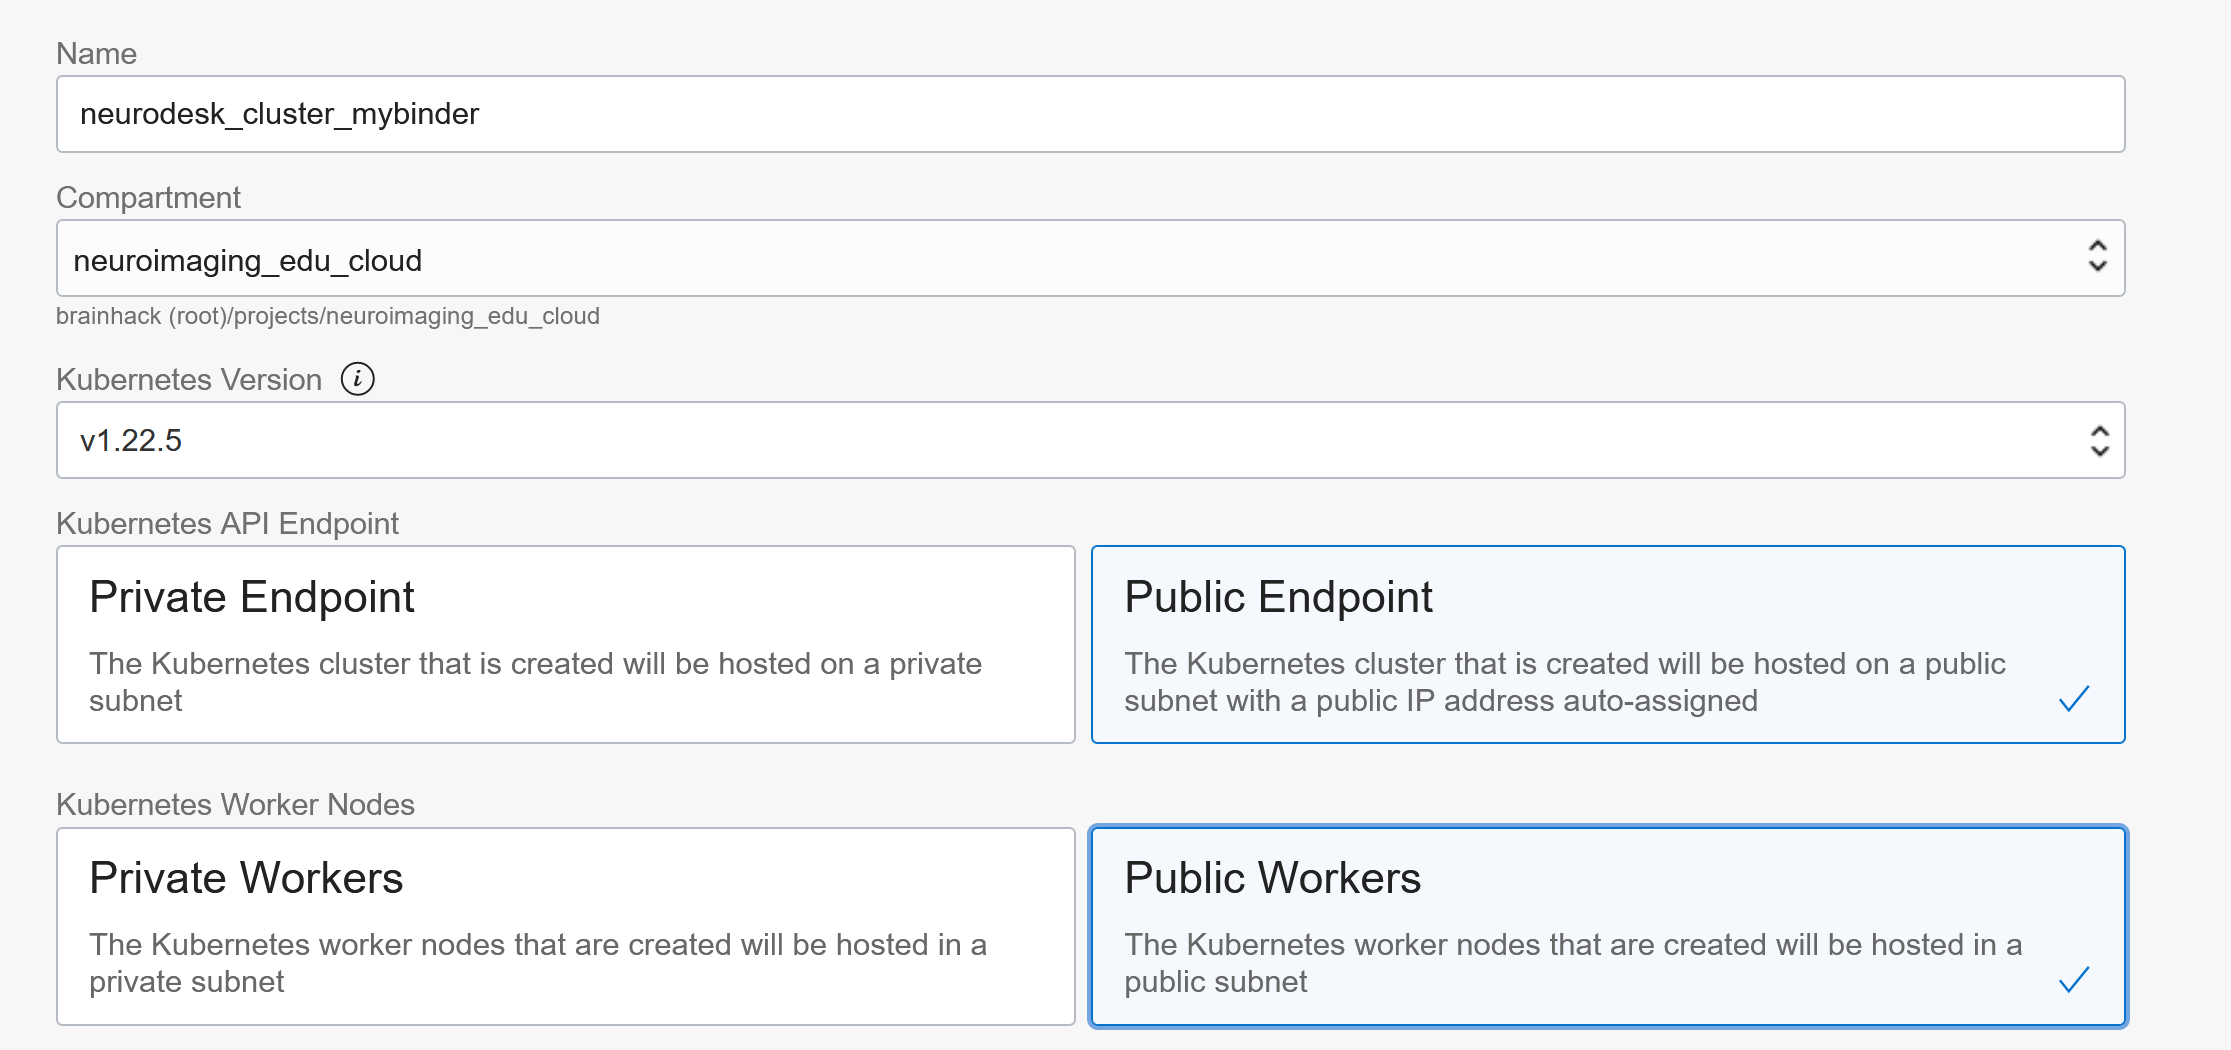
The defaults are sensible, but Public Workers make it easier to troubleshoot things in the beginning:
Select the shape you like and 1 worker is good to start (can be increased and changed later!)
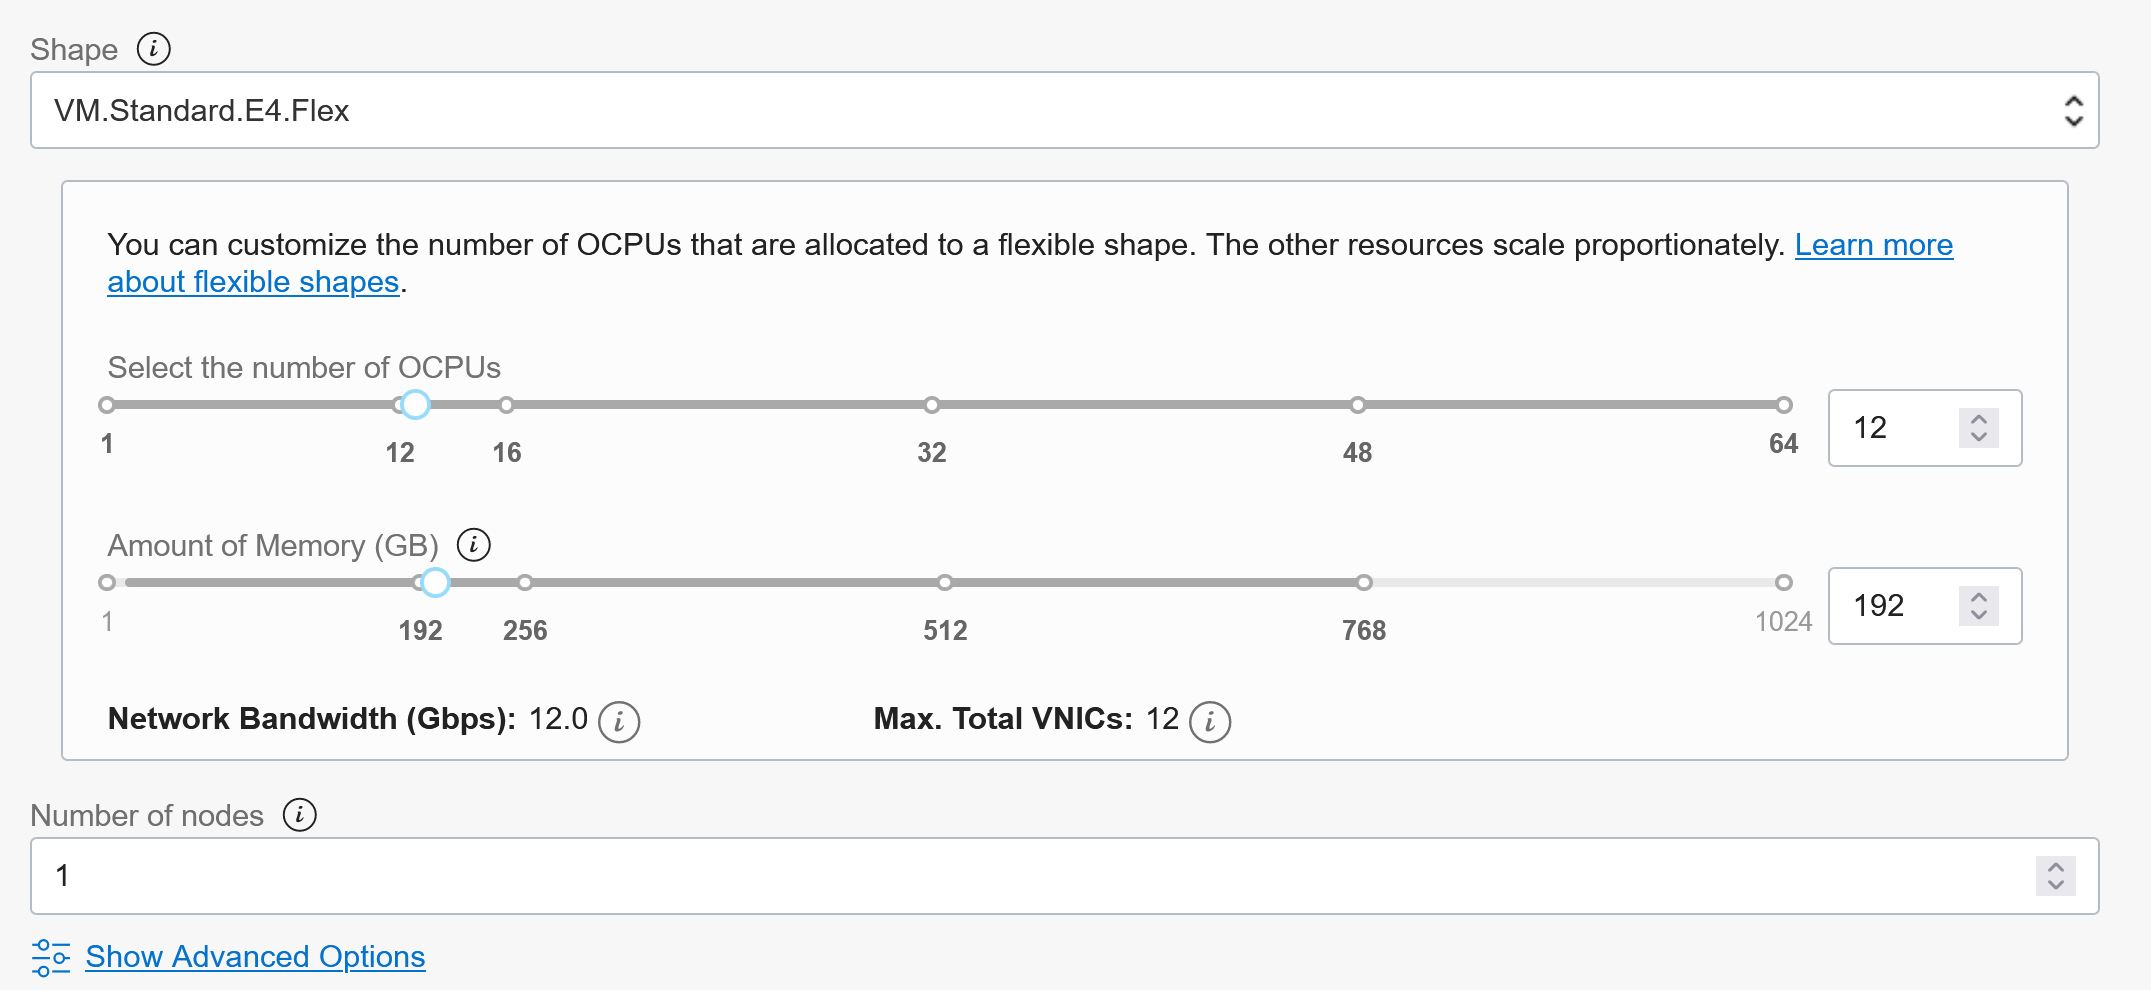
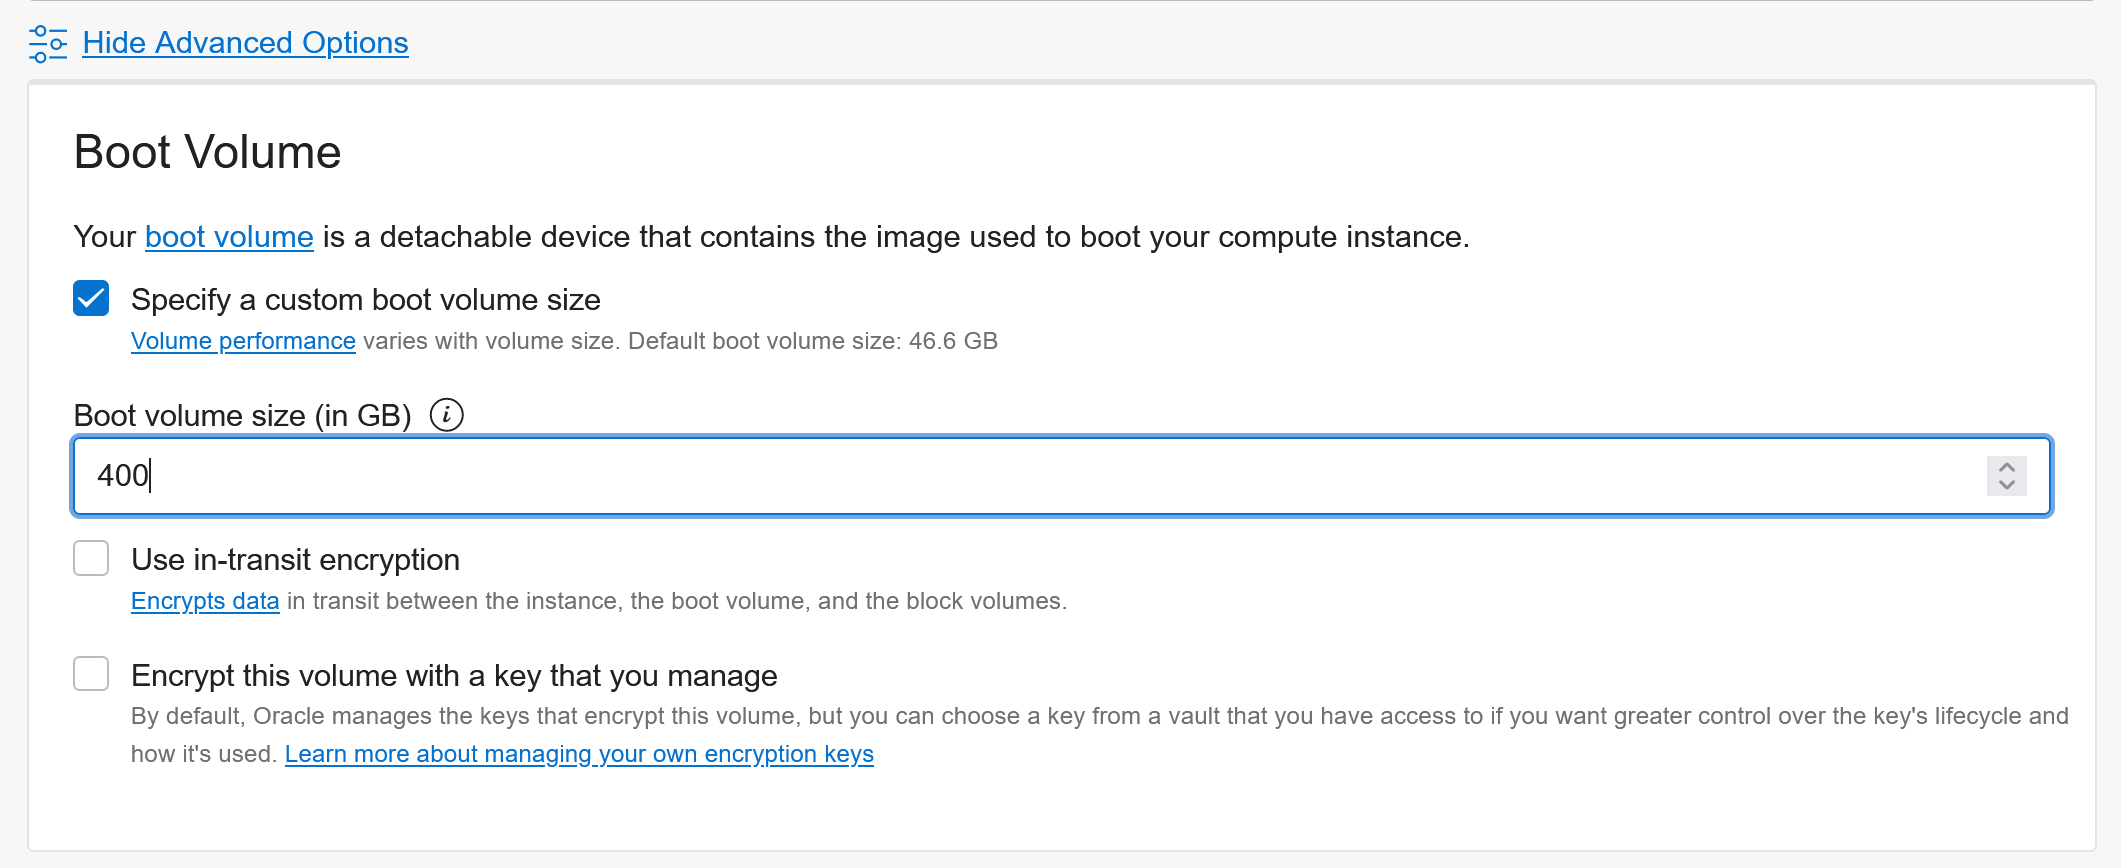
Under advanced you can configure the boot-volume size:
Add an SSH key for troubleshooting worker nodes:

Review everything and then hit Create and it should go and set-up everything :)
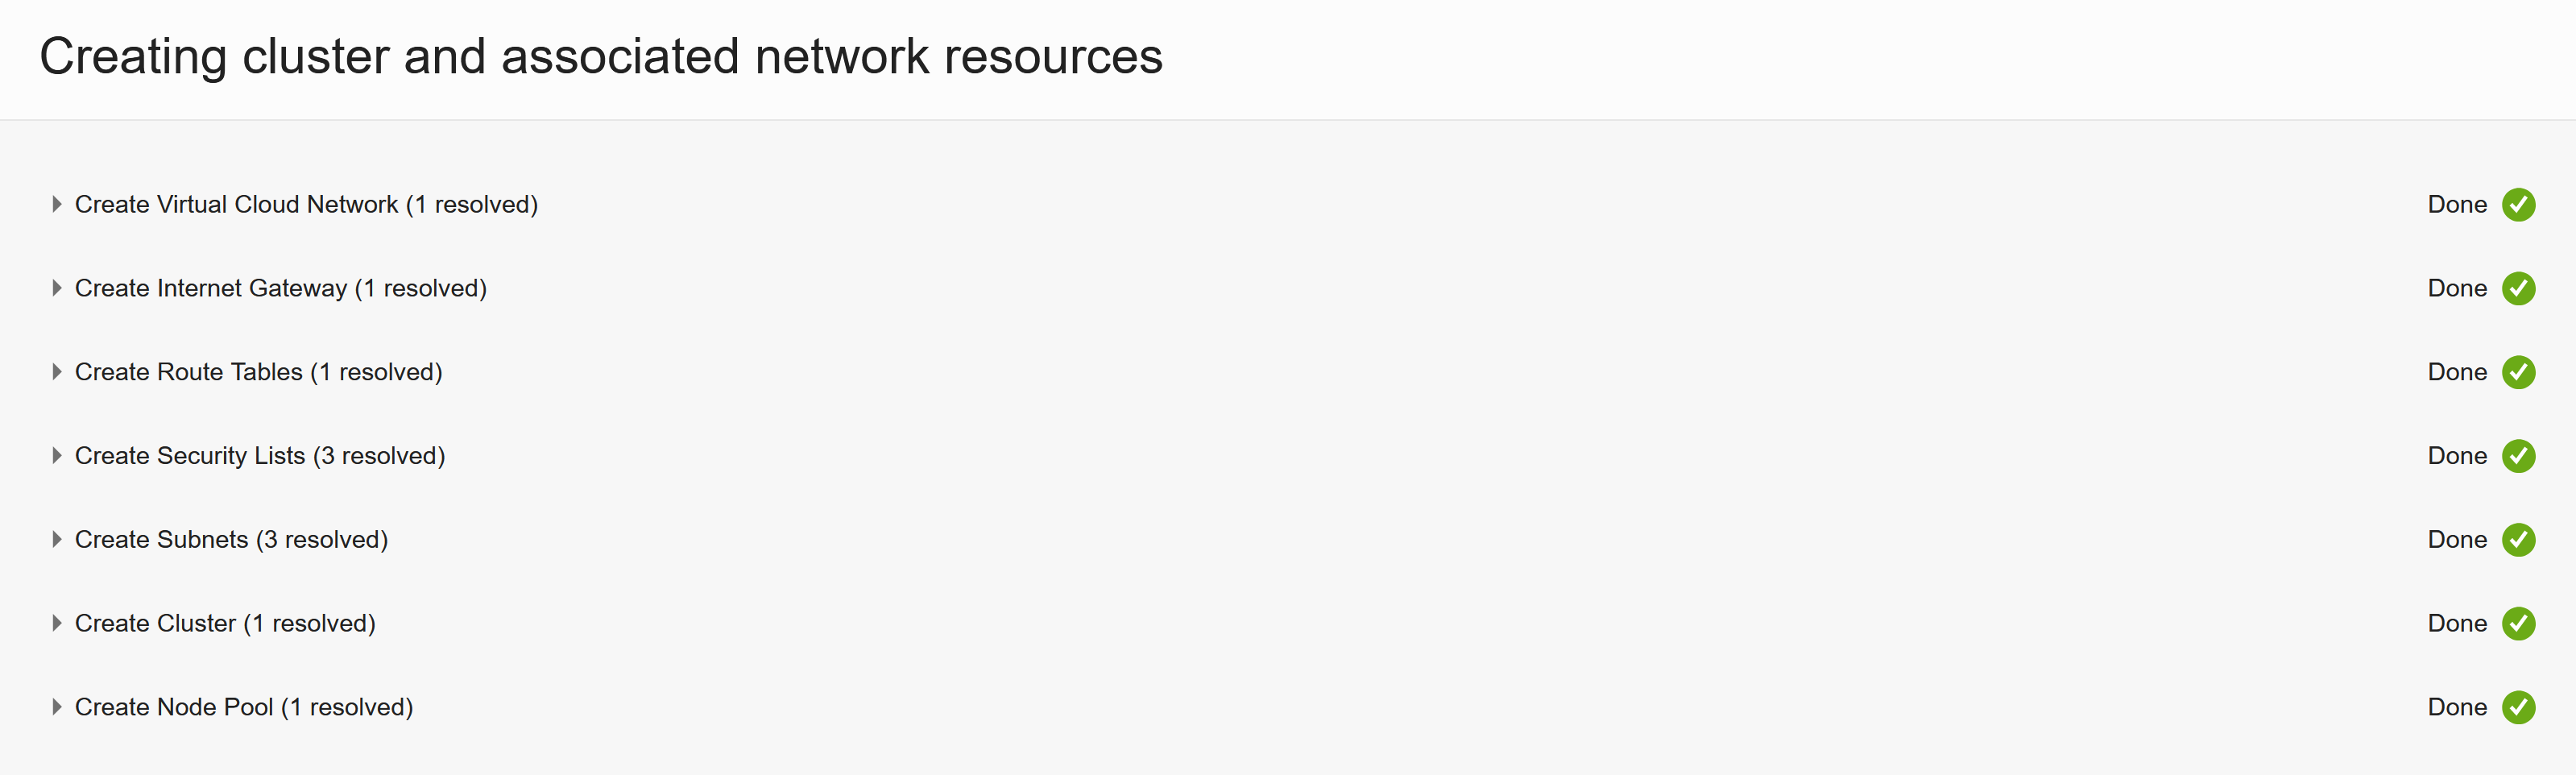
That’s how easy it can be to setup a whole Kubernetes cluster :) Thanks OCI team for creating OKE!
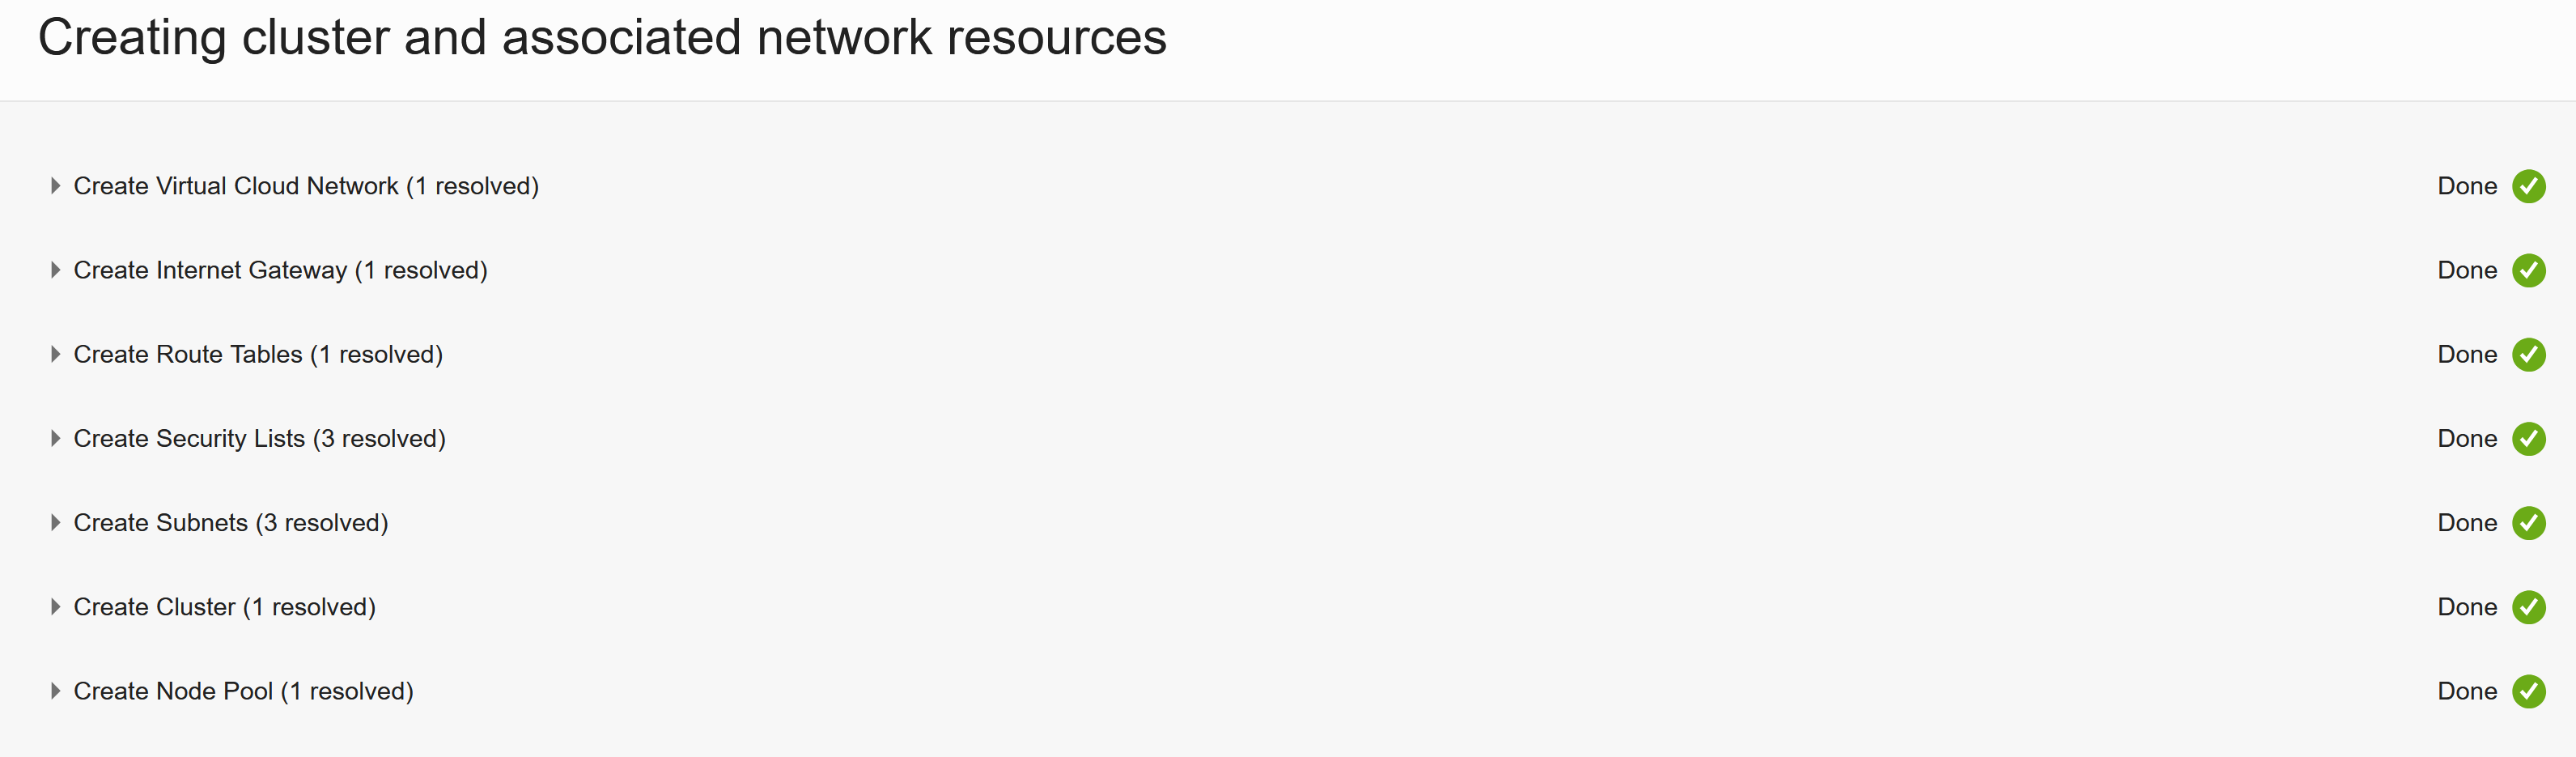
It will take a few minutes until everything is up and running -> Coffee break?
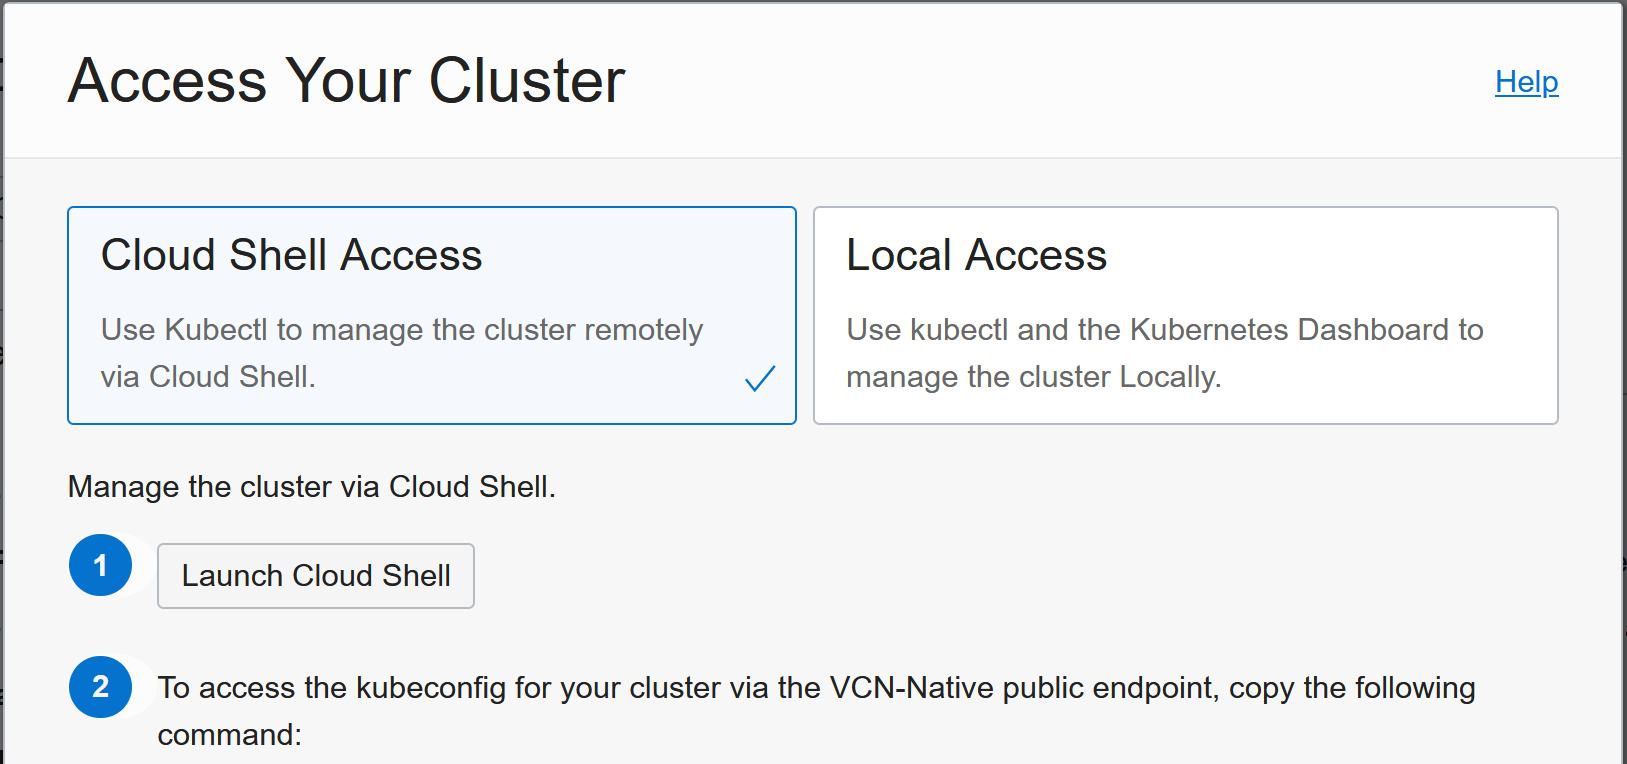
Once everything is ready:
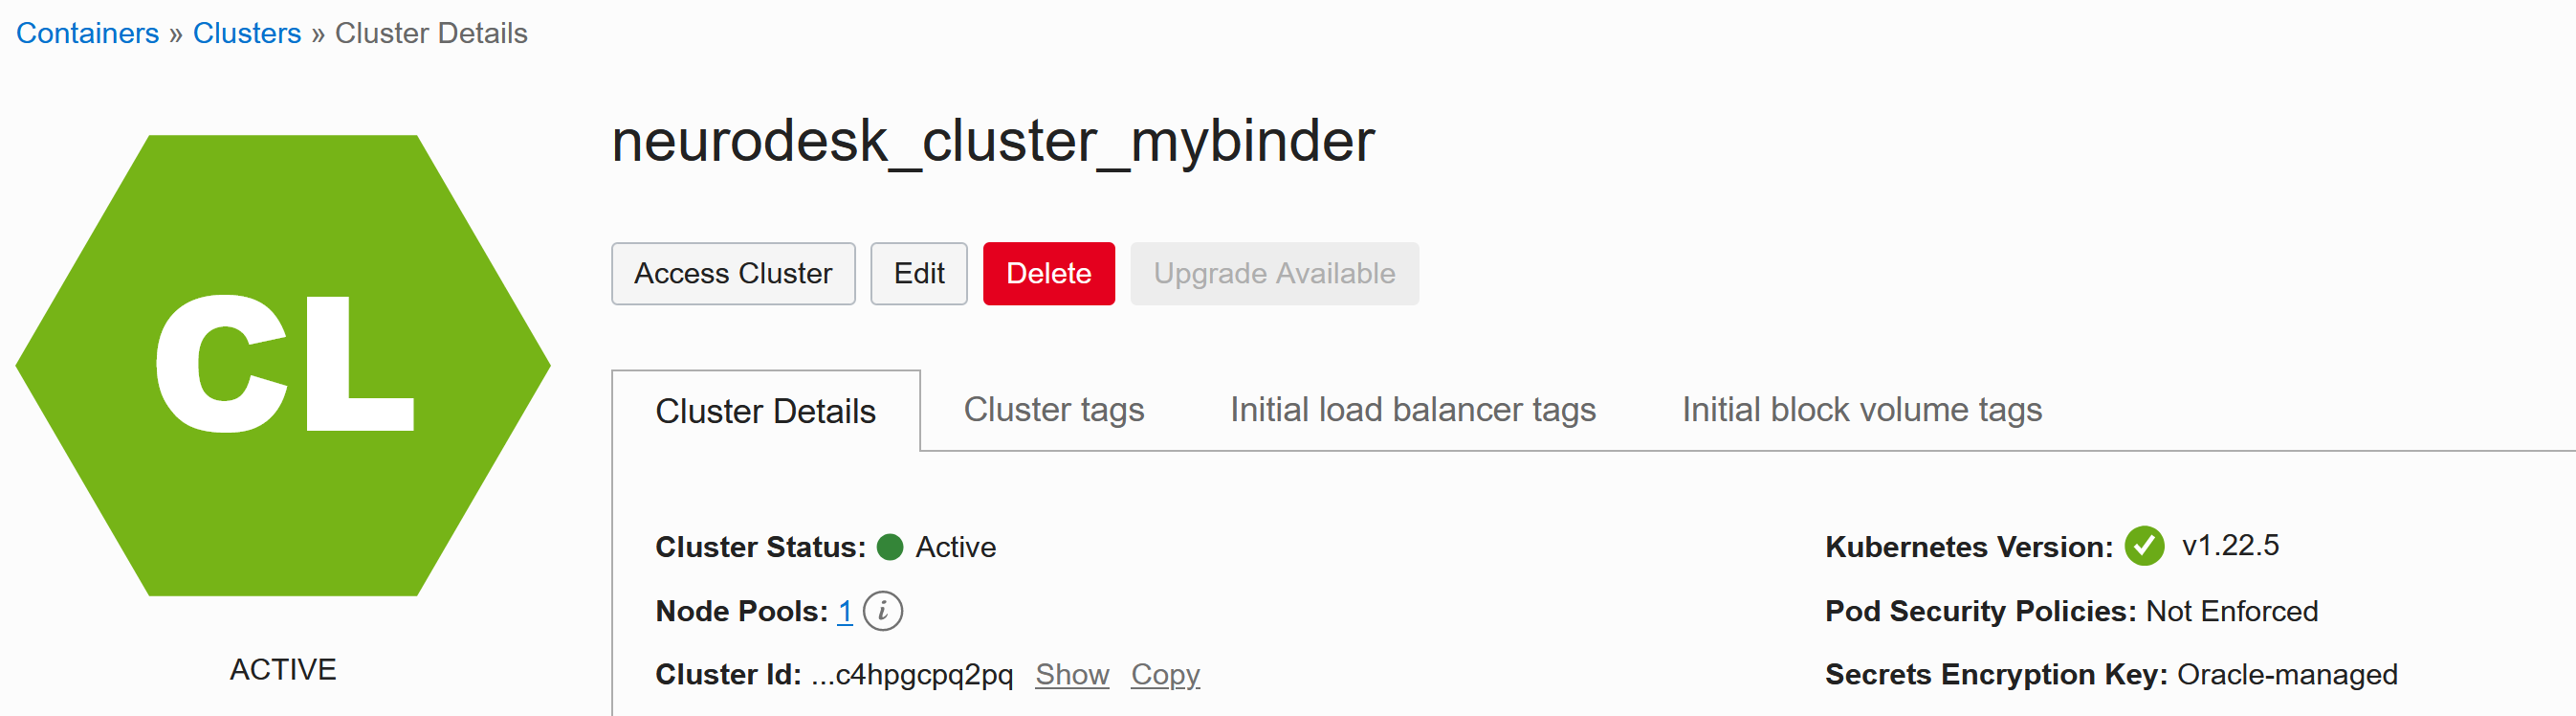
you can access the cluster and the settings are given when clicking Access Cluster:
Customizing nodes using Init-scripts
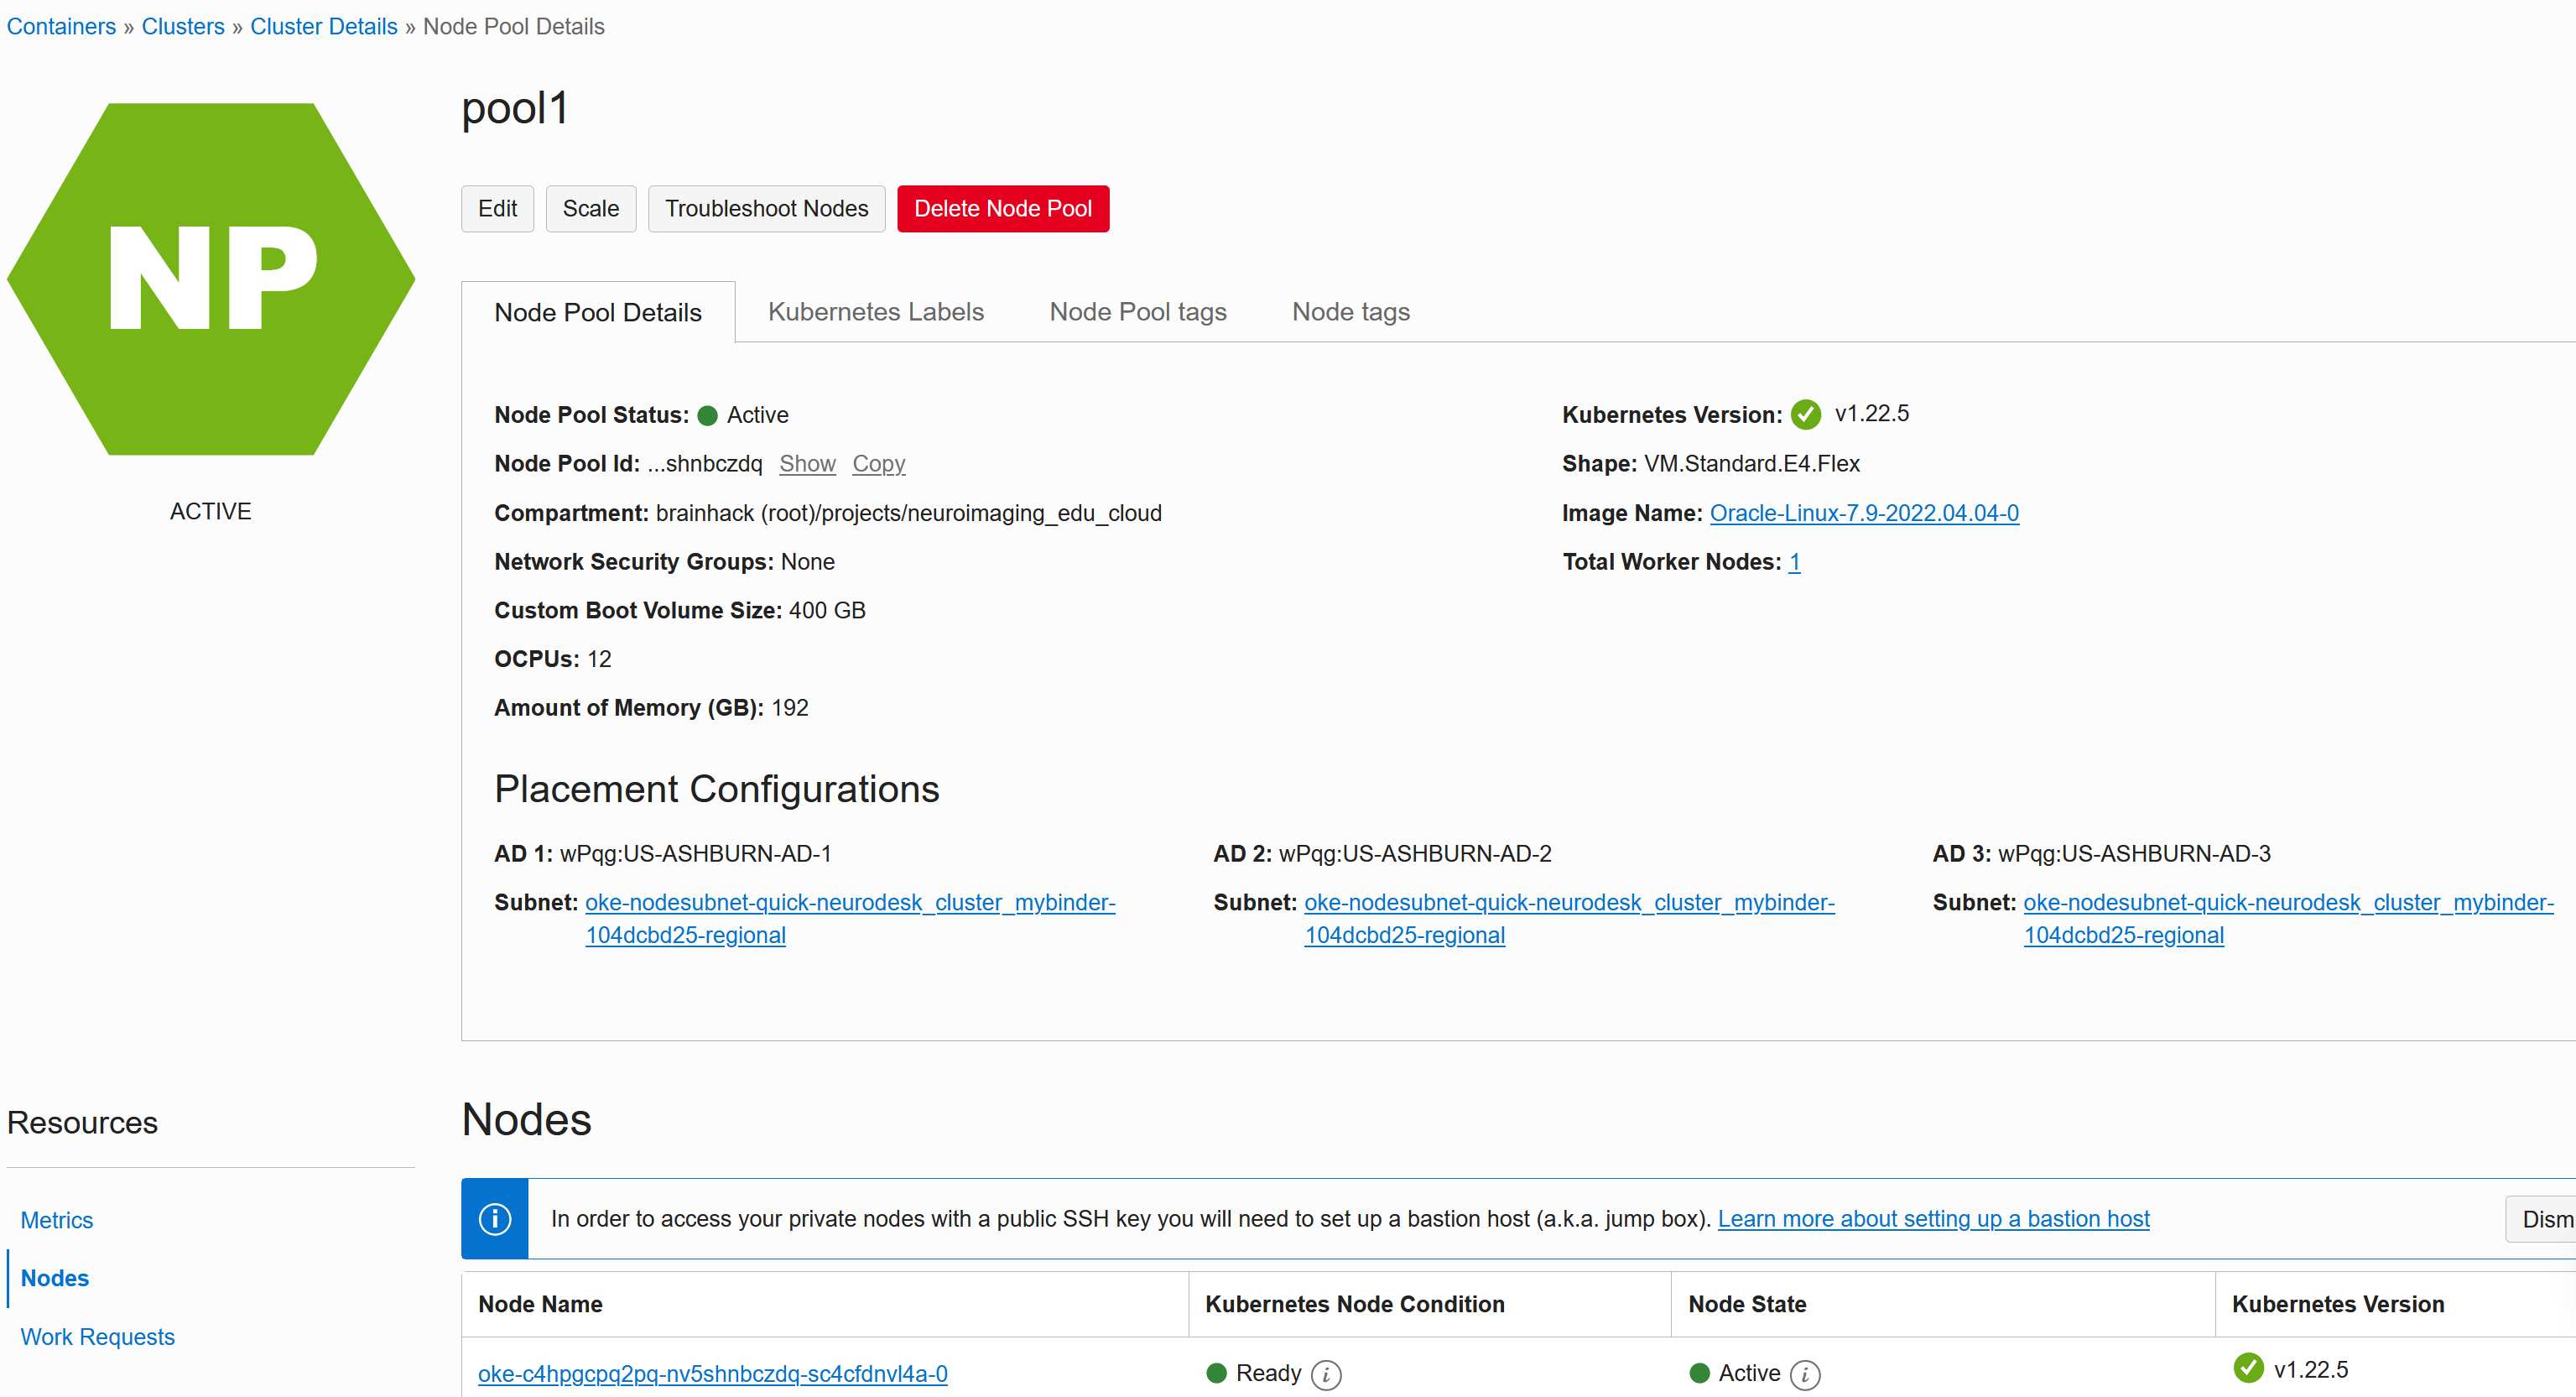
If you configured Public IP addresses for the worker nodes, then you can connect to the nodes for troubleshooting - Click on the node under Nodes -> pool1:
By default the disks are NOT expanded to the Bootvolume size you configured, so this can be fixed via init scripts. Edit the node pool and under advanced set the inits script:
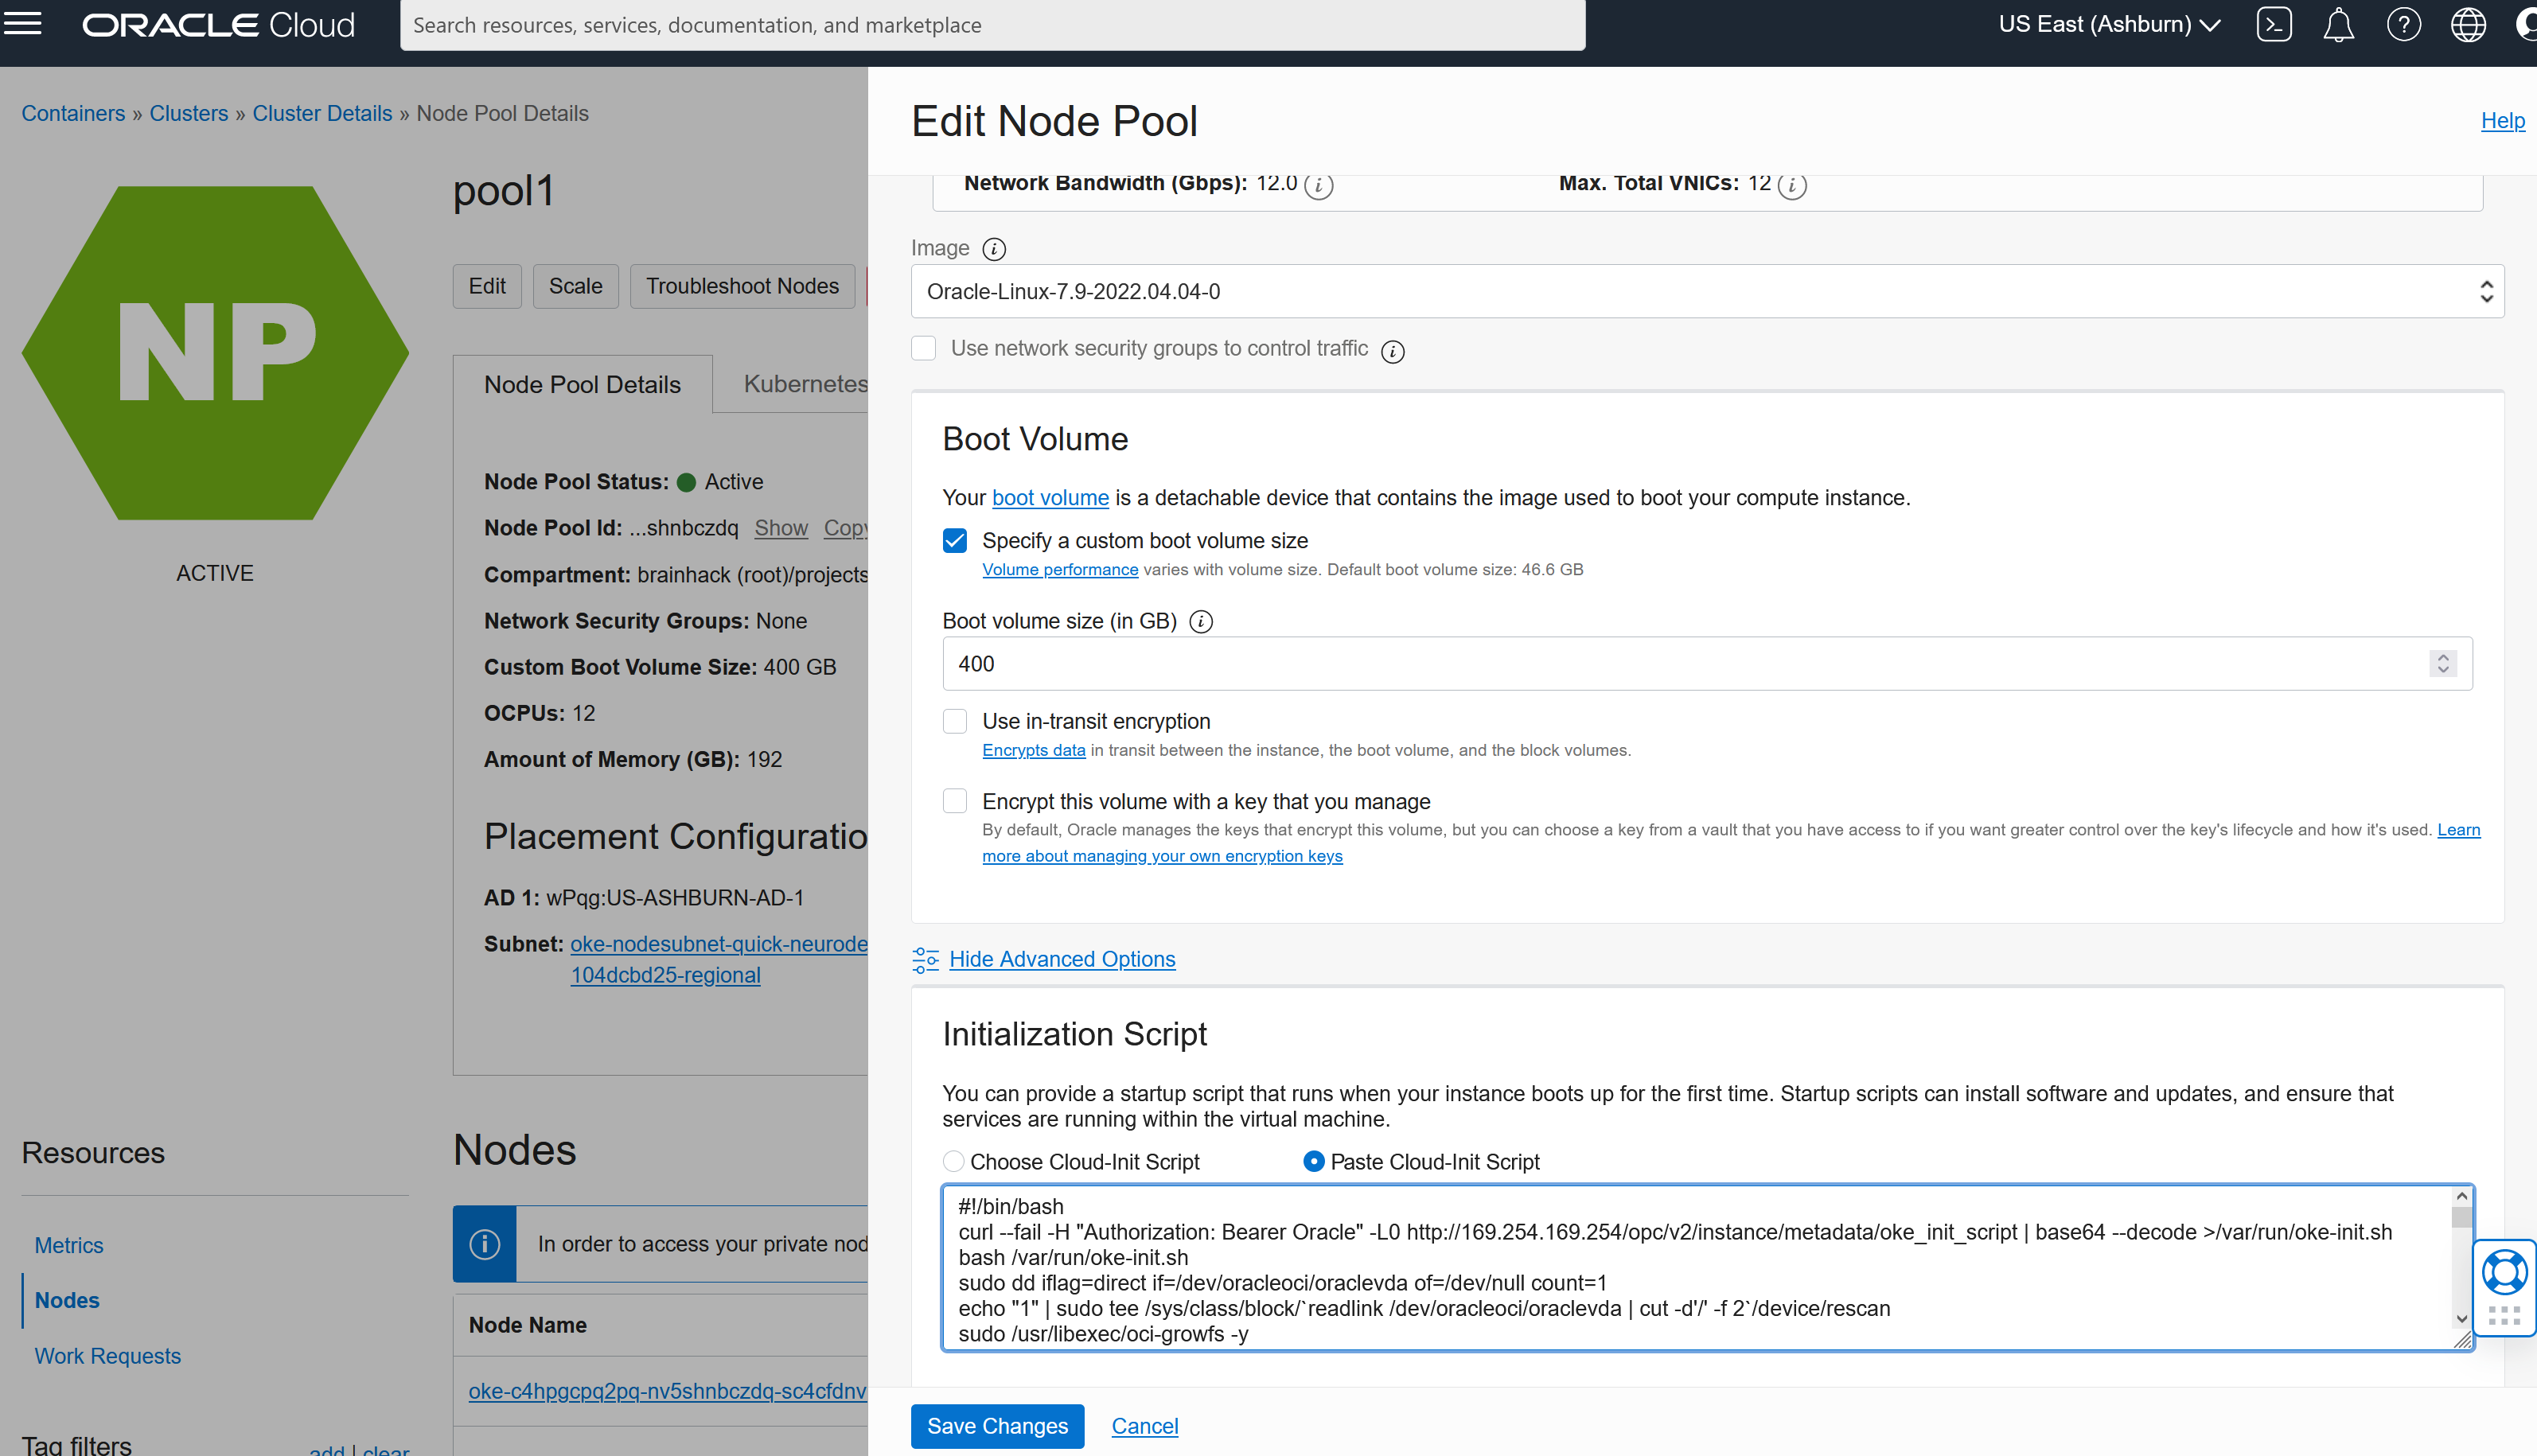
This script will expand the disk:
#!/bin/bash
curl --fail -H "Authorization: Bearer Oracle" -L0 http://169.254.169.254/opc/v2/instance/metadata/oke_init_script | base64 --decode >/var/run/oke-init.sh
bash /var/run/oke-init.sh
sudo dd iflag=direct if=/dev/oracleoci/oraclevda of=/dev/null count=1
echo "1" | sudo tee /sys/class/block/`readlink /dev/oracleoci/oraclevda | cut -d'/' -f 2`/device/rescan
sudo /usr/libexec/oci-growfs -y
Then hit Save Changes. To apply these configuration changes you need to Scale the pool to 0 and then backup to 1:

Cleanup
You can delete the whole cluster to cleanup:
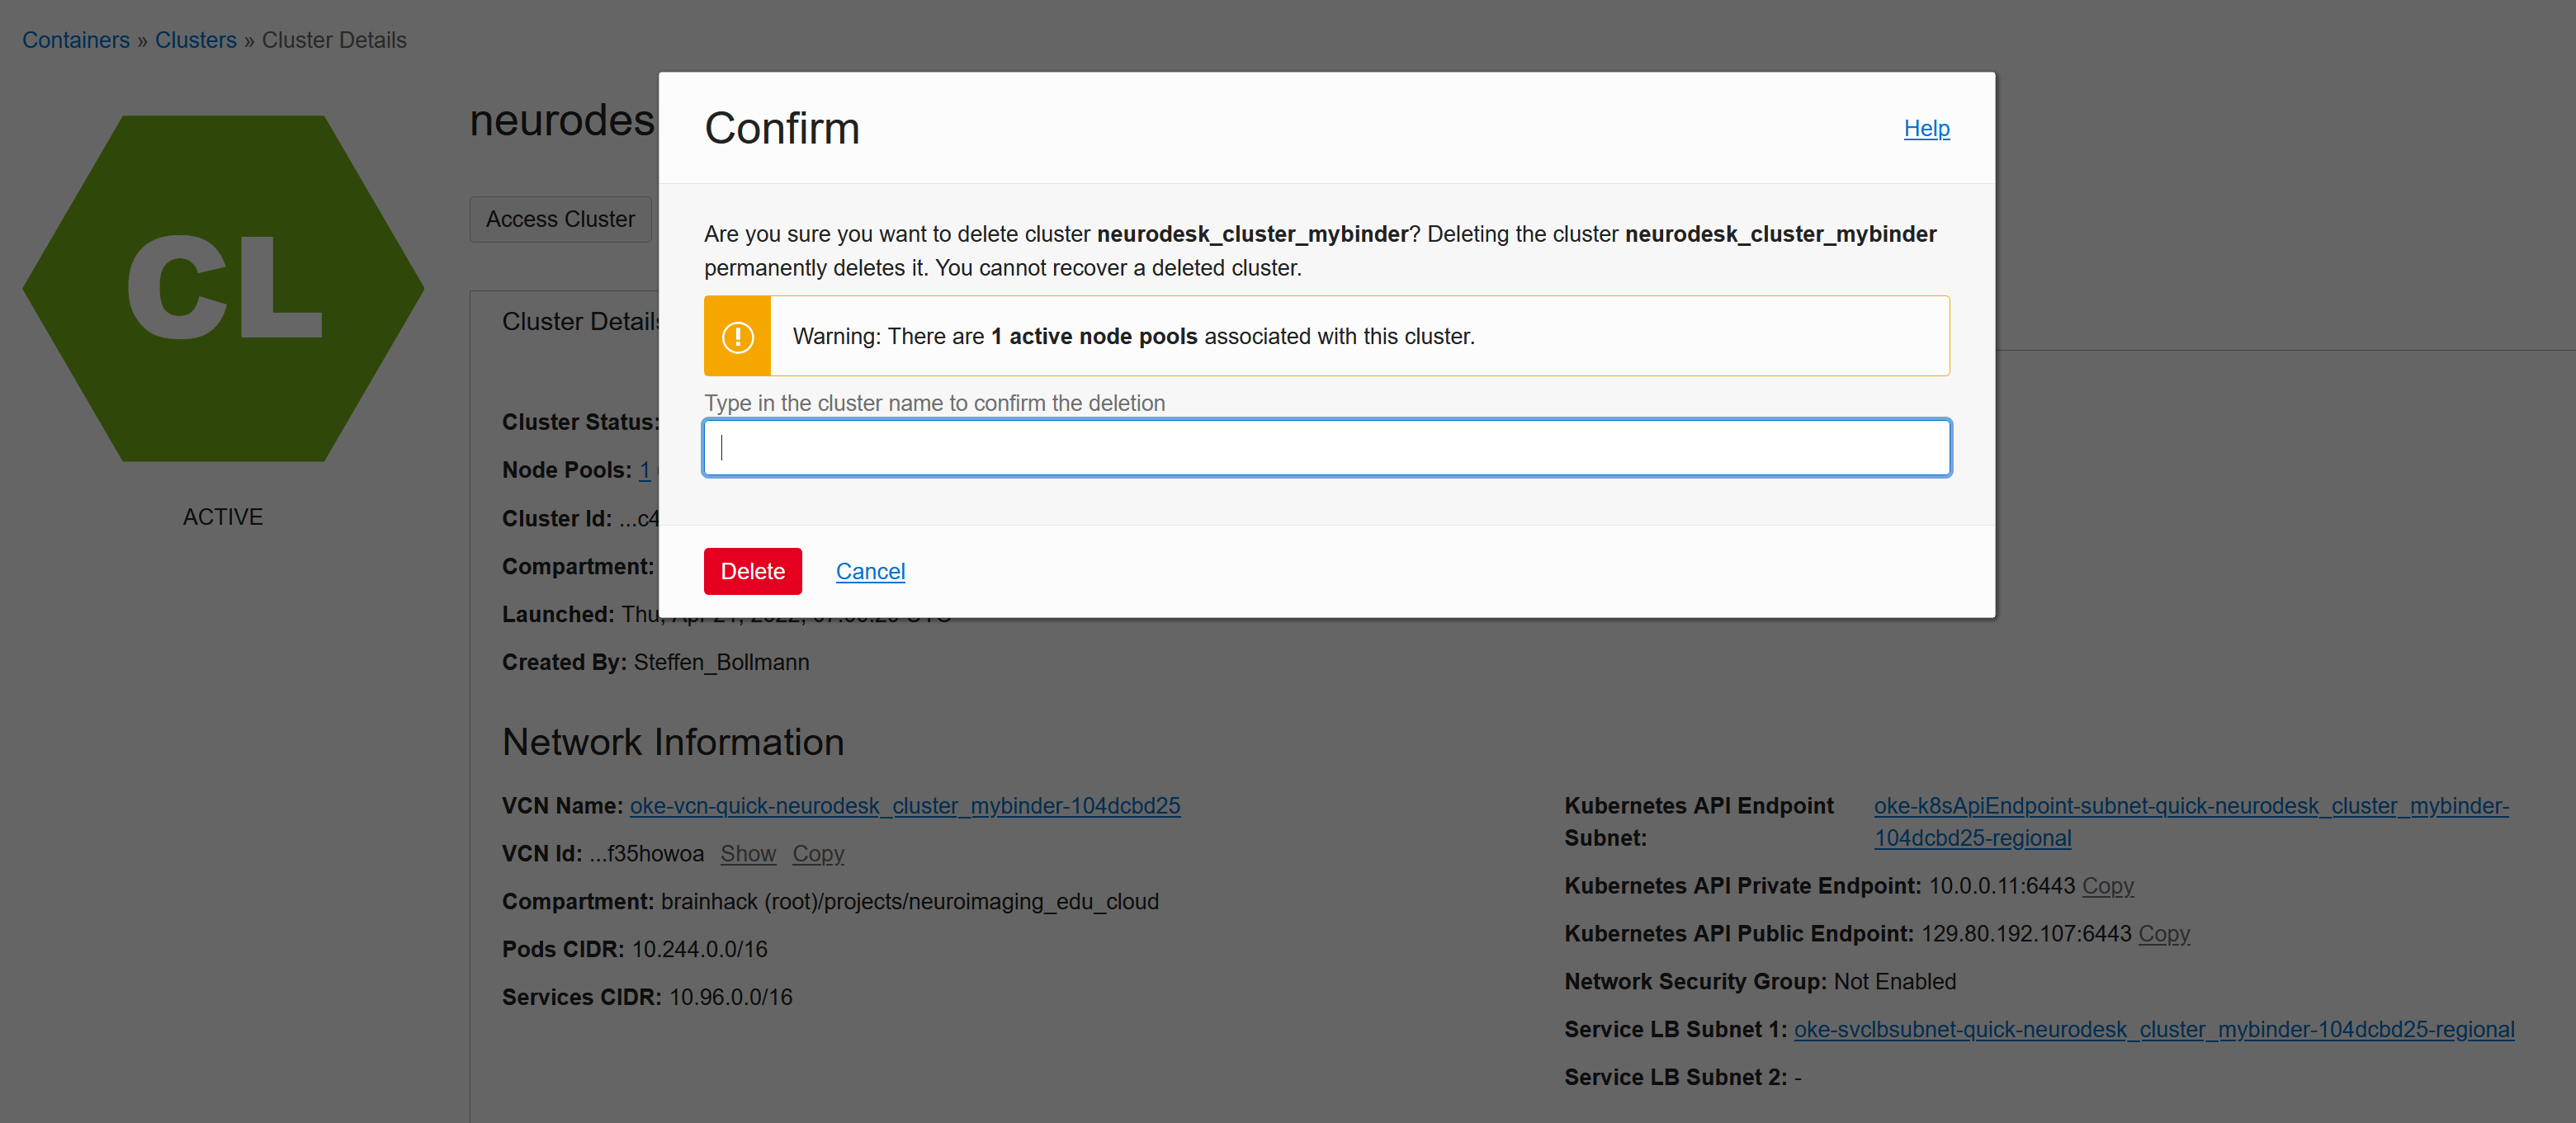
But be aware that Kubernetes can create resources via API calls, which is great, but it also means that these additionally created resources (like load balancers or storage volumes) will NOT be cleaned up automatically and need to cleaned up manually!